
We moved into our new semi-custom home just two months ago, and we have already taken on so many little projects to truly make it feel like ours and less builder grade.
You followed along with our fireplace makeover, and now I’m taking you behind the scenes of our pot filler and backsplash renovation.
When we were building, I chose not to have the builder install a backsplash because I had been eyeing a very specific tile. I also knew that if I wanted a pot filler, it needed to be installed before the backsplash went in.
This project completely transformed our kitchen, and it was extra special because my dad helped me do it. He literally knows how to do everything, and he walked me through the plumbing step by step! I’m definitely not a professional or very knowledgeable in this area, but I’m sharing what I know & how we did it in case you’re thinking about adding one too!
Step 1: Finding the Closest Water Line
The first thing we did was locate the nearest water source.
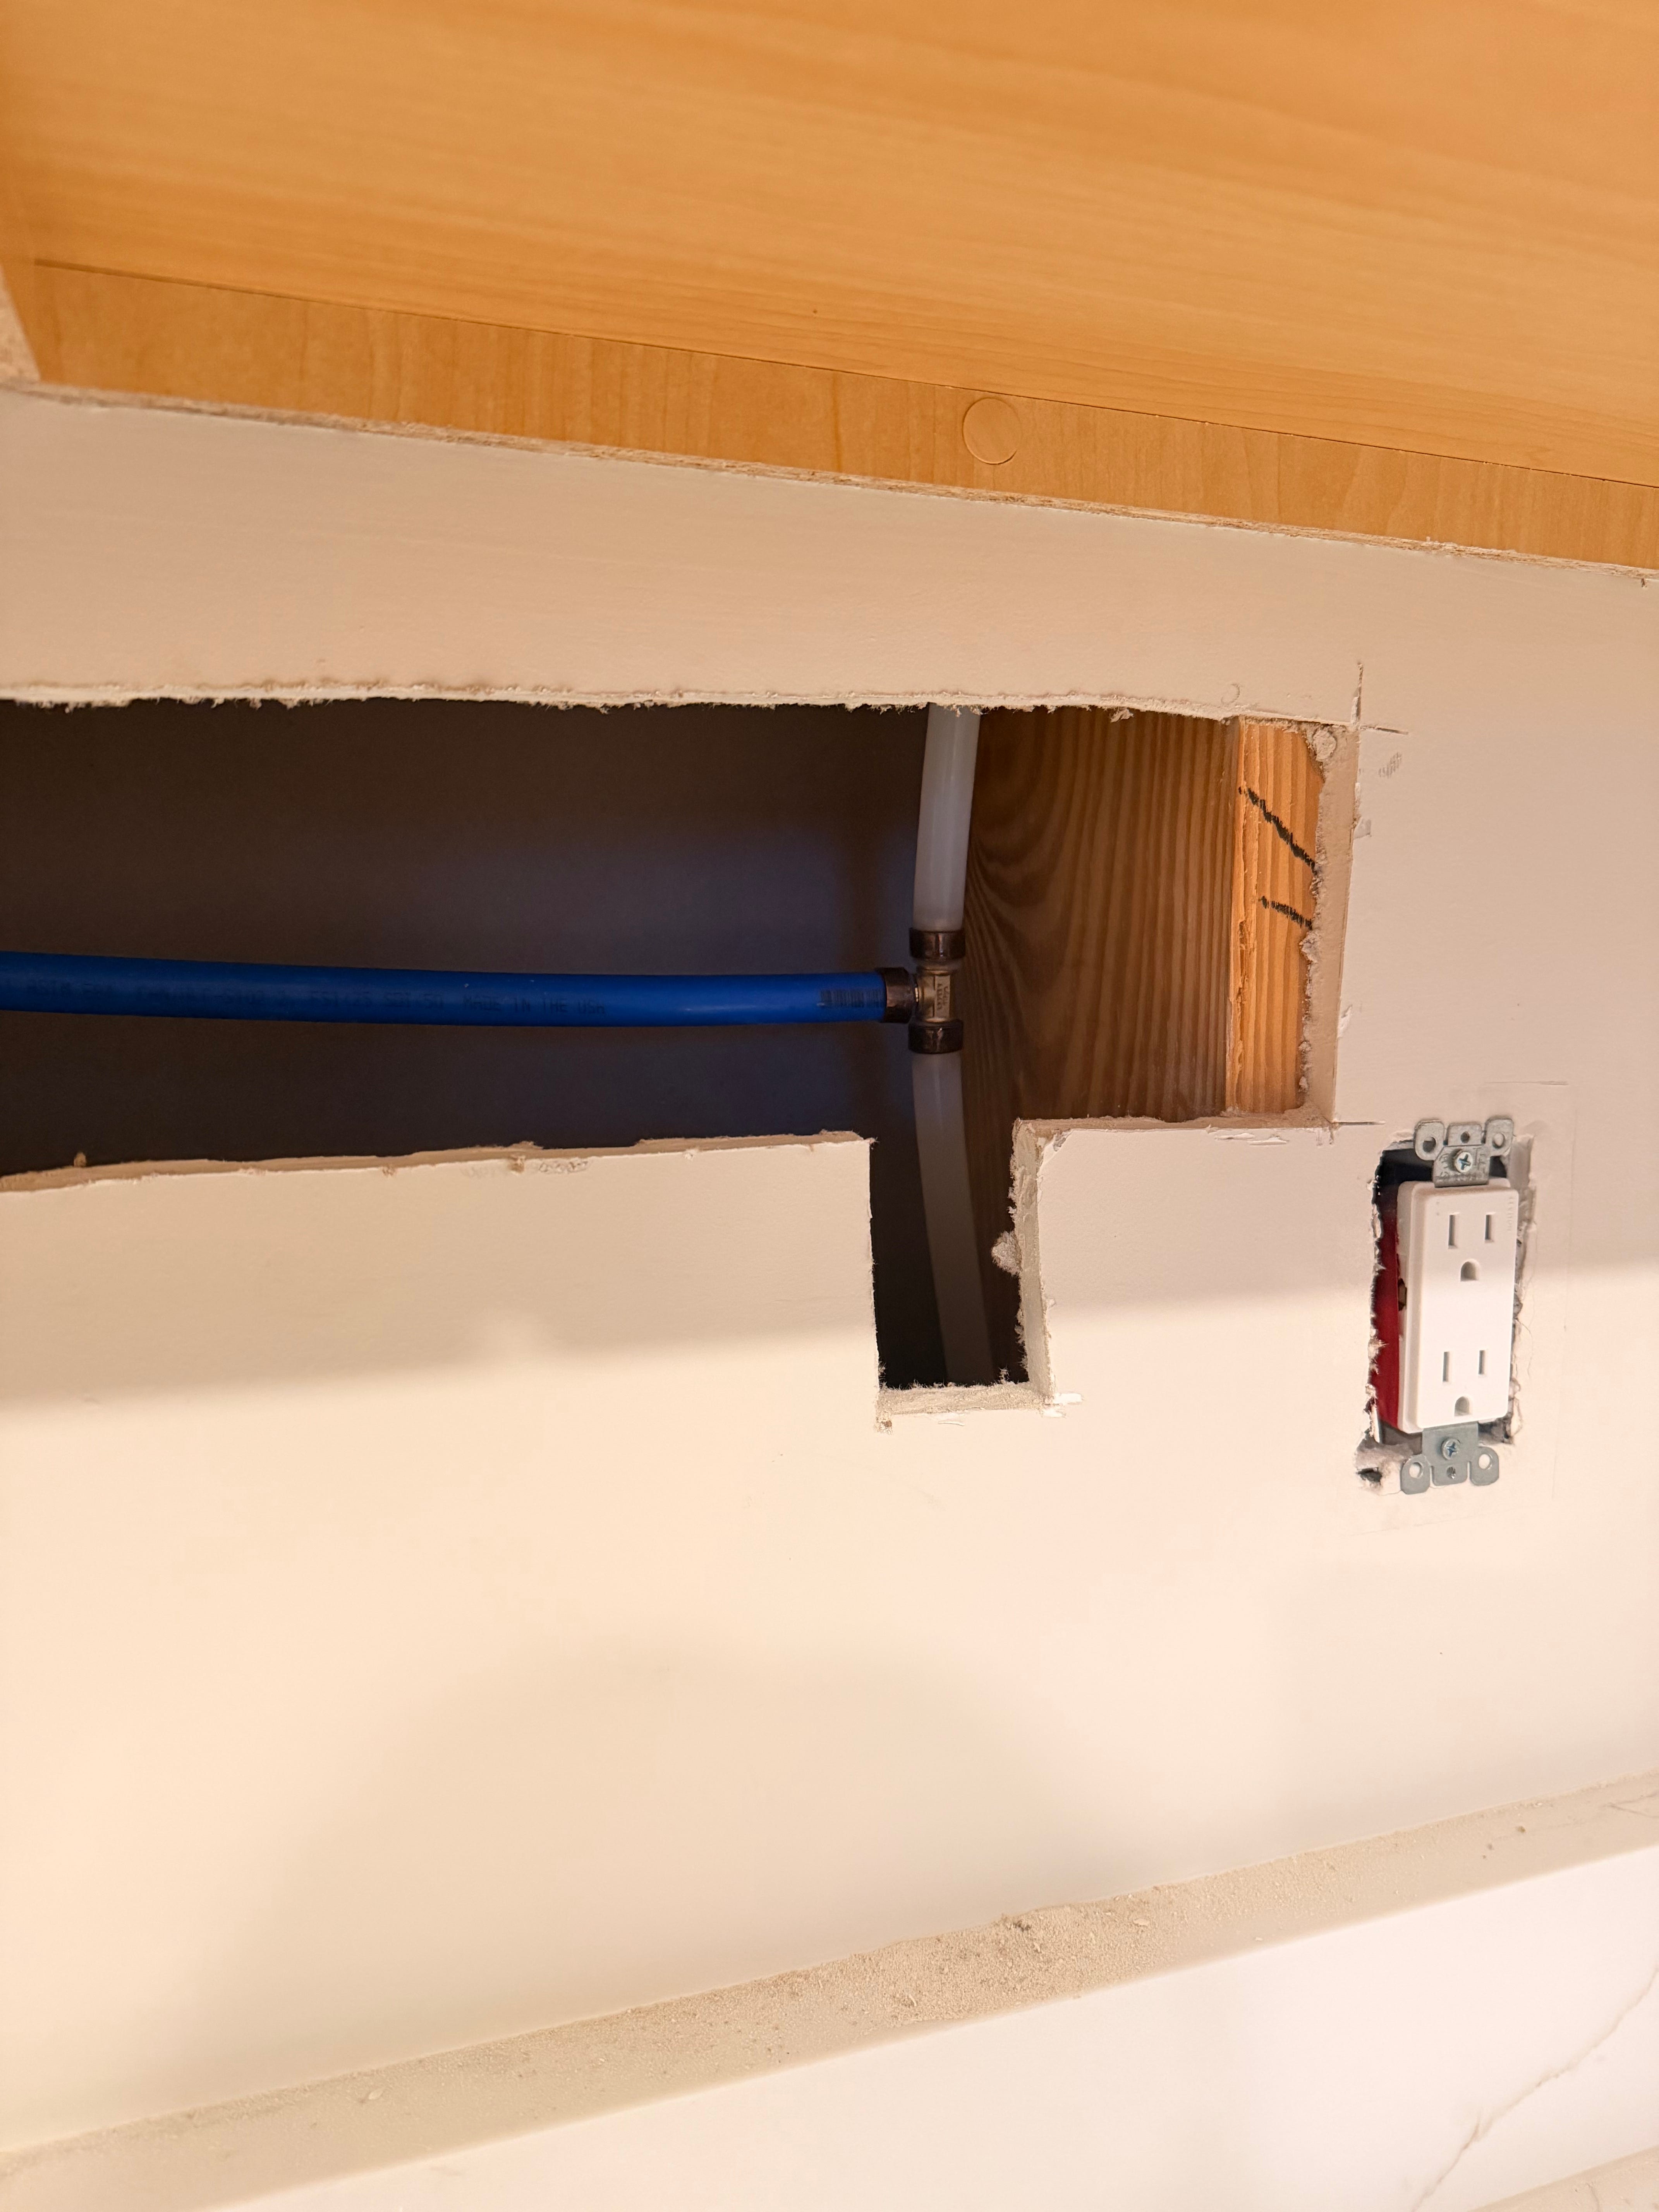
Thankfully, there’s a toilet just a couple feet to the right of our stove. That meant we didn’t have to run water from across the house. We carefully cut open the drywall from behind the stove toward that water line so we could access it.
Step 2: Splitting the Line with a PEX Tee
Once we accessed the existing line, we:
- Snipped the water line
- Installed a 1/2 inch PEX crimp brass tee to split the line
To secure it, we used:
- 1/2 inch PEX copper crimp rings
- A professional PEX crimp tool (this is important — you need proper compression so it seals tightly)
From there, we connected a 1/2 inch blue PEX-B pipe from the brass tee to the exact location where I wanted the pot filler installed.
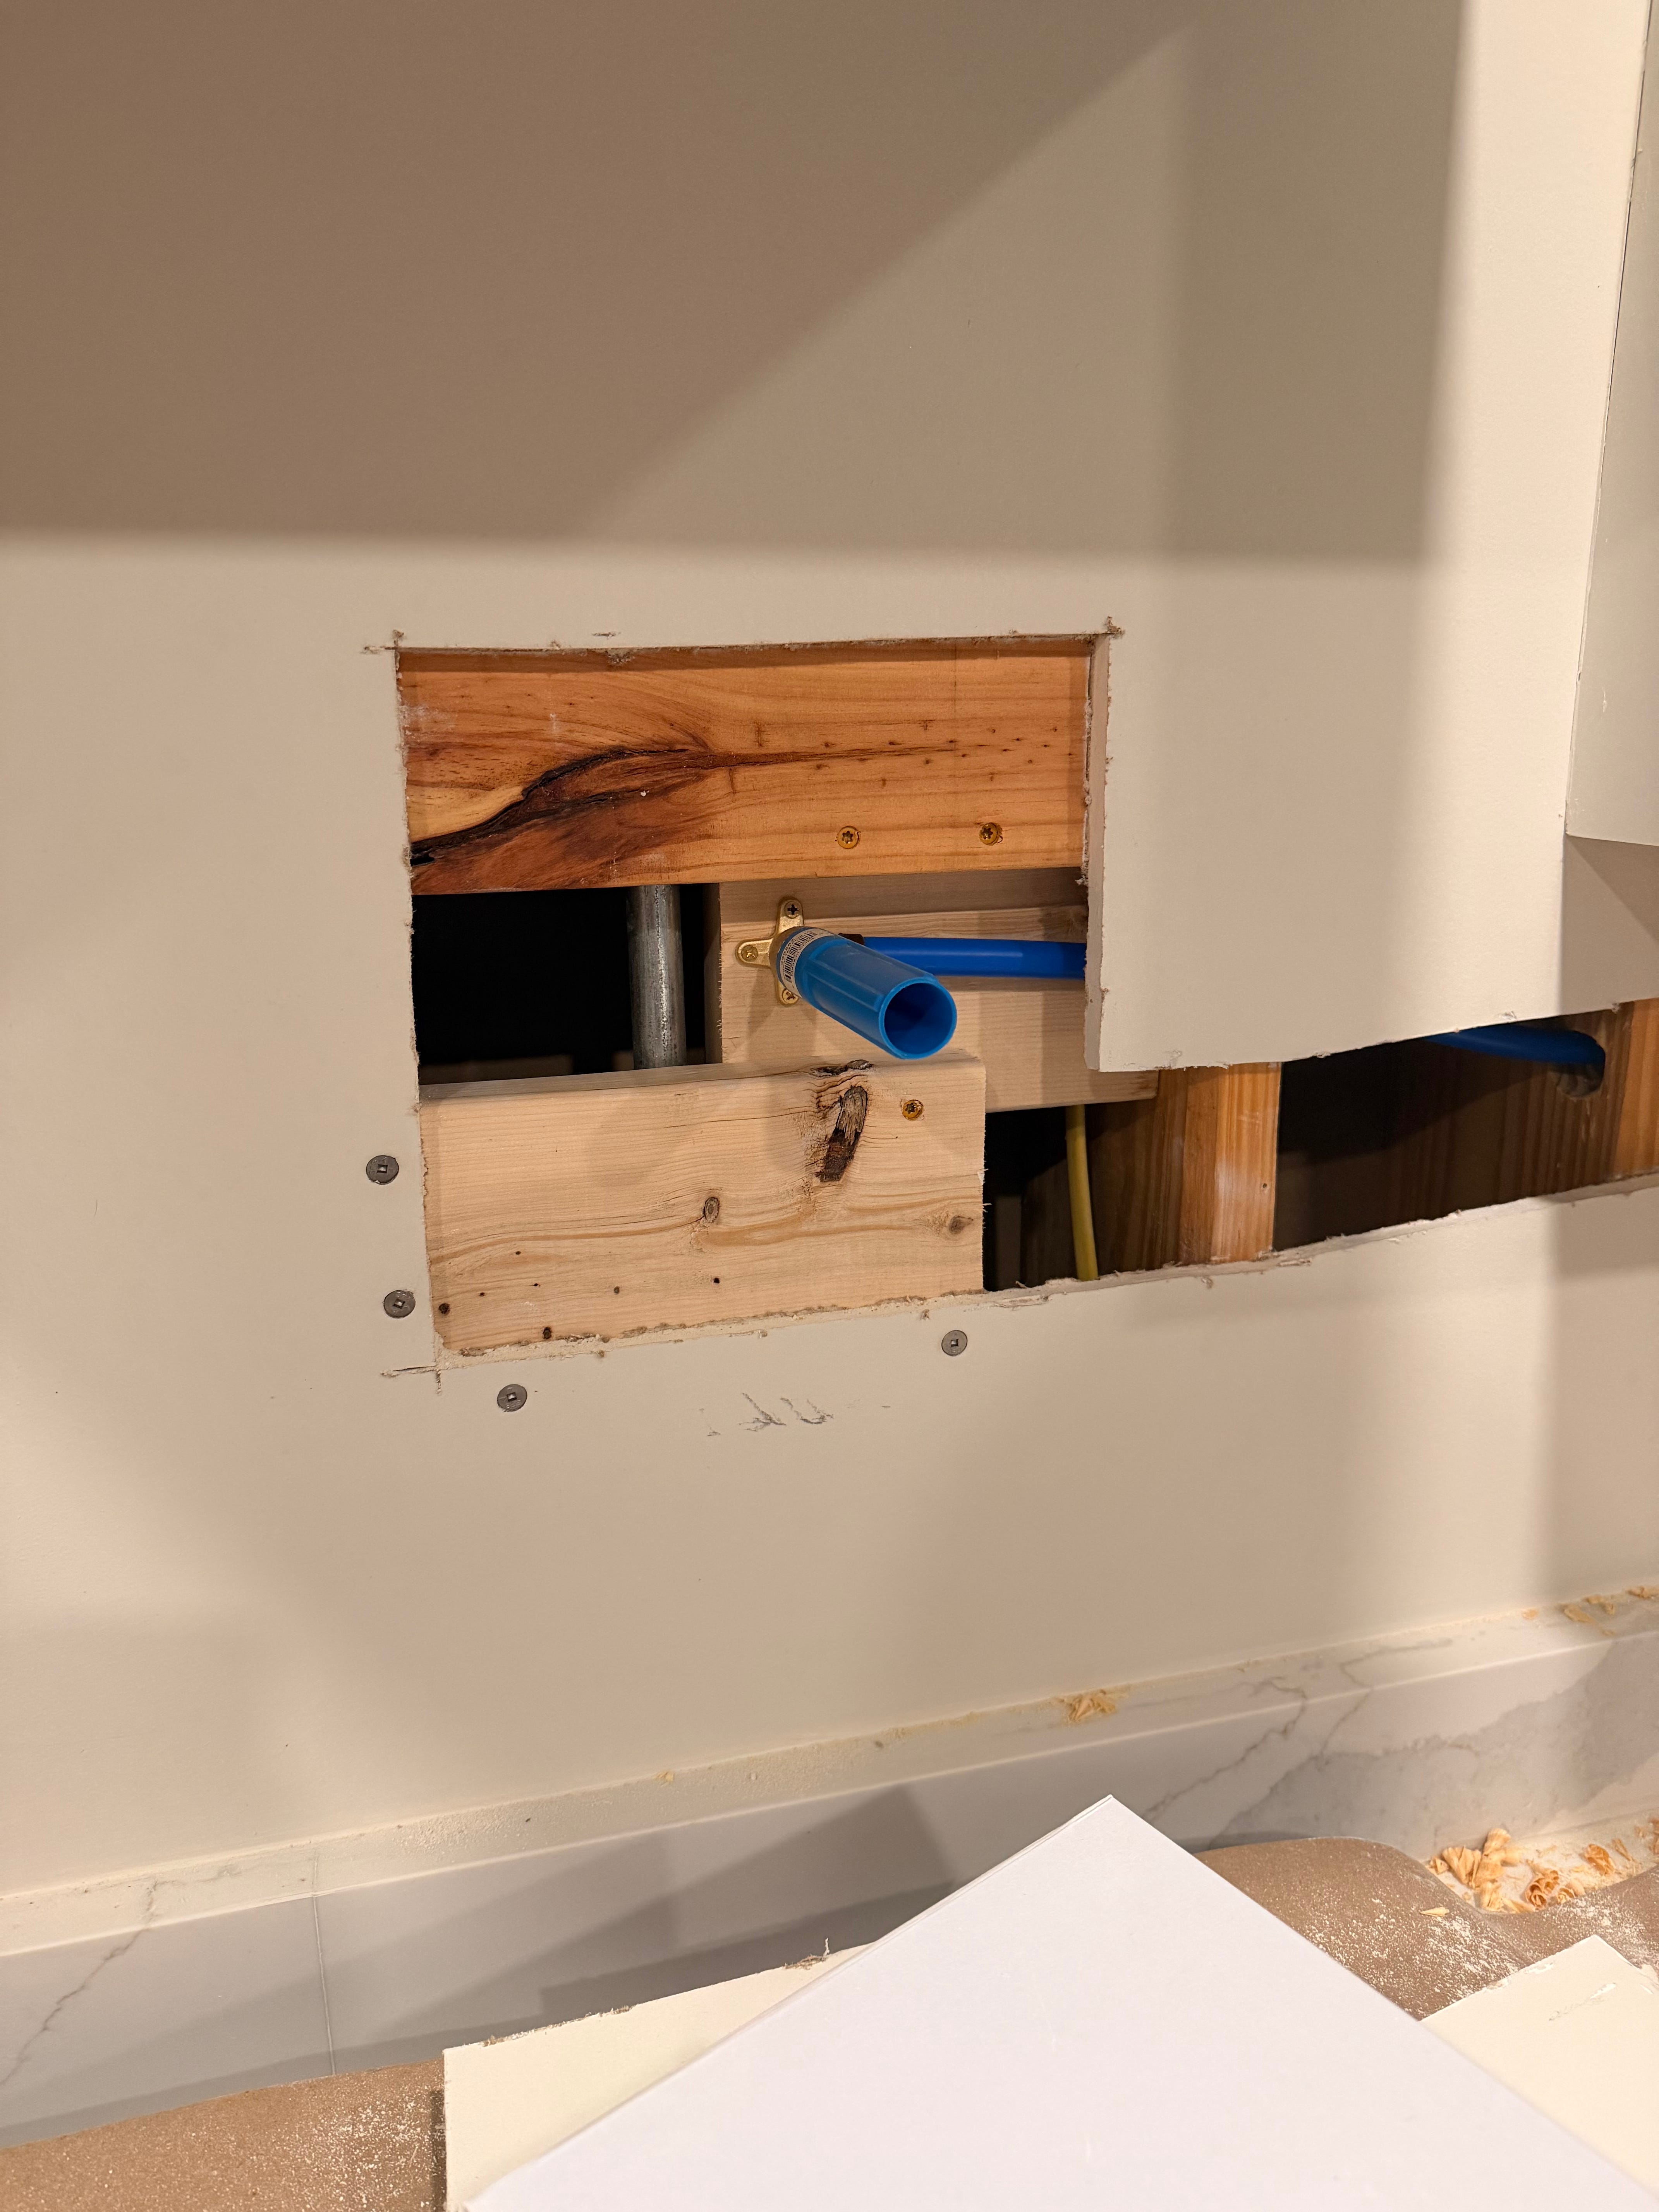
Step 3: Installing the Drop Ear Elbow
We needed something sturdy to anchor the pot filler connection.
So we:
- Installed a 2×6 horizontally between the studs
- Secured it firmly
- Mounted a 90-degree female drop ear elbow onto that 2×6
This gives the pot filler a solid anchor point.
When securing plumbing fittings, you want to use copper screws, not regular steel screws.
When two dissimilar metals (like brass and standard steel) come into contact and are exposed to moisture, a process called galvanic corrosion can occur. This is an electrochemical reaction where one metal essentially sacrifices itself and corrodes over time. In plumbing, that can weaken fasteners and cause long-term issues.
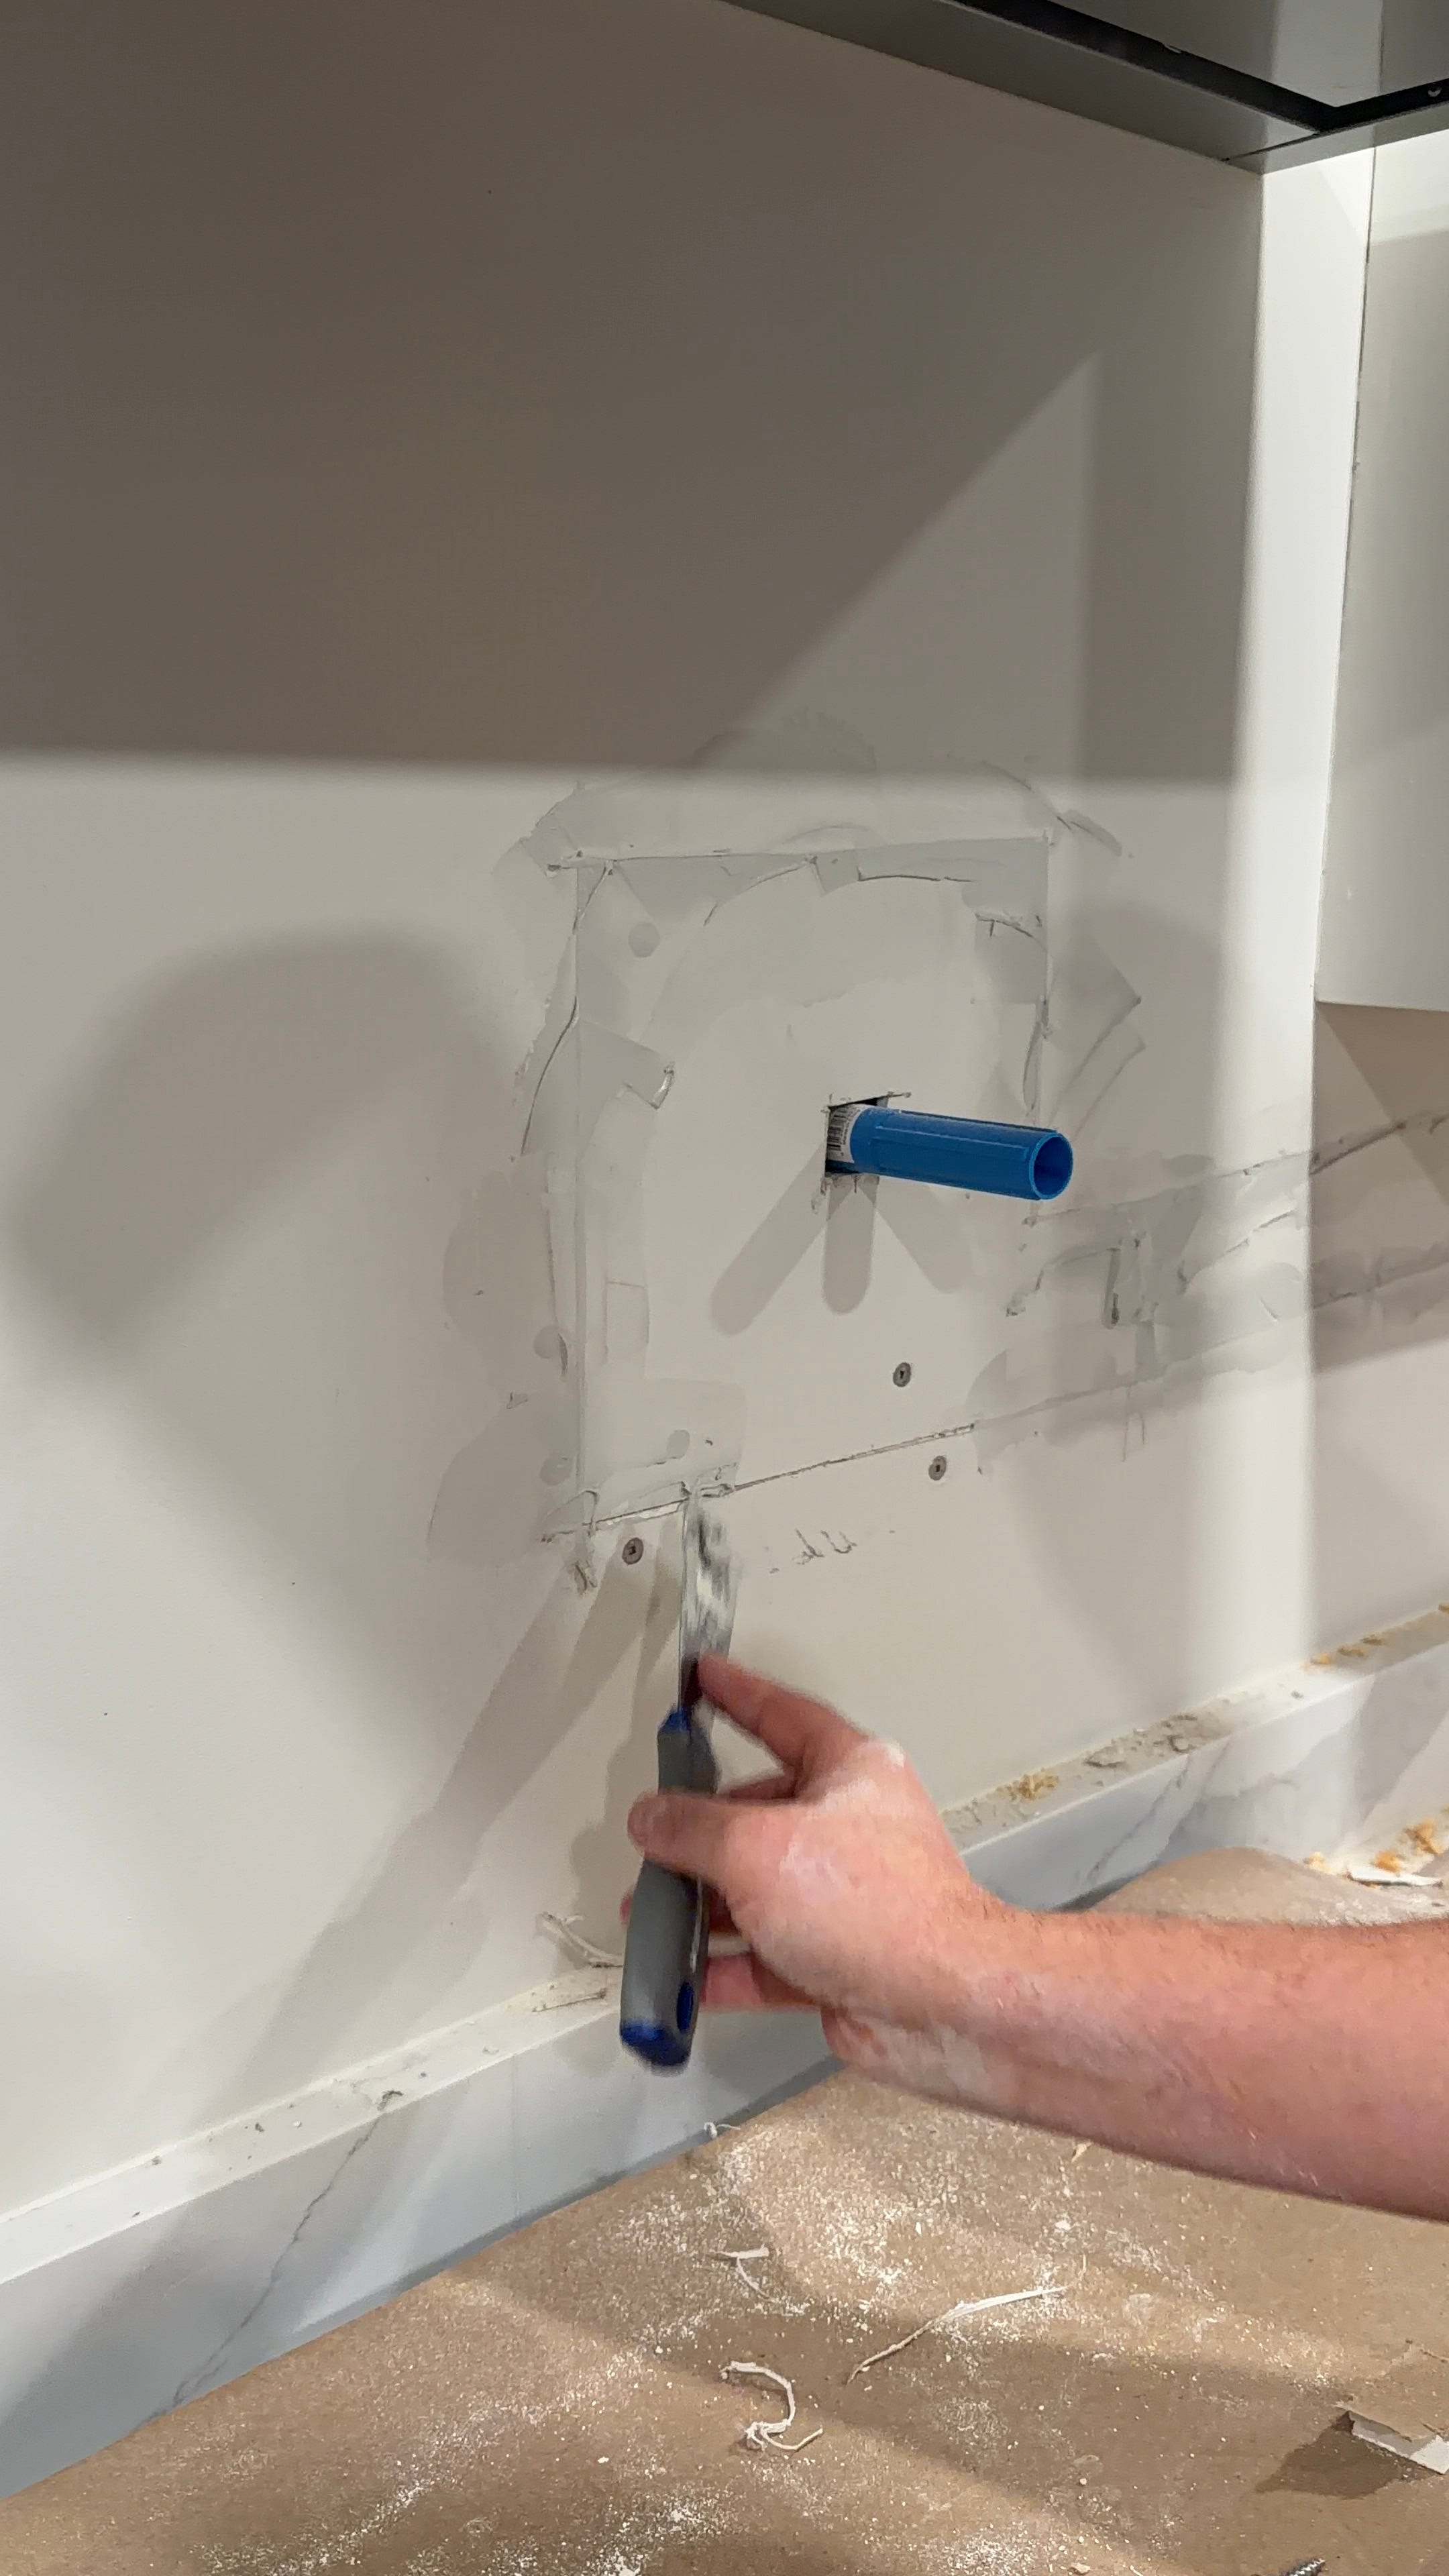
We added a temporary test plug while we finished the backsplash.
Step 4: Patching Drywall + Installing Tile
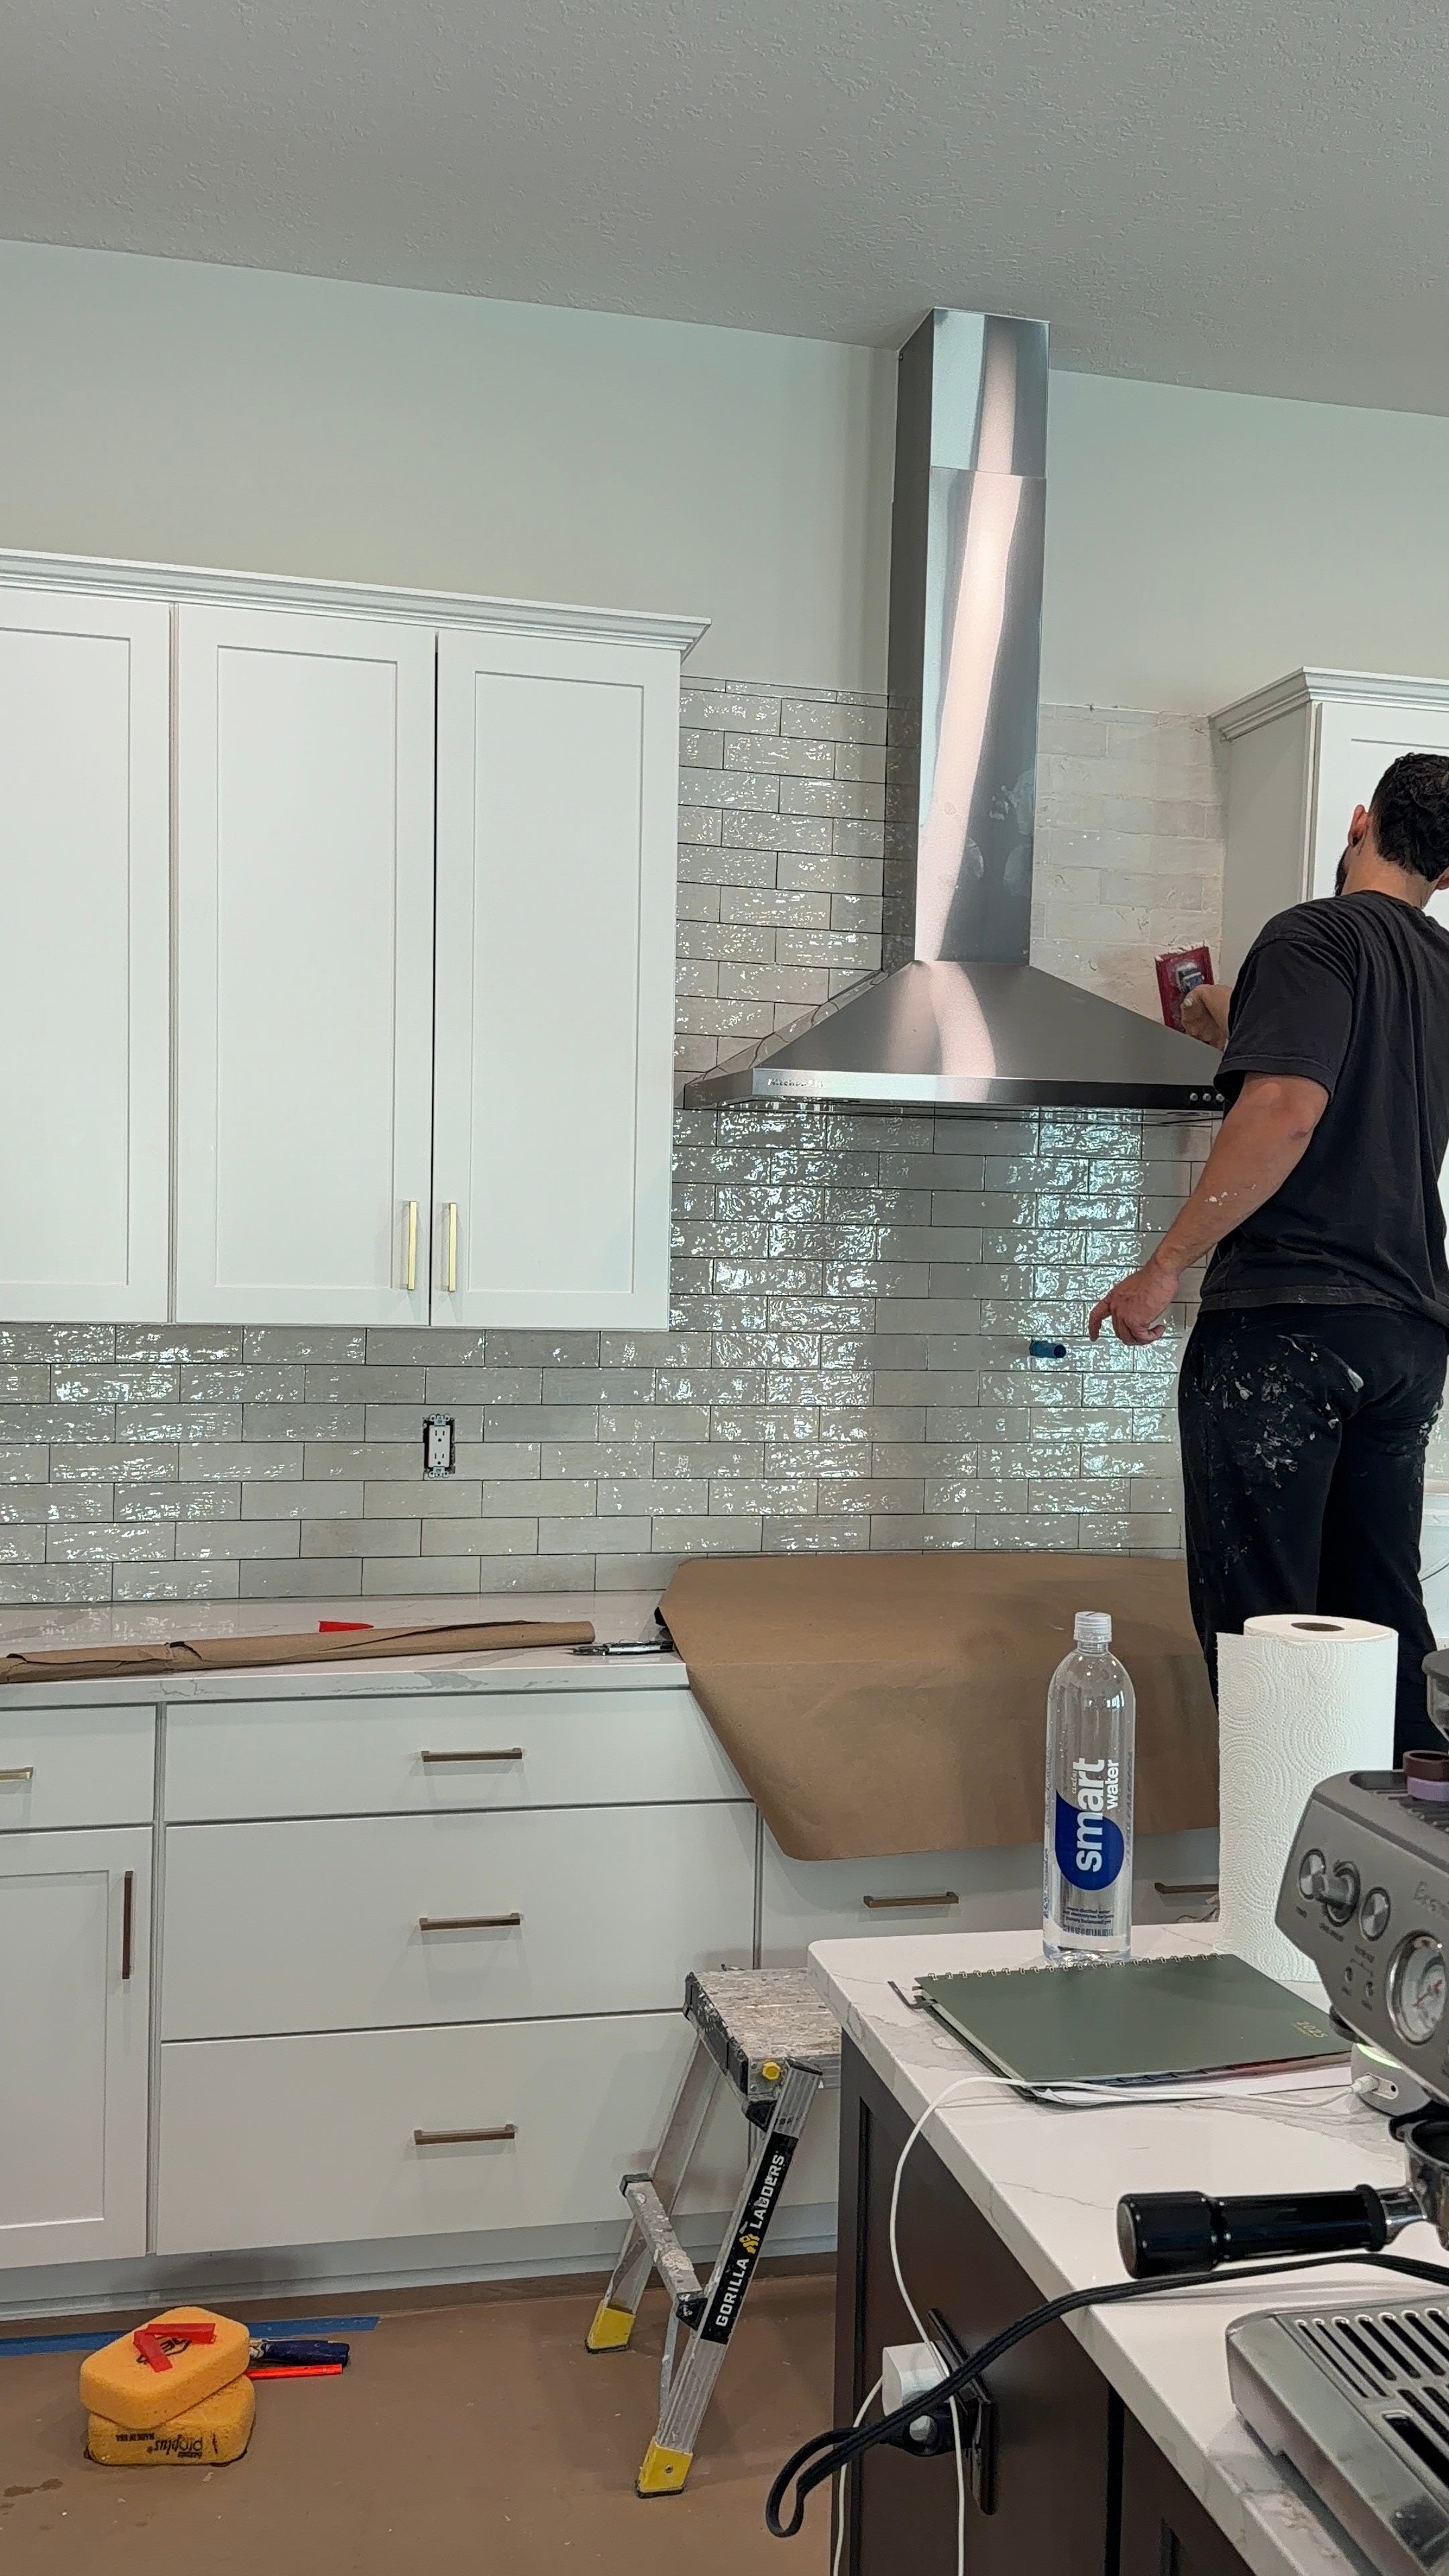
After plumbing was complete, we patched the drywall and moved on to the backsplash.
And this tile… I am obsessed.
We used the Villa Zellige Oat Ceramic Tile. Every single piece is slightly different in tone and texture. The variation gives it so much depth and character without being busy. It reflects light beautifully and adds so much dimension.
Pro Tip:
If you use a variegated tile like this, open all the boxes and mix the tiles together before installation. Otherwise you’ll end up with clusters of the same tones in one area.
For grout, we chose:
- Mapei grout in the color “Eggshell”
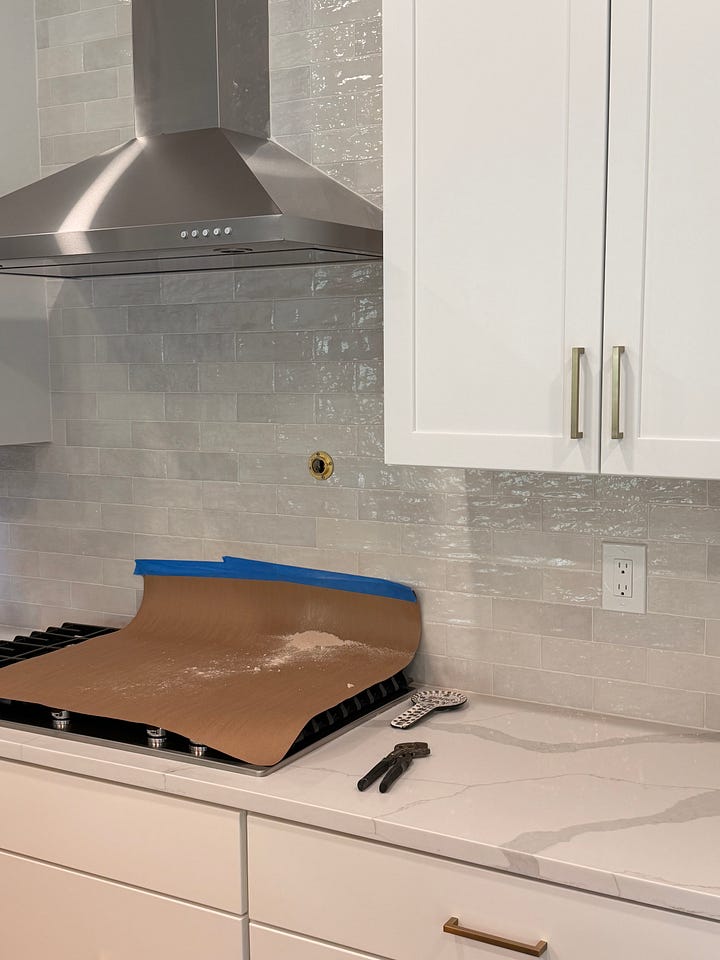
Step 5: Installing the Pot Filler
After tile was installed, it was finally time.
We did have to find the correct brass male fitting adapter — and it took a couple of tries because we needed one that was longer than standard. If you’re lucky, your pot filler may include one. Ours did not.
Once we had the correct adapter:
- We used a diamond-tipped core bit to drill through the tile
- Anchored the base plate to the drop ear elbow behind the wall
- Screwed the pot filler on and adjusted until perfectly level
And just like that…
It was done! Honestly did not take as long as I thought and we saved so much money doing some pieces by ourselves!
Adding the pot filler completely elevated my kitchen! It feels custom. It feels intentional. And it’s practical!
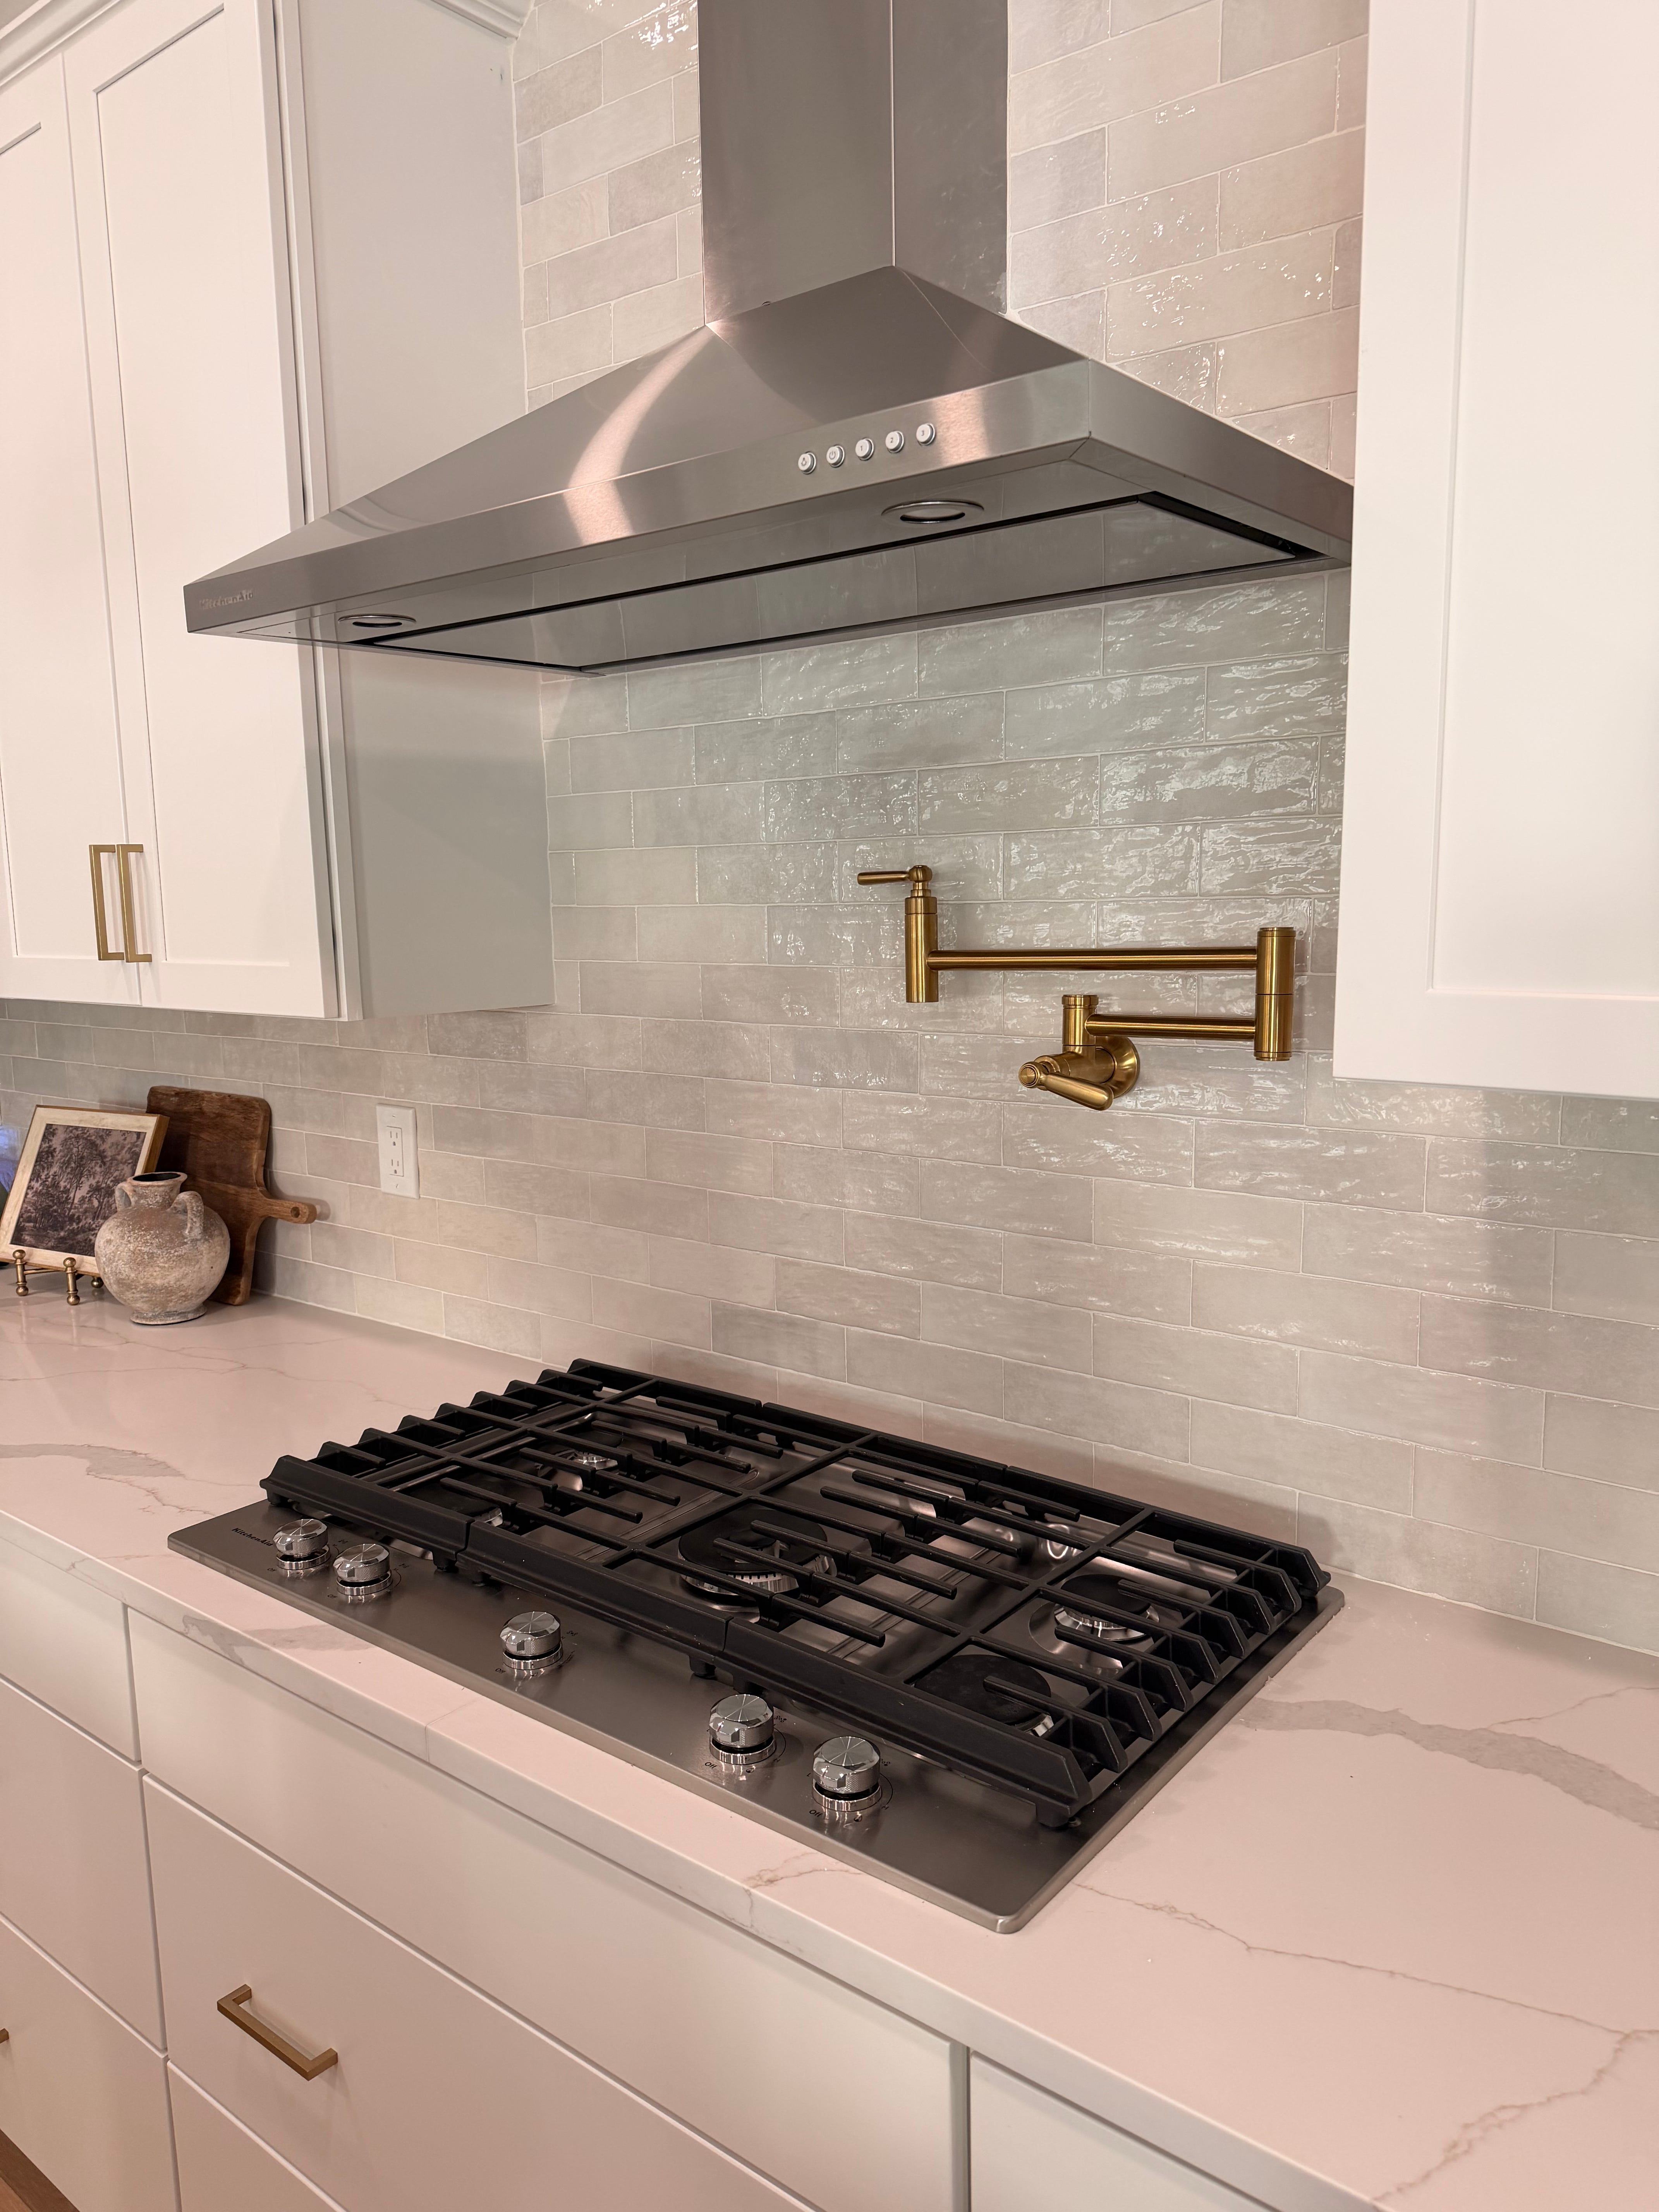
Now every time I turn that pot filler on, I just stand there and smile lol. I have wanted a pot filler for SO LONG.
It’s one of those upgrades that’s functional, but it also makes the whole kitchen feel more finished and custom.
I’m so glad we waited and did it the way we wanted. It finally feels like my kitchen.
Now it’s time to get my cookbook cover photo done in my new kitchen!!
I hope you learned something from this little DIY project — or at the very least just enjoyed seeing it come together 🙂