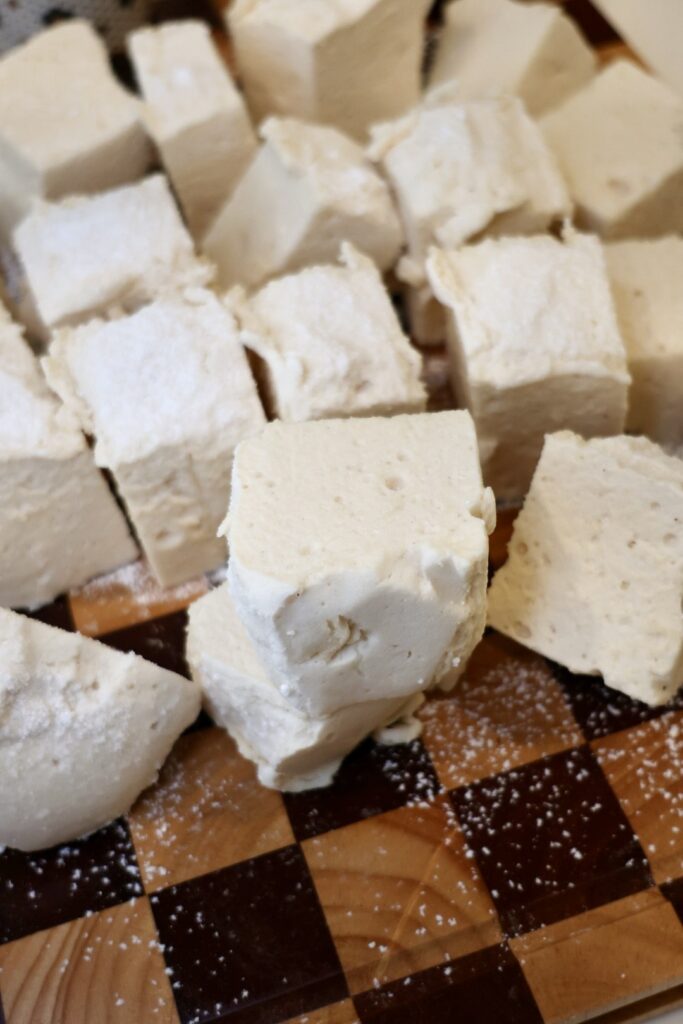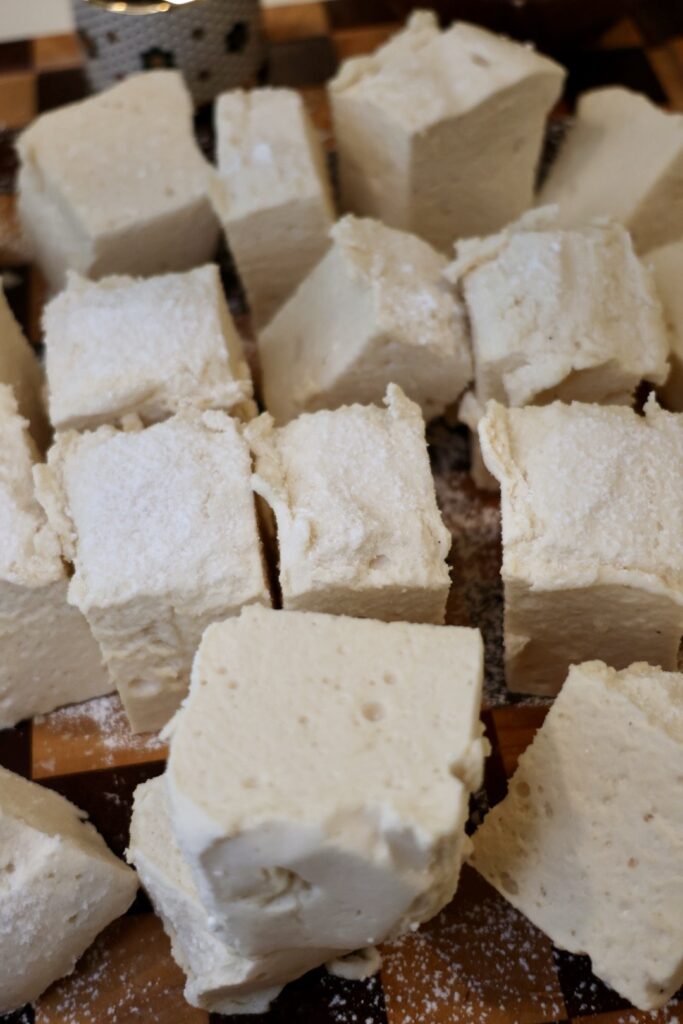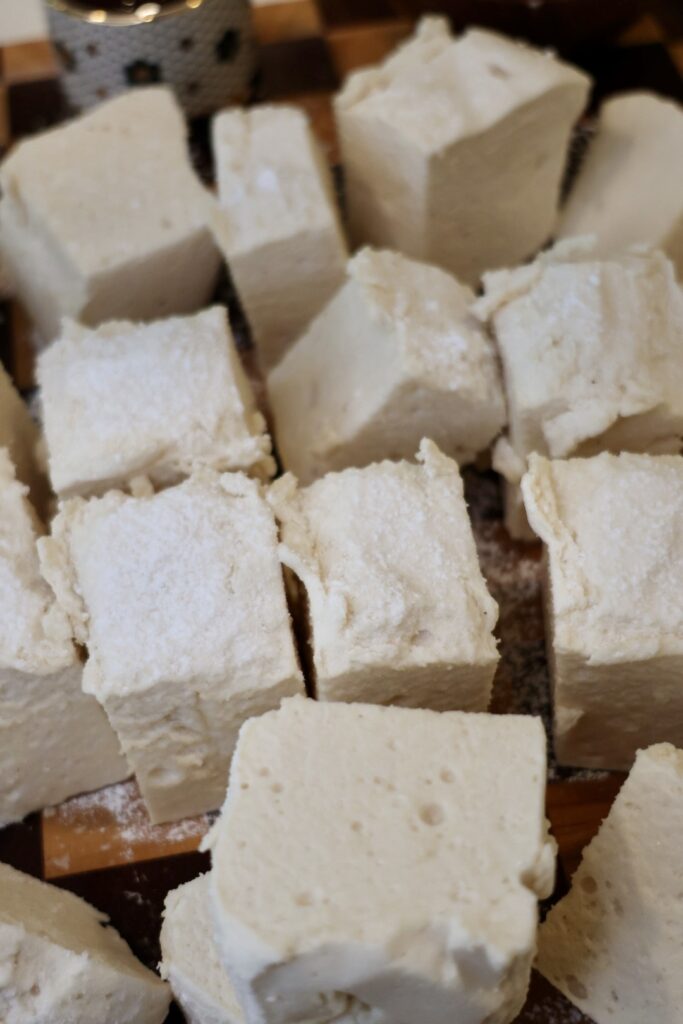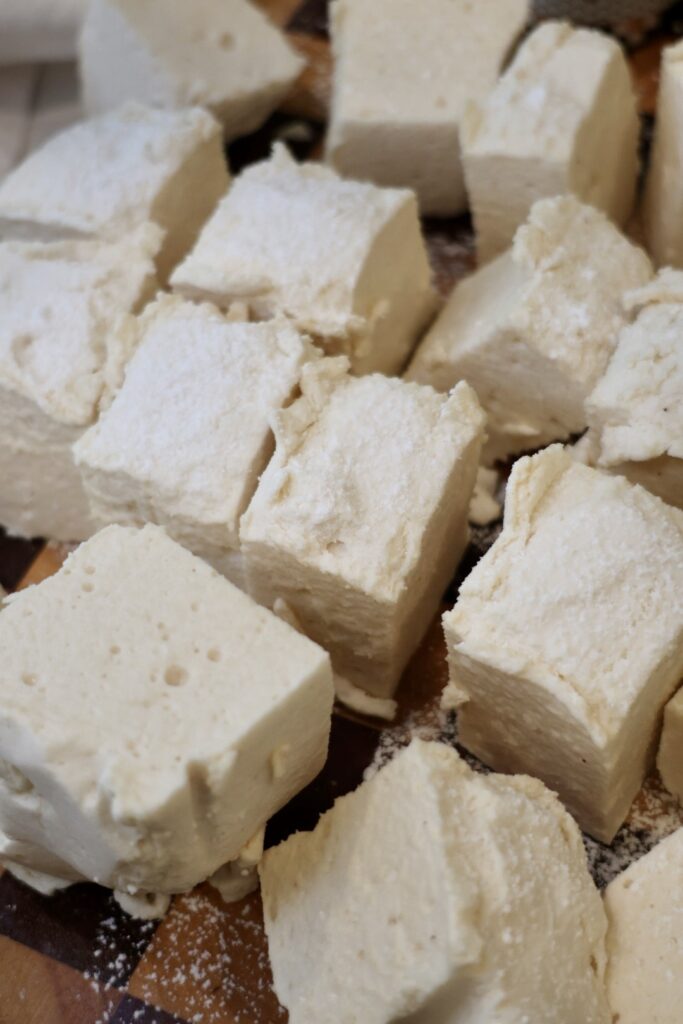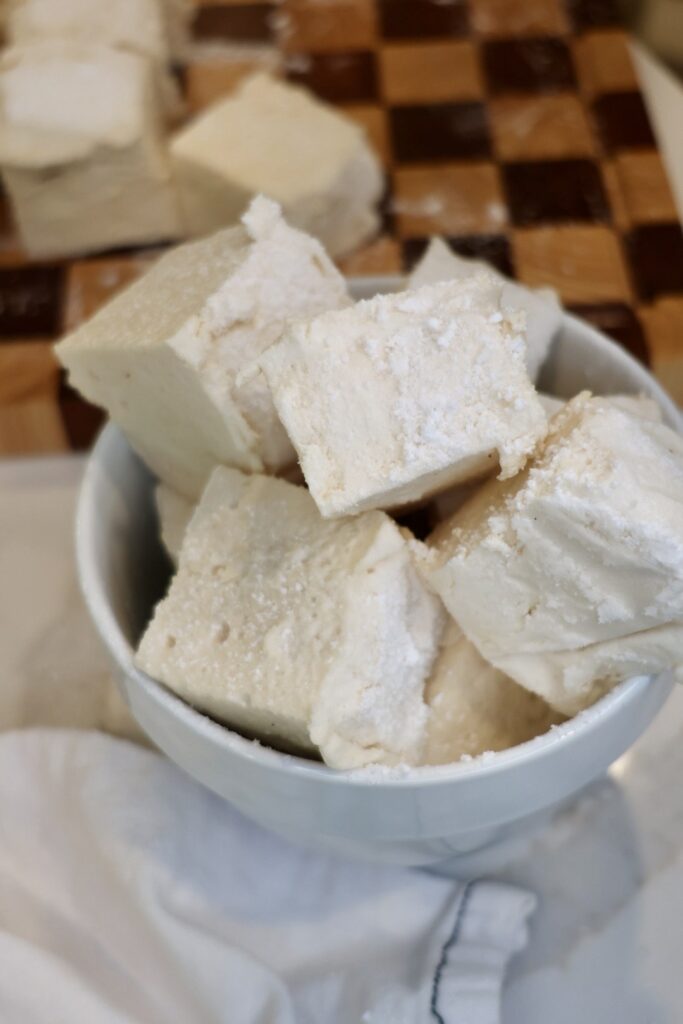


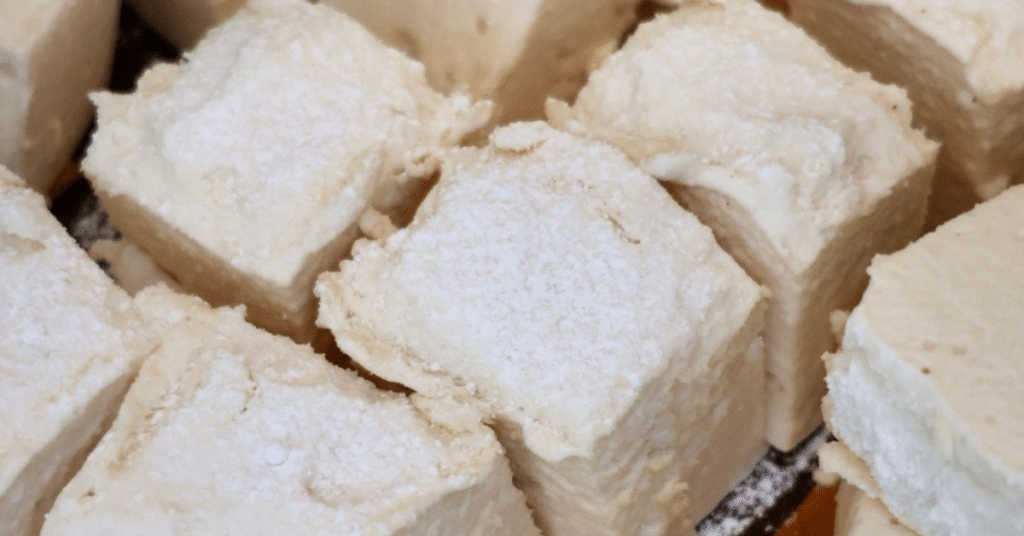
My Salted Vanilla Maple Marshmallows are perfectly fluffy, melt-in-your-mouth soft, and made with just a handful of simple ingredients! Naturally sweetened with pure maple syrup and flavored with vanilla bean and sea salt, these homemade marshmallows are completely free of refined sugar and taste better than any store-bought marshmallow!!
Whether you’re adding them to a warm cup of hot chocolate, melting them into your morning coffee, or enjoying them straight from the container, this homemade marshmallow recipe is one you’ll want to make over and over again!
BE SURE TO SAVE THIS RECIPE TO YOUR FAVORITE PINTEREST BOARD FOR LATER!
Why You’ll Love These Homemade Maple Marshmallows
Once you make homemade marshmallows, you’ll never want to go back to store-bought! I love knowing exactly what’s going into my food, and these are made with simple ingredients without corn syrup, refined sugar, or artificial flavors.
- Naturally sweetened: Pure maple syrup adds the perfect amount of sweetness without refined sugar or corn syrup.
- Light and fluffy: These marshmallows have that classic pillowy texture that practically melts in your mouth.
- Simple ingredients: You only need a handful of ingredients to make them from scratch.
- Delicious vanilla flavor: Vanilla bean paste and sea salt balance the sweetness of the maple syrup.
- Perfect for the holidays: Add them to hot chocolate, coffee, holiday dessert boards, or homemade treats.
- Easy to customize: Cut them into different sizes or use cookie cutters to make festive shapes.
What Makes These Marshmallows Different?
Traditional store-bought marshmallows are typically made with corn syrup, refined sugar, gelatin, and artificial flavorings. This homemade version skips the corn syrup and refined sugar entirely!
Instead, we’re using pure maple syrup as the sweetener, grass-fed gelatin to create that signature marshmallow texture, and vanilla bean paste for a rich vanilla flavor.
The addition of sea salt is what really makes these special. It balances the sweetness of the maple syrup and brings out the delicious vanilla flavor without making the marshmallows taste overly salty.
And the best part? You don’t need any complicated ingredients to make them!
Ingredients You’ll Need
Grass-Fed Gelatin Powder: This is what gives the marshmallows their structure and signature fluffy, bouncy texture. I recommend using unflavored grass-fed gelatin powder.
Cold Water: Used to bloom the gelatin and create the maple syrup mixture. Make sure the water is cold when blooming the gelatin so it hydrates properly.
Pure Maple Syrup: Naturally sweetens the marshmallows and adds a subtle maple flavor. Be sure to use 100% pure maple syrup rather than pancake syrup.
Sea Salt: Balances the sweetness and enhances the vanilla flavor. I used vanilla bean sea salt, but regular fine sea salt works too!
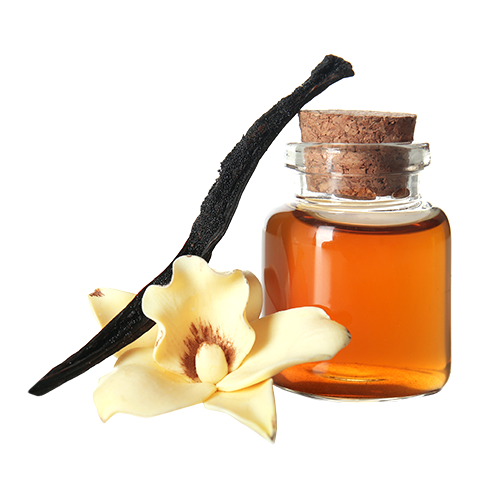
Vanilla Bean Paste: Adds a delicious, rich vanilla flavor with those beautiful little vanilla bean specks throughout. You can substitute pure vanilla extract if needed.
Powdered Monk Fruit Sweetener or Arrowroot Powder: Used to lightly dust the marshmallows and prevent them from sticking together. Arrowroot powder is a great option if you don’t want to add additional sweetness.
Equipment Needed
- Stand mixer with whisk attachment
- Small saucepan
- 8×8-inch (20×20 cm) or 9×9-inch (23×23 cm) baking dish (I prefer silicone)
- Parchment paper
- Measuring cups and spoons
- Silicone spatula
- Sharp knife or bench scraper
Measurements
- 3 tbsp grass-fed gelatin powder
- 1 cup water (COLD, divided)
- 1 cup maple syrup
- 1 tsp fine sea salt (I use this vanilla bean sea salt)
- 2 tsp vanilla bean paste
- Powdered monk fruit sweetener or arrowroot powder, for dusting
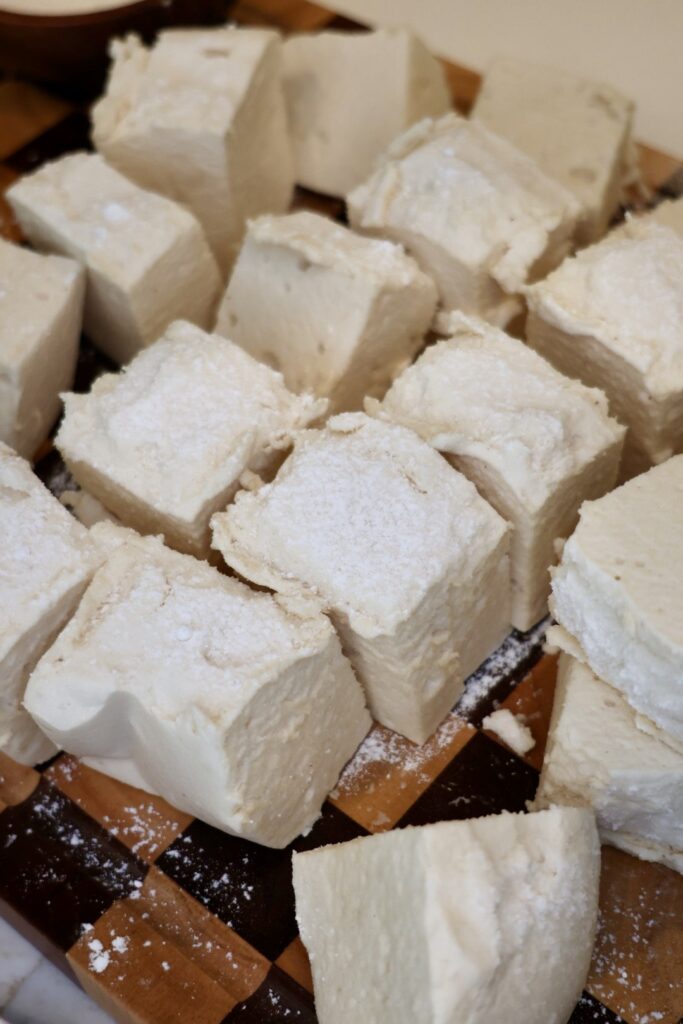
How to Make Salted Vanilla Maple Marshmallows
Making homemade marshmallows is much easier than you might think! The stand mixer does most of the work, and the hardest part is waiting for them to set.
- Line an 8×8-inch (20×20 cm) or 9×9-inch (23×23 cm) baking dish with parchment paper, or use a silicone baking dish for easier removal. Lightly dust the bottom with powdered monk fruit sweetener or arrowroot powder. Set aside.
- In the bowl of a stand mixer, combine ½ cup of cold water with the gelatin powder. Stir gently and allow the gelatin to bloom for 10 minutes.
- Meanwhile, combine the remaining ½ cup of water, maple syrup, and sea salt in a small saucepan over medium heat. Bring to a gentle boil, then remove from heat. For more consistent results, use a candy thermometer and heat to approximately 240°F (116°C).
- Using the whisk attachment, turn the mixer to medium speed. Slowly and carefully pour the hot maple syrup mixture into the bloomed gelatin while the mixer is running.
- Gradually increase the mixer speed every couple of minutes until you reach high speed. Continue whipping for approximately 12 minutes, or until the mixture becomes thick, fluffy, and significantly increases in volume.
- Add the vanilla bean paste and continue whipping on high speed for another 2 minutes, until fully incorporated.
- Immediately transfer the marshmallow mixture to your prepared baking dish and spread evenly. Lightly dust the top with additional powdered monk fruit sweetener or arrowroot powder.
- Allow the marshmallows to set for at least 3 hours, or until firm enough to slice. Refrigerate if desired to help speed up the setting process.
- Once set, remove from the baking dish and slice into your desired size. Lightly dust the cut edges if needed to prevent sticking. Enjoy!
Tips for Making the Best Homemade Marshmallows
Use a stand mixer. While you can technically use a hand mixer, a stand mixer makes this recipe significantly easier since the marshmallows require approximately 14 minutes of whipping.
Don’t skip blooming the gelatin. Allowing the gelatin to hydrate in cold water helps it dissolve evenly when combined with the hot maple syrup mixture.
Increase the mixer speed gradually. The maple syrup mixture will be hot, so start on medium speed and slowly work your way up to high speed to prevent splattering.
Whip until thick and fluffy. The mixture should noticeably increase in volume and become thick and glossy. If it still looks thin or runny, it may need additional whipping time.
Work quickly when transferring. Once the marshmallow mixture is whipped, it will begin setting as it cools. Have your baking dish prepared ahead of time.
Use arrowroot powder to prevent sticking. Homemade marshmallows can be sticky! Lightly dusting the baking dish, tops, and cut edges makes them much easier to handle.
For more consistent results, use a candy thermometer. Maple syrup mixtures can vary depending on how long they boil. Heating the syrup mixture to approximately 240°F (116°C), the soft-ball stage, provides a more reliable marshmallow texture than simply bringing it to a gentle boil. Watch carefully, as the mixture will be extremely hot.
Delicious Ways to Enjoy Homemade Maple Marshmallows
These marshmallows are delicious straight from the container, but there are so many fun ways to enjoy them!
Hot Chocolate: Add a few marshmallows to a warm mug of homemade hot chocolate and let them slowly melt into the chocolate.
Morning Coffee: I love adding these to my coffee for a little extra sweetness and vanilla flavor.
Homemade Rice Krispie Treats: Use these marshmallows to make homemade crispy rice treats without traditional store-bought marshmallows. Keep in mind that homemade maple marshmallows may melt and set differently than conventional marshmallows.
S’mores: Pair them with your favorite chocolate and graham crackers for a homemade twist on classic s’mores.
Holiday Dessert Boards: Add these to a holiday hot chocolate board with chocolate, cinnamon sticks, and other festive toppings.
Enjoy Them Plain: They’re perfectly sweet, fluffy, and delicious all on their own!
Substitutions and Variations
Vanilla Extract: If you don’t have vanilla bean paste, substitute 2 teaspoons of pure vanilla extract. The flavor will still be delicious!
Regular Sea Salt: Vanilla bean sea salt is a fun addition, but regular fine sea salt works perfectly.
Arrowroot Powder: I love using arrowroot powder for dusting because it prevents sticking without adding extra sweetness.
Powdered Monk Fruit: This is another great option for dusting if you prefer a sweeter coating. Look for a finely powdered version.
Cinnamon Maple Marshmallows: Add a little ground cinnamon with the vanilla bean paste for a warm, spiced variation.
Chocolate-Dipped Marshmallows: Once the marshmallows have set, dip them halfway into melted dark chocolate and allow the chocolate to harden.
How to Store Homemade Marshmallows
Store your homemade maple marshmallows in an airtight container in the refrigerator for optimal freshness.
They can also be kept at room temperature in an airtight container for approximately 2–3 days, provided they’re stored in a cool, dry environment.
To prevent sticking, lightly dust the marshmallows with arrowroot powder before storing, especially if you’re stacking them.
Refrigeration may make the marshmallows slightly firmer, so you can allow them to sit at room temperature briefly before enjoying.
For best texture, enjoy within several days. Always discard marshmallows that develop an unusual smell, appearance, or signs of spoilage.
Check Me Out On Social Media!
I post all of my recipes on social media as well and you can stay up-to-date on what I am up to! Also, I love seeing people try my recipes! When make these, snap a picture and share it to your socials. Tag @cookingkatielady and #cookingkatielady so I can admire your masterpiece and share with others!

Truvani Organic Protein, Collagen and The Only Bars
Use the code KATIE10 for 10% off!

Branch Basics Non-Toxic Cleaning Products
Code COOKINGKATIELADY for 15% of all starter kits!

Thrive Market
Get $60 FREE gift + 30% off your first order

Kettle and Fire
Code COOKINGKATIELADY for 20% off Kettle andFire organic bone broths

Simply Delish Sugar Free Pudding and Jel Mixes
Use the code KATIE10 for 10% off!

Royo Bread Low Carb Bread, Bagels, and Buns
Use the code COOKINGKATIELADY for 10% off!

Trifecta
Use the code CKL50 for 50% off your first Trifecta meal prep order!
Frequently Asked Questions
Are homemade maple marshmallows healthy?
These marshmallows are a great alternative if you’re looking for a homemade treat made with simple ingredients and without refined sugar or corn syrup. They do still contain natural sugars from maple syrup, so they’re best enjoyed as a sweet treat.
Why aren’t my homemade marshmallows fluffy?
If your marshmallows aren’t fluffy, the mixture may not have been whipped long enough, or the maple syrup mixture may not have reached the proper temperature. Make sure the gelatin blooms fully and whip the mixture until it becomes thick, glossy, and significantly increases in volume.
How long do homemade marshmallows take to set?
These marshmallows typically need at least 3 hours to set. The exact time can vary depending on the temperature of your kitchen, the thickness of the marshmallows, and the gelatin used.
Can I use vanilla extract instead of vanilla bean paste?
Absolutely! You can substitute pure vanilla extract for the vanilla bean paste in equal amounts. Vanilla bean paste adds beautiful specks and a rich vanilla flavor, but extract works well too.
Can I make these marshmallows without a stand mixer?
A powerful hand mixer may work, but a stand mixer is recommended because the mixture needs to be whipped for approximately 14 minutes. A stand mixer also makes it easier to safely incorporate the hot maple syrup mixture.
Can I use these marshmallows for Rice Krispie treats?
Yes! These homemade marshmallows can be used to experiment with homemade crispy rice treats. However, because they’re made with maple syrup rather than traditional corn syrup and sugar, the melting consistency and final texture may differ from classic Rice Krispie treats.
Are these marshmallows gluten-free and dairy-free?
Yes! The main ingredients are naturally gluten-free and dairy-free. Be sure to check the labels of your gelatin, vanilla bean paste, and dusting sweetener for any additional ingredients or potential cross-contact.
Can you toast homemade maple marshmallows?
You can try lightly toasting them, but maple syrup-based marshmallows may soften or melt more quickly than conventional marshmallows. Use gentle heat and watch them carefully.
omemade maple marshmallows, salted vanilla maple marshmallows, refined sugar free marshmallows, healthy homemade marshmallows, marshmallows without corn syrup, maple syrup marshmallows, homemade marshmallow recipe, grass fed gelatin marshmallows, vanilla bean marshmallows, gluten free marshmallows, dairy free marshmallows, naturally sweetened marshmallows, homemade hot chocolate marshmallows, easy marshmallow recipe, holiday marshmallow recipe
Salted Vanilla Maple Marshmallows (Refined Sugar Free!)
Description
Ingredients

Instructions
-
Line an 8×8-inch (20×20 cm) or 9×9-inch (23×23 cm) baking dish with parchment paper, or use a silicone baking dish for easier removal. Lightly dust the bottom with powdered monk fruit sweetener or arrowroot powder. Set aside.
-
In the bowl of a stand mixer, combine ½ cup of cold water with the gelatin powder. Stir gently and allow the gelatin to bloom for 10 minutes.
-
Meanwhile, combine the remaining ½ cup of water, maple syrup, and sea salt in a small saucepan over medium heat. Bring to a gentle boil, then remove from heat. For more consistent results, use a candy thermometer and heat to approximately 240°F (116°C).
-
Using the whisk attachment, turn the mixer to medium speed. Slowly and carefully pour the hot maple syrup mixture into the bloomed gelatin while the mixer is running.
-
Gradually increase the mixer speed every couple of minutes until you reach high speed. Continue whipping for approximately 12 minutes, or until the mixture becomes thick, fluffy, and significantly increases in volume.
-
Add the vanilla bean paste and continue whipping on high speed for another 2 minutes, until fully incorporated.
-
Immediately transfer the marshmallow mixture to your prepared baking dish and spread evenly. Lightly dust the top with additional powdered monk fruit sweetener or arrowroot powder.
-
Allow the marshmallows to set for at least 3 hours, or until firm enough to slice. Refrigerate if desired to help speed up the setting process.
-
Once set, remove from the baking dish and slice into your desired size. Lightly dust the cut edges if needed to prevent sticking. Enjoy!
Equipment
-
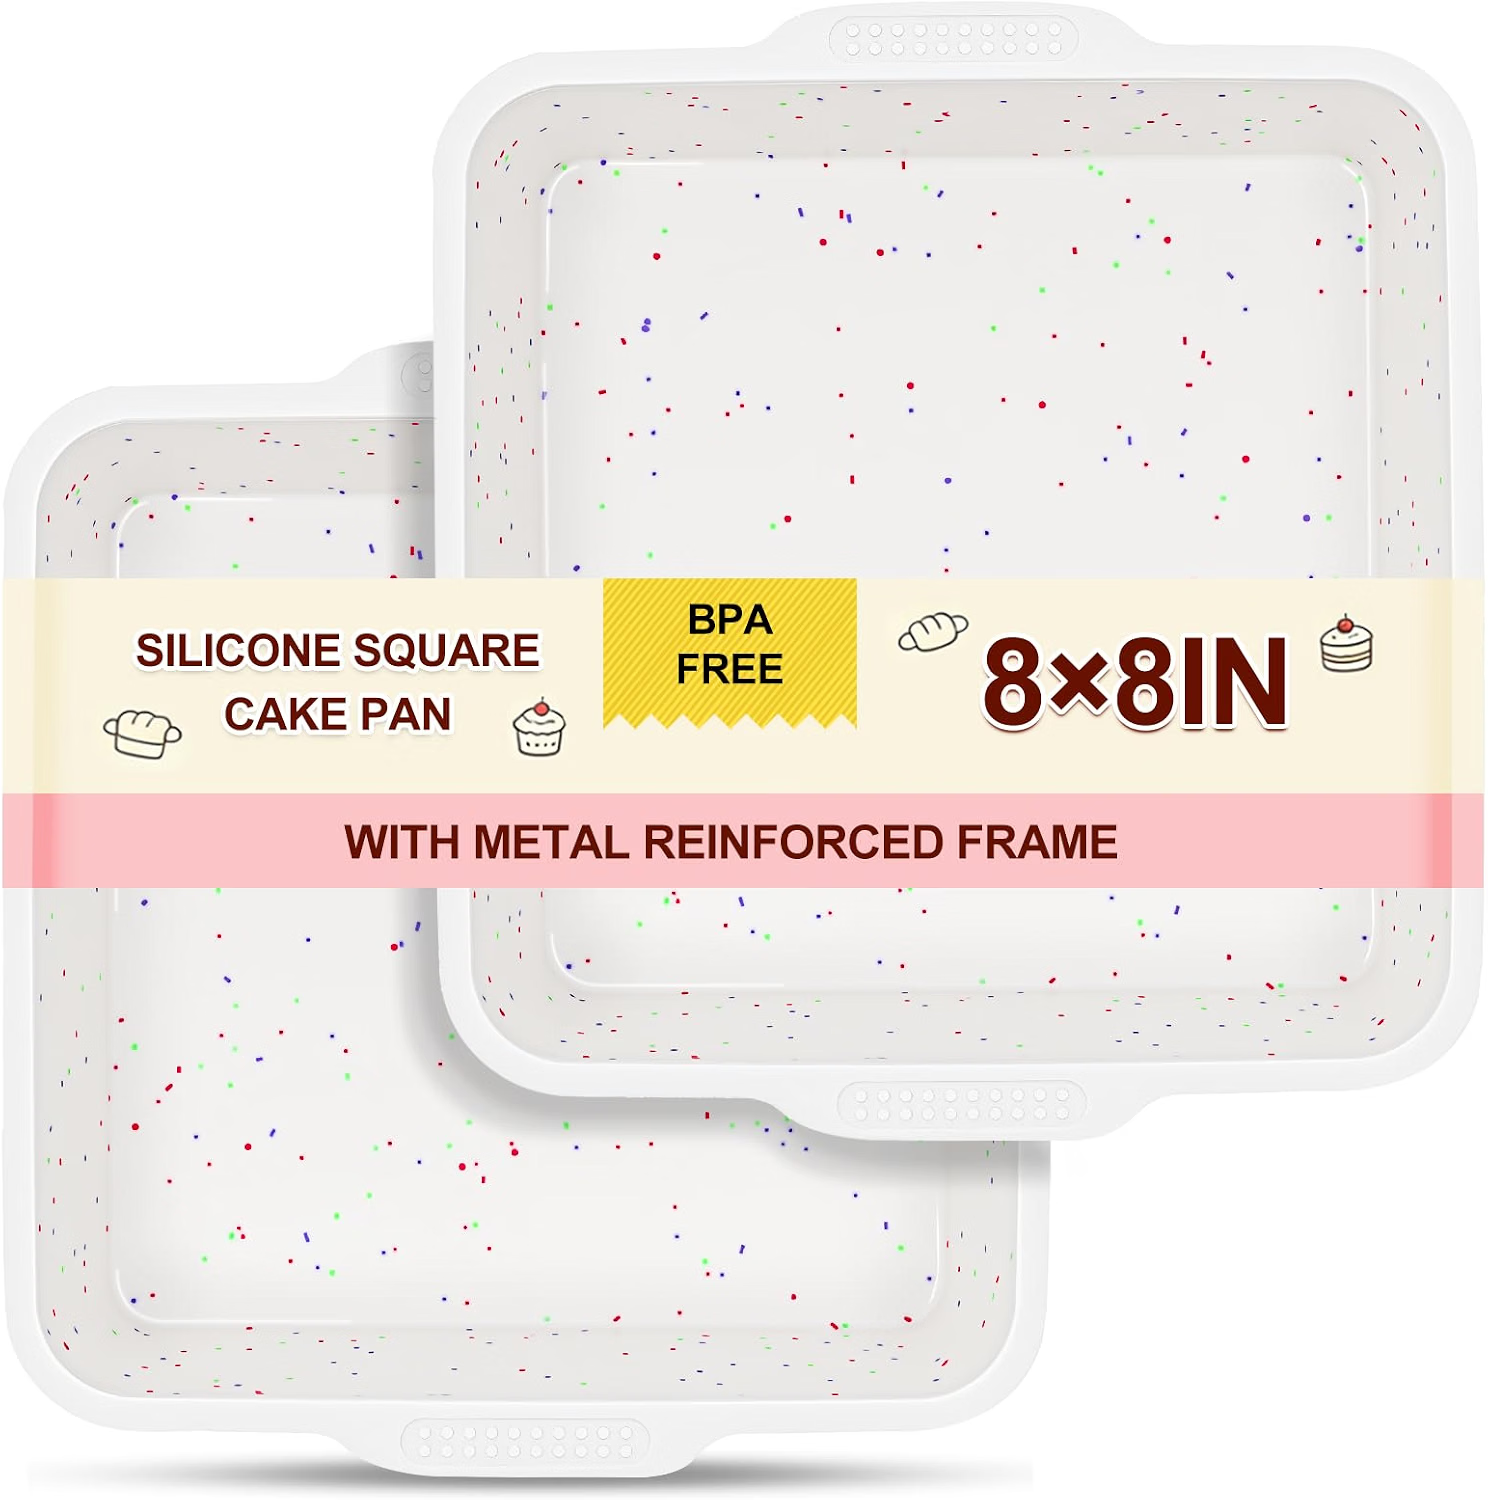 8×8 Silicone Baking DIsh
Note
Did you make this recipe?
The next time you make it, snap a picture, and share it to your socials. Tag @cookingkatielady and #cookingkatielady so I can admire your masterpiece and share with others!:)
Please note that my nutrition label is approximate and can have slight rounding. Macros can very depending on brands you use.