
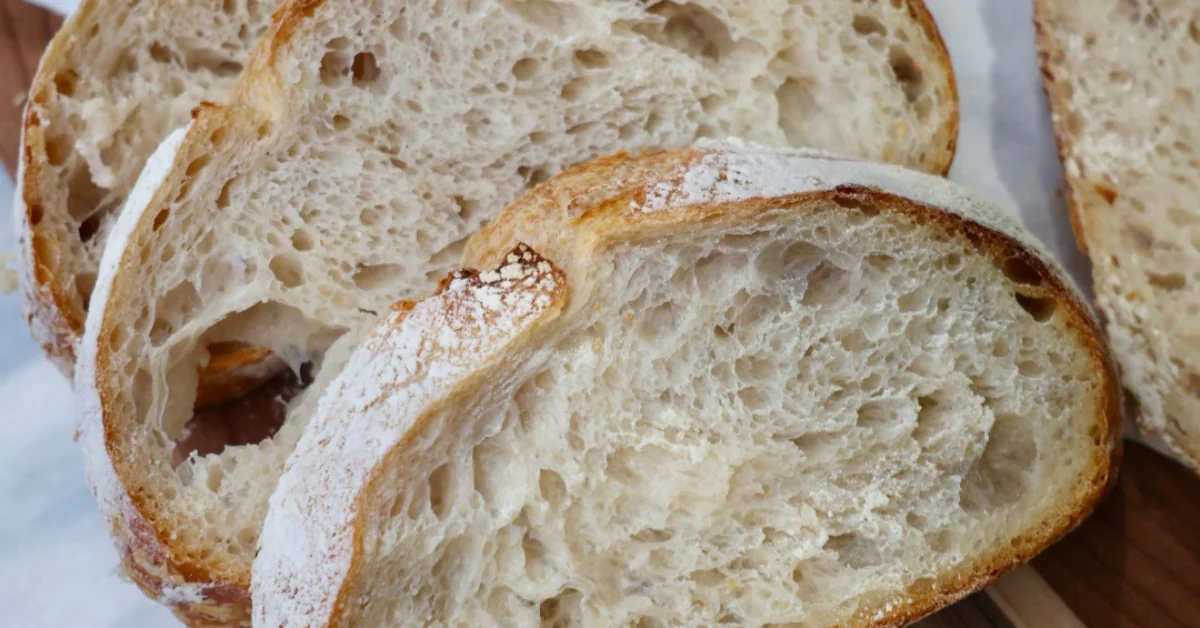

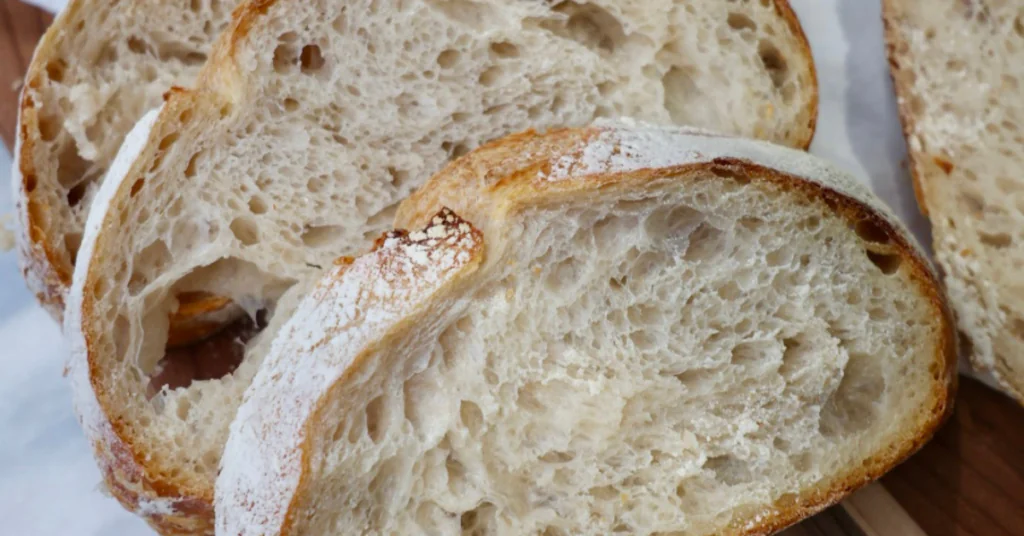
Learn to bake delicious, organic sourdough bread with my easy-to-follow recipe. Experience the joy of making Sourdough Bread from scratch—it’s life-changing! Homemade sourdough tastes SO much better plus is so much better for you. If you are new to sourdough, consider purchasing my sourdough starter here. You can start baking bread in just four days with it! This is an excellent choice for beginners & a well-established starter.
There are no nonsense ingredients or preservatives too. Most store bought sourdough bread is made with inflammatory oils, preservatives, and refined sugars. Sourdough heals your gut and the store bought crap does the exact opposite. Check the ingredients the next time you are at the grocery store and you will be shocked! There should only be flour, water, and salt listed on there.
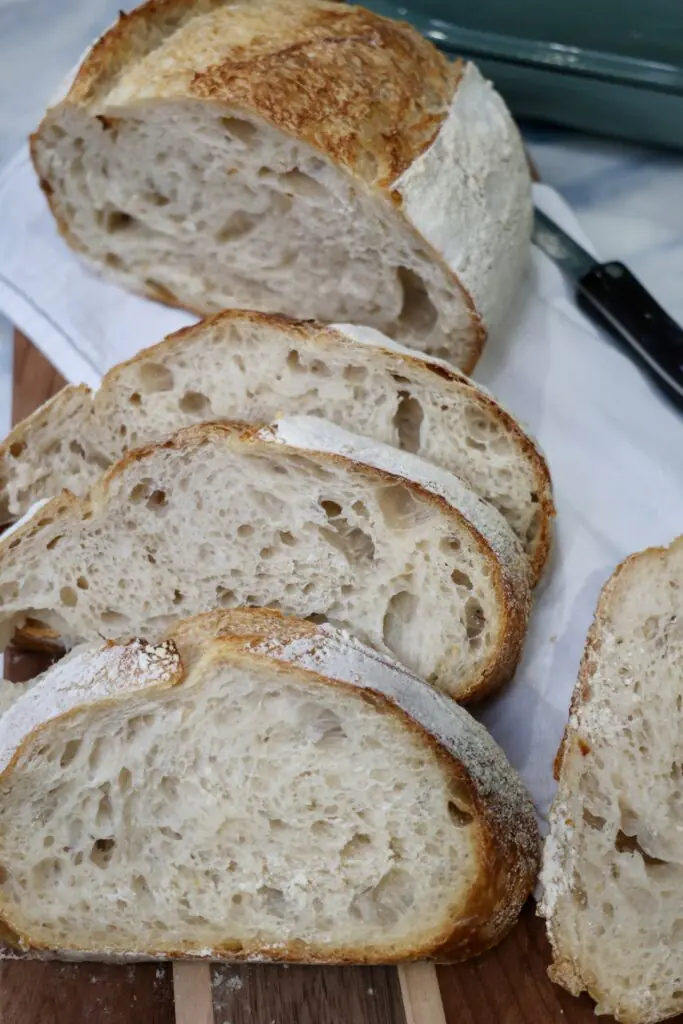
Whatever you do, don’t be intimidated by this recipe! I have broken it down step by step and am always available to answer any of your questions! Just shoot me a DM on Instagram or drop a question in my Substack subscriber chat. It is SO easy to make and you just need to be patient. I have detailed step-by-step photos on how to make this easy sourdough bread recipe as well below.
BE SURE TO SAVE THIS RECIPE TO YOUR FAVORITE PINTEREST BOARD FOR LATER!
Something to keep in mind about sourdough, is that there is not “one size fits all”. Depending on where you live, you may need to adjust the amount of hydration in your dough. Your bulk fermentation will also vary depending on where you live & the temperature of your home. Don’t worry though! I share all the tips here:)
Why You Should Be Eating Sourdough
- Easy to Digest – The bacteria-yeast composition will start to breakdown the starches found in the grains before it even reaches your stomach!! Most of the work is done before you consume, making it much easier on your gut.
- Lower Glycemic Index – Sourdough is fermented in a way that depletes bad starches within it. Your blood sugar won’t rise drastically upon eating it.
- Better for Gluten Sensitivity – The longer fermentation time for sourdough bread means that much of the protein gluten is broken down into amino acids before you consume it.
- Provides Healthy Bacteria – Sourdough bread is fermented in a way that fosters more beneficial bacteria in the bread and in your body when you eat it.
- Made with 3 Simple Ingredients – Unlike store bought breads, real sourdough contains only 3 clean ingredients. Flour, water, and salt. And when you make it from scratch there are no preservatives or nasty oils!!!
- Macros & Nutrients – Sourdough is packed with nutrients, healthy carbs, protein, fiber, iron and vitamins like potassium, folate & vitamin B. It is not crazy high in calories either.
- Sustainable – Another reason why I love making my homemade sourdough from scratch is because it is better for the environment/more sustainable! I try to reduce my paper & plastic use as much as possible. I store my bread directly in my Dutch oven with the lid on my counter!
You Can Now Purchase My Personal Sourdough Starter
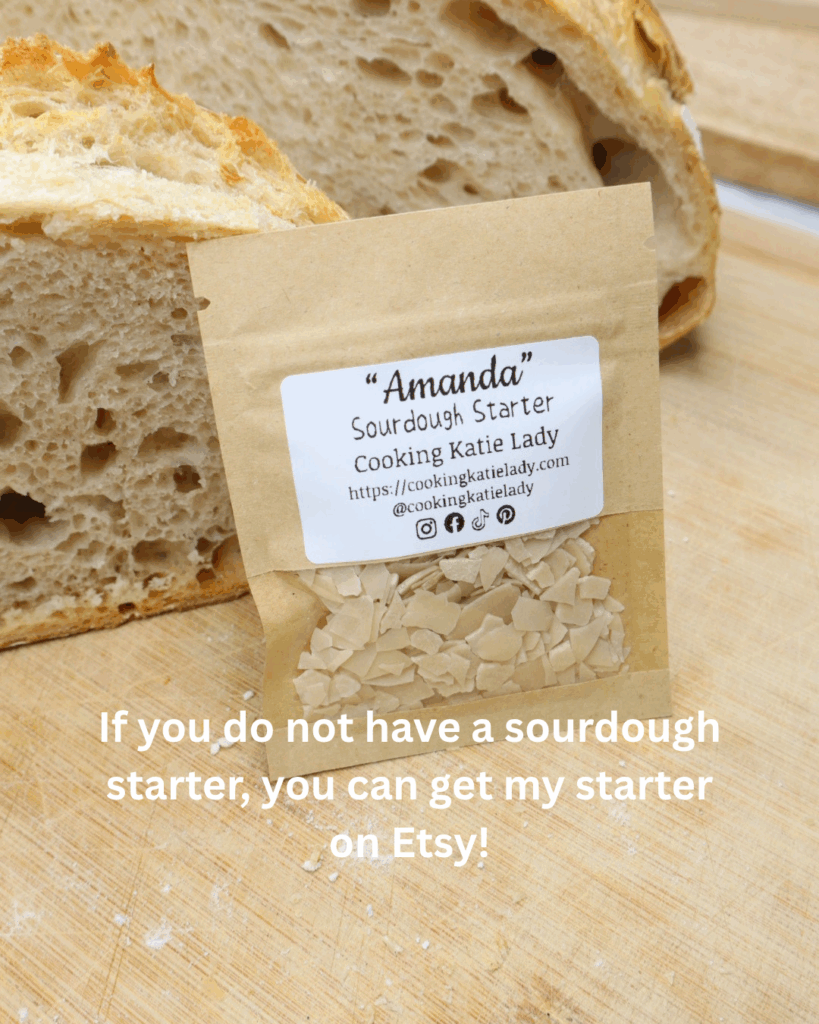
My personal, well established sourdough starter is available to purchase here! Buying a starter will speed up the process significantly, and guarantee that you will have a strong starter for an amazing loaf!
How to Make Sourdough Starter from Scratch
Learn how to make a sourdough starter from scratch here or consider purchasing my personal well-established starter here to speed up the process!
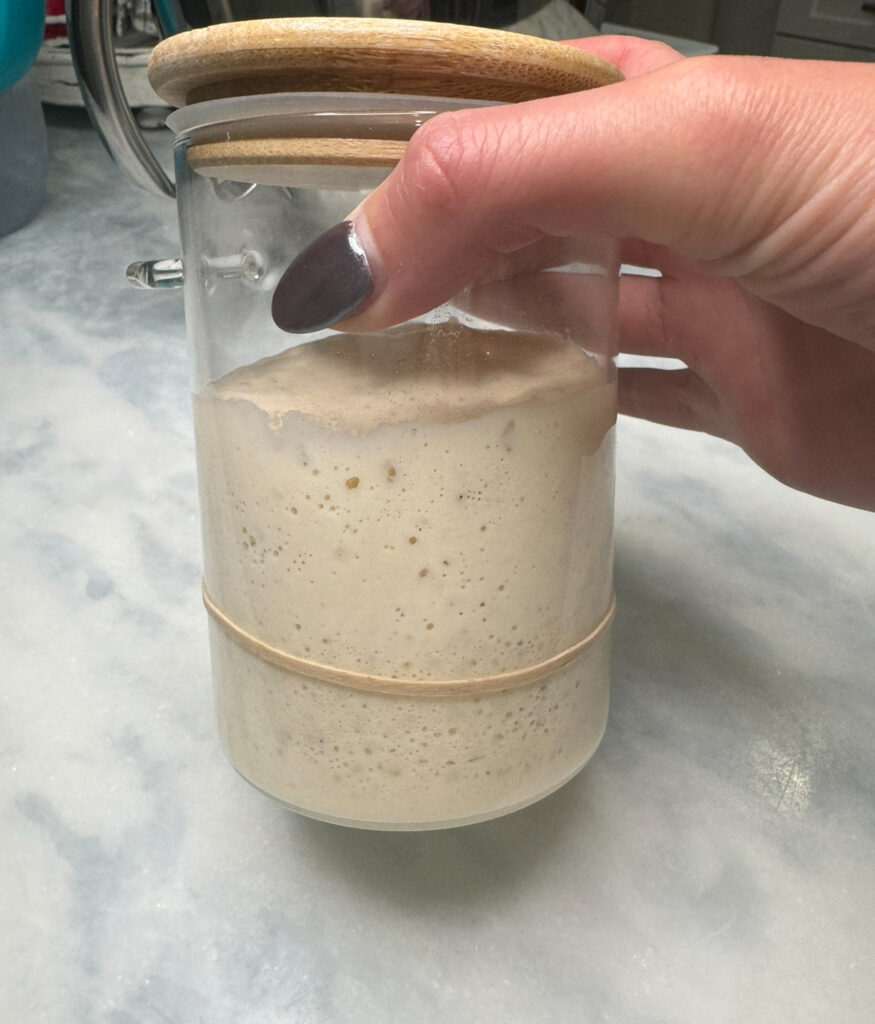
What Your Starter Should Look Like When It Is Ready
Your sourdough starter is ready for use when it has doubled in size (or a little more than doubled) and appears bubbly with a dome shape on top. This typically takes about 5 hours in my kitchen after feeding, which is around 74°F.
Once the top starts flattening out, that means the starter is starting to fall back down.
I mark where my starter is at with a rubber band after feeding it to easily see how much it has grown by.
To make sure it your starter is ready to be used, perform the float test. Drop a little bit of the starter in a bowl of water. If it floats, it’s ready! If not, you may need to wait a little bit longer before using.
Steps For Feeding Your Starter Before Making Your First Loaf
- If your starter has been stored in the fridge, let it get to room temperature.
- In a mason jar, combine 100 grams of starter (discard any extra starter you have left. Save your discard in a separate jar in the fridge for discard recipes!), 100 grams of warm filtered water (80-85 degrees F), and 100 grams of organic bread flour (or whichever flour you use for your starter – some people use all purpose, whole wheat, rye, etc. There’s no wrong answer, just keep it consistent).
- Mix until you have a thick paste and the flour is fully incorporated.
- Gently place the lid on top (don’t press it all the way down/screw it on) and let it sit for 5 hours on the counter, or until doubled in size.
How to Care for your Starter
Caring for a sourdough starter is akin to looking after a child hehe; it requires attention & care to thrive. If you’re away from home, you can have someone “babysit” your starter or you can dehydrate it for preservation. Typically, a starter stored in the fridge needs feeding every 7-10 days, whereas one kept at room temperature requires daily feeding. For convenience and manageable growth, refrigeration is recommended unless daily sourdough recipes are planned.
Sourdough Bread Ingredients
- 500 grams (apx. 3 cups) of flour – There are SO many variations you can do. Bread flour is the most commonly used & best for beginners. It is higher in protein so the structure of your bread is stronger and easier to work with. I love the taste rye gives in sourdough personally, so I use 40 grams of rye and 460 grams of bread flour.
- 150 grams (about 3/4 cups) of bubbly, active organic sourdough starter
- 30g (about 1 tbsp.) raw, organic unfiltered honey – This is optional. Honey contains natural sugars and nutrients that provide nourishment for the wild yeasts and bacteria, fostering a healthy fermentation process. If your kitchen is cooler, I highly recommend using some honey to help with your bulk ferment!
- 350-360 grams (about 1 1/2 cups) of warm, filtered water (80-85°F). Do NOT use reverse osmosis or distilled water. It lacks the beneficial bacteria needed to grow. I use 350 grams in my kitchen because it is warm and more humid where I live (Florida). If you are in a cool, dry place, you will probably find that 360 grams works better for you. Play around with it!
- 15 grams (about 1 1/2 tsp) pure fine sea salt. I use celtic sea salt
How To Make Sourdough Bread
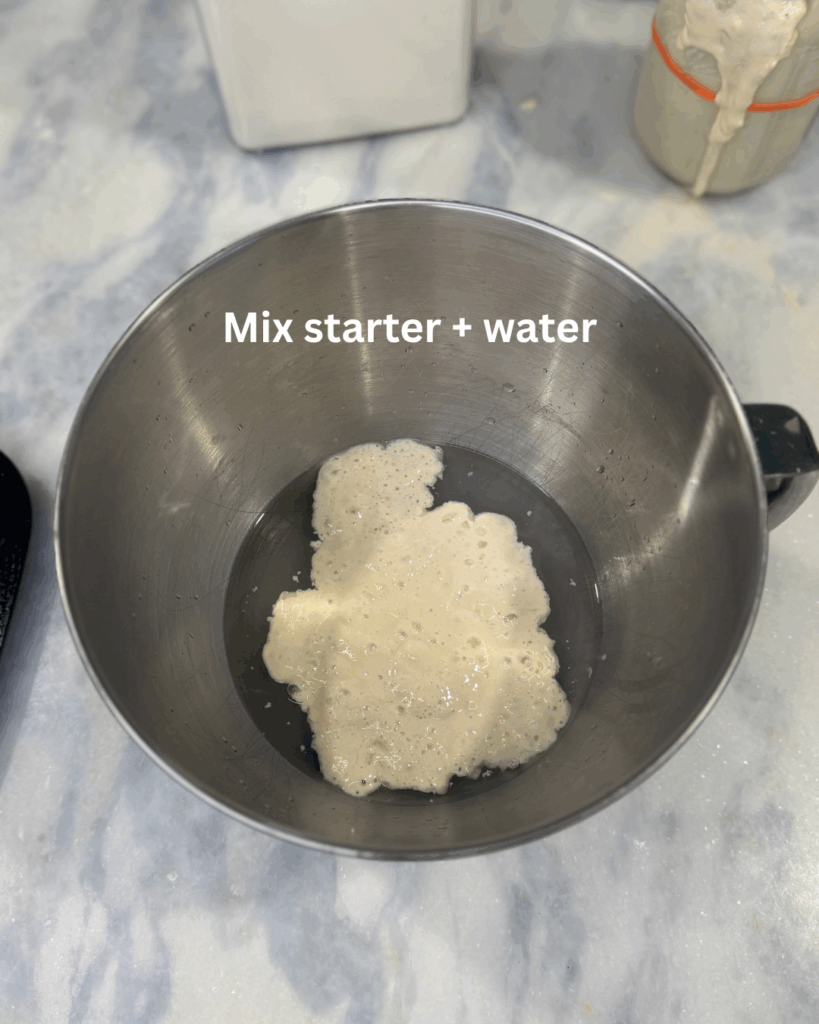
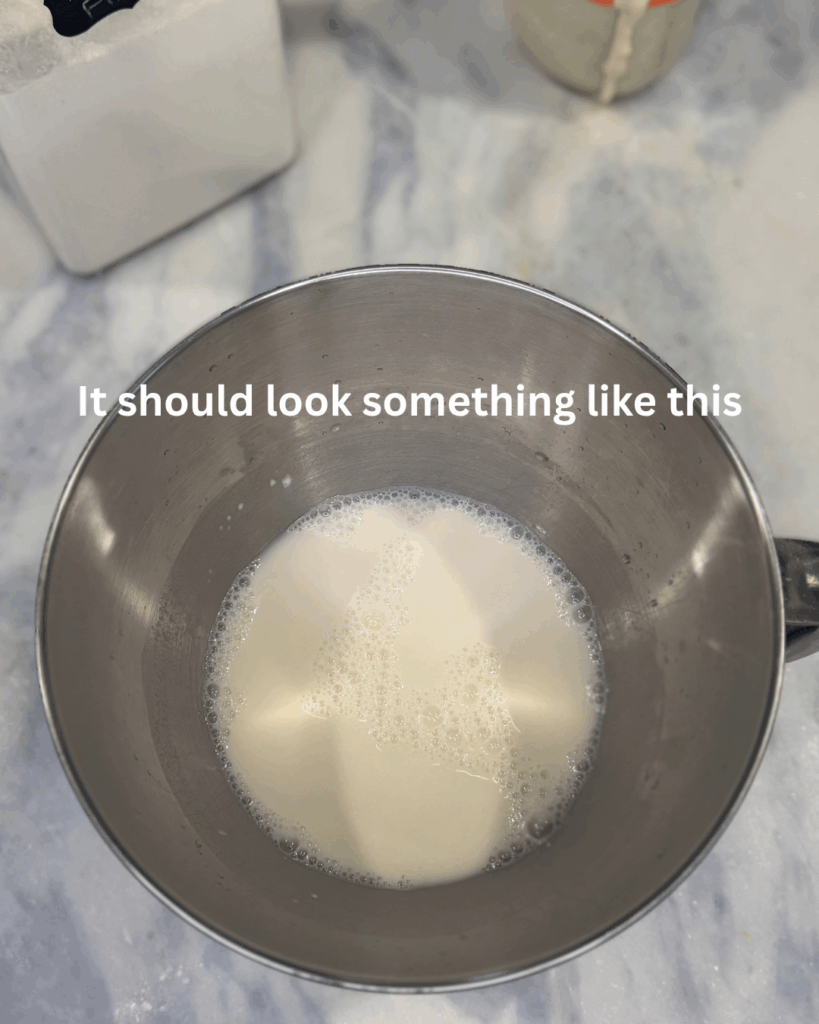
- Mix the water & starter together in a large mixing bowl until the starter is dissolved. Add in the honey if you are using it.
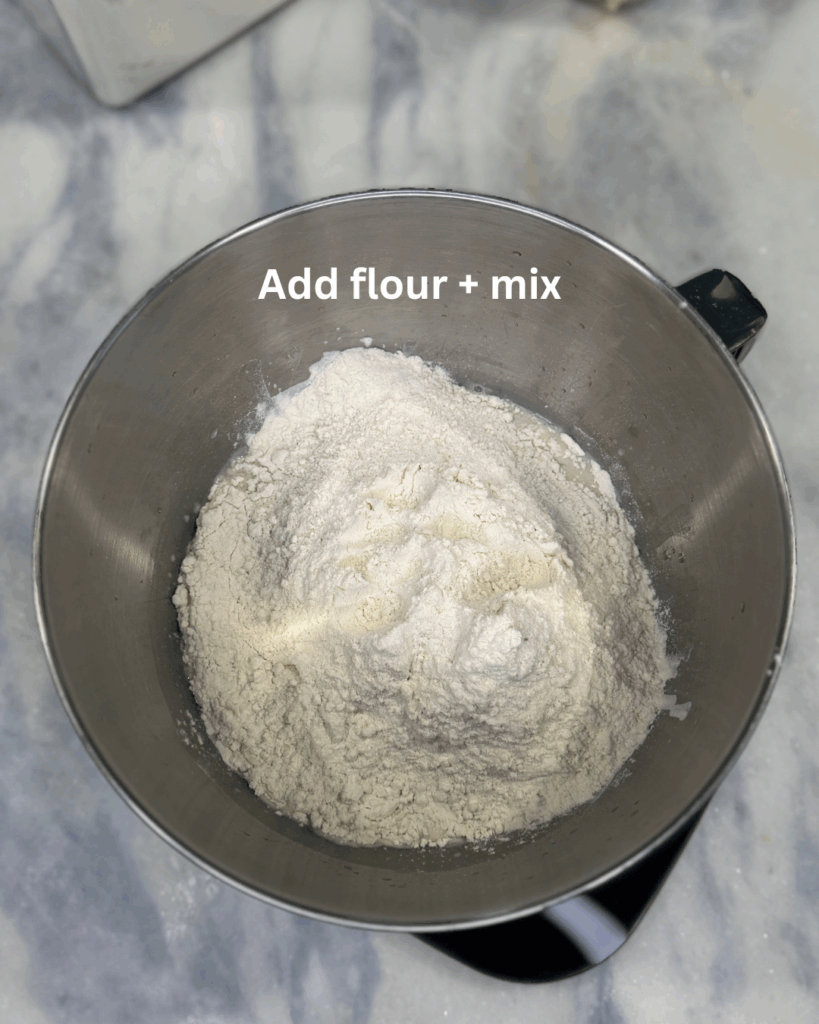
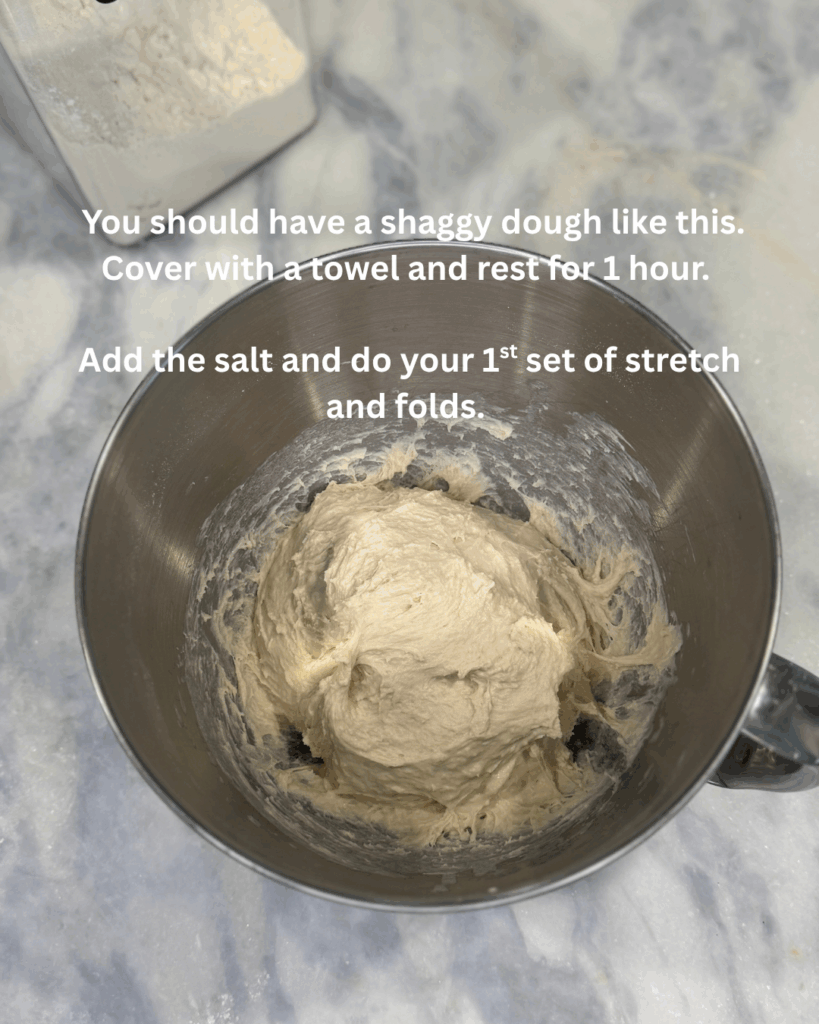
- Next, add in the flour and mix until the flour is fully incorporated and you have a nice, shaggy dough. You can mix the dough with your hands, with a dough whisk, or with a stand mixer using a dough hook attachment.
- Mix/knead with your hands or a stand mixer with a dough hook attachment until fully incorporated and the dough becomes more smooth. This can take around 5-6 minutes.
- Cover your bowl with a slightly damp kitchen towel. Rest on the counter for 1 hour.
- Add in the sea salt. With wet fingertips, knead the dough by doing 1 set of stretch and folds. Gently pull one side of the dough up and fold it towards the center. Turn the bowl 1/4 and repeat this process until you have gone all the way around the bowl and performed 4 kneads. Cover & rest another hour.
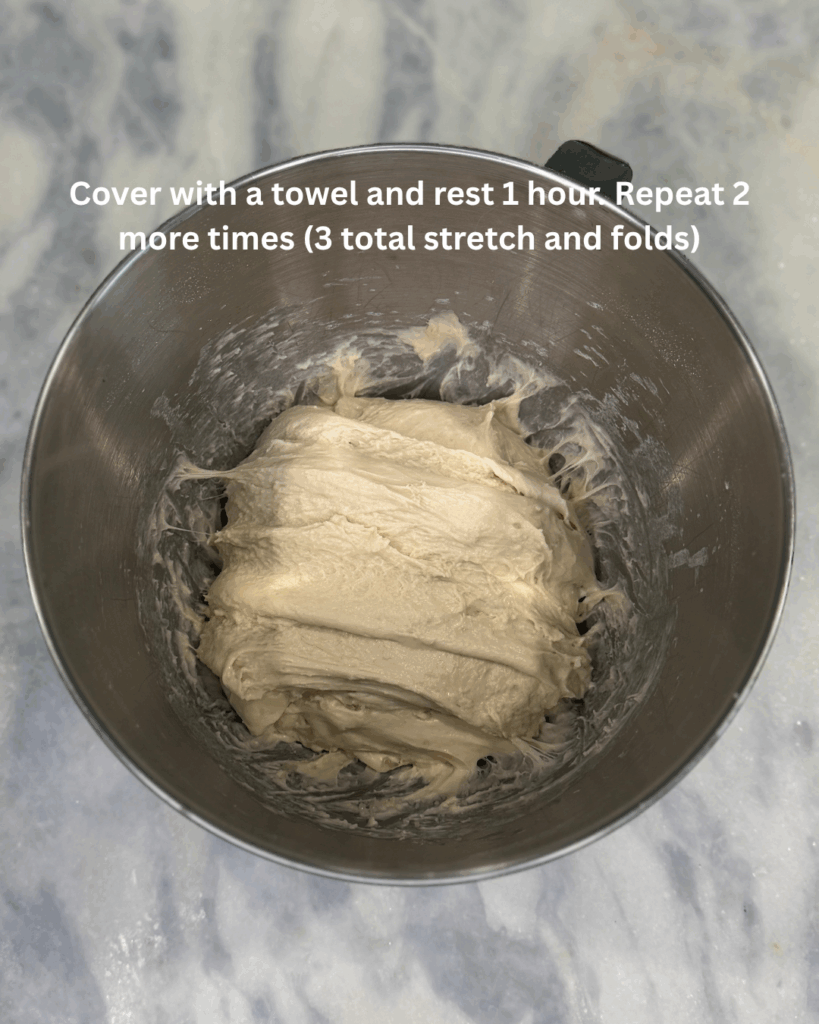
- Perform a second set of stretch and folds or coil folds (whichever kneading technique you prefer). Cover & rest another hour.
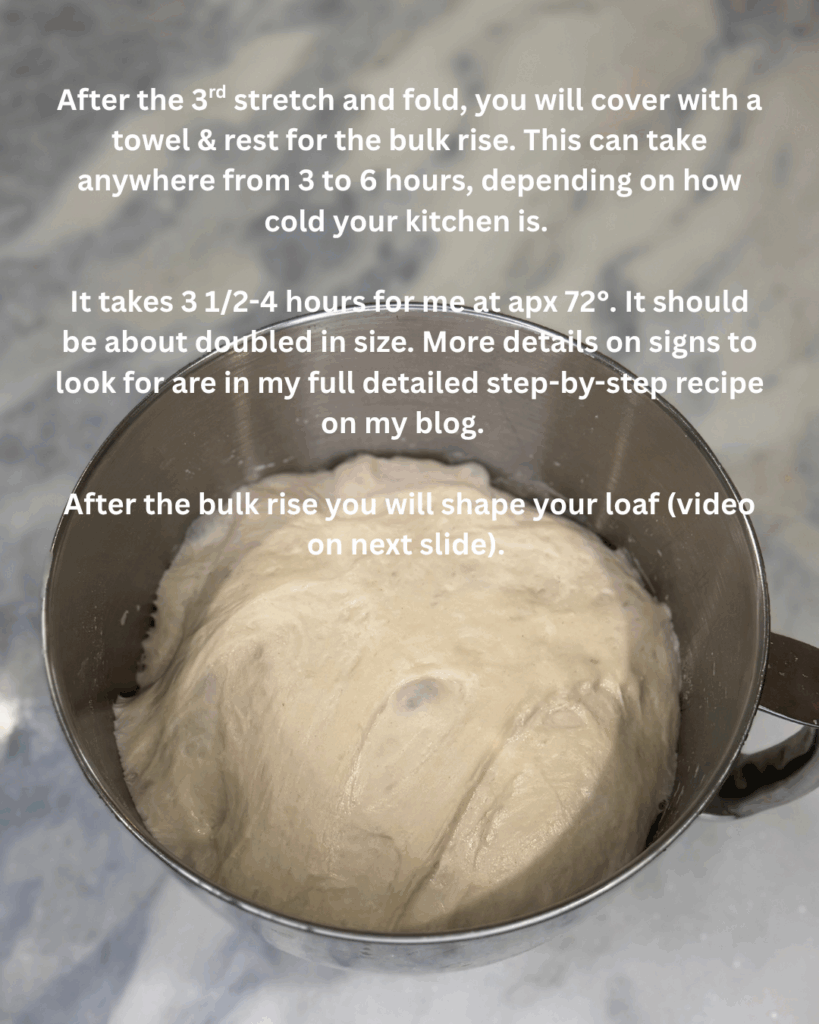
- Perform a third set of stretch and folds. Cover & rest for the bulk fermentation. Bulk fermentation can be anywhere between 3 and 12 hours, depending on the environment of your kitchen. For me personally, it takes 3-4 hours for my bulk ferment to be complete in Florida (3 to 3 1/2 in the warmer months and 4-5 ish in the cooler).
- If your kitchen is dry and cold, the longer it will take. Bulk fermentation is complete when your dough has almost doubled in size, has air bubbles, is smooth, and not too sticky. These are signs that the fermentation process has developed the gluten structure properly.
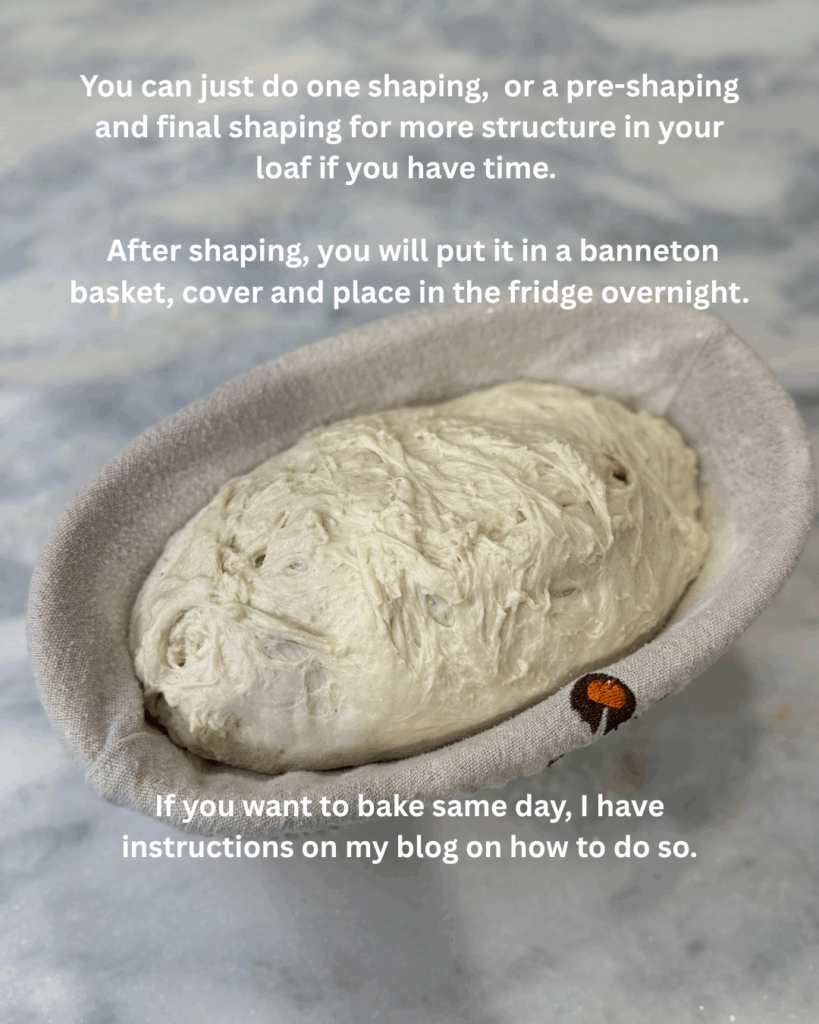
- After the bulk rise, place the dough on a lightly floured surface. Stretch the dough out so that you have a nice, large rectangle. Fold two of the sides in towards the middle and roll the dough up like a burrito. Tuck & spin the dough around 2-3 times to pre-shape the dough. Cover the dough with a towel and allow to rest for 15-20 minutes, or until the dough has relaxed back down.
- Perform your final shaping. Stretch the dough out once more without pulling too hard on the dough. This time around it will not stretch as much as the first time. Fold two of the sides in towards the middle and roll the dough up like a burrito again.
- Pinch the sides closed and shape the dough. Tuck and turn the loaf in circles to create tension and form a round loaf. (watch my video tutorial on my socials for a visual). Try to get the top of the dough really tight.
- Place dough seam side up in a well floured banneton basket. At this point, you can choose whether you want to make your bread same day or the next:
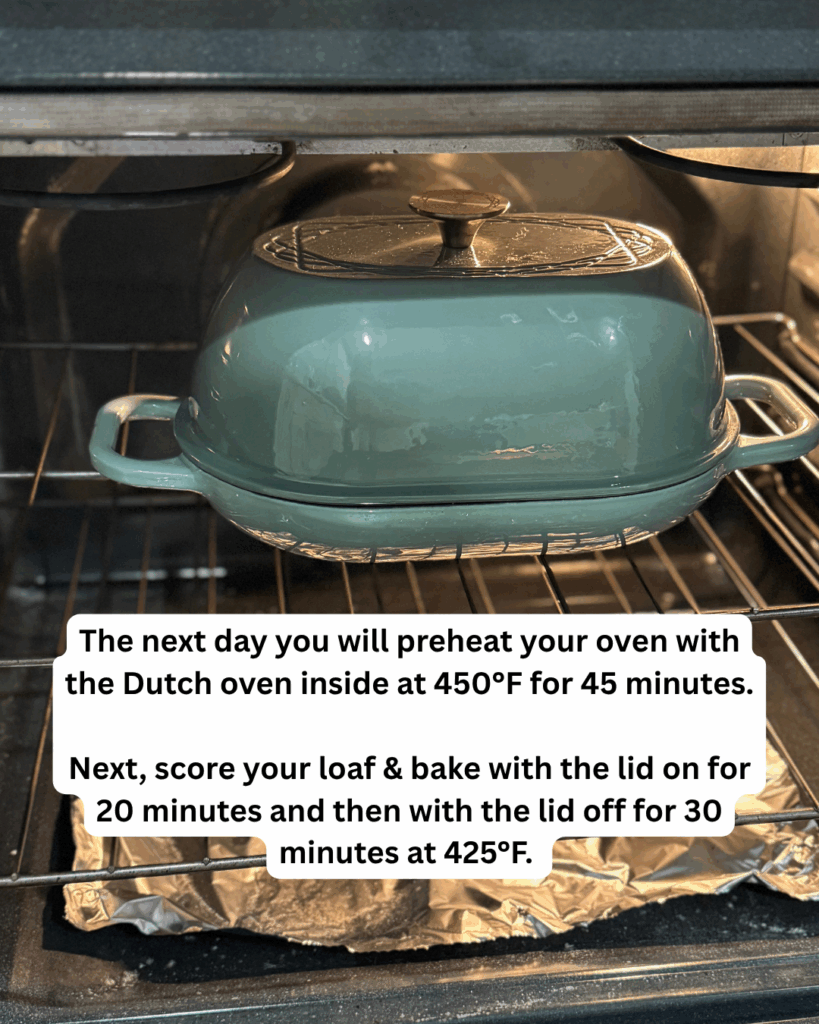
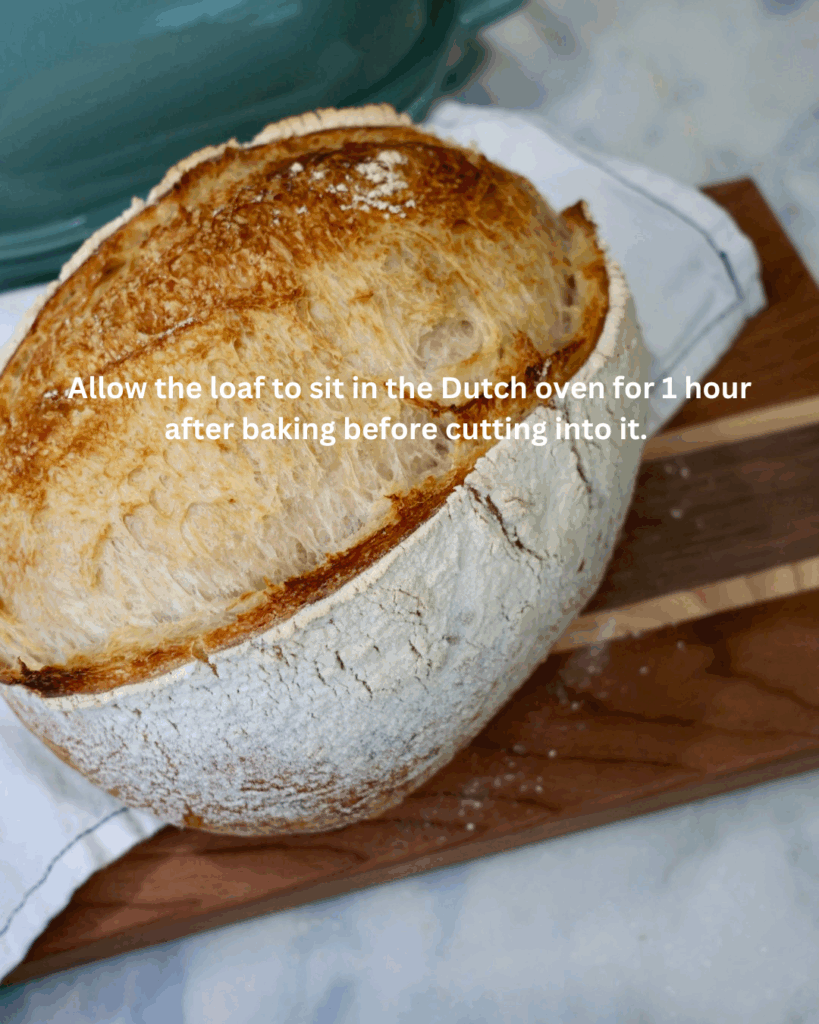
- Same Day: Cover your banneton basket with a damp kitchen towel. Preheat your oven to 450°F, with the Dutch oven inside while your dough is rising in the basket. Put a timer on for 45 minutes. Place dough on parchment paper or a silicone bread mat, score it, & bake for 20 minutes with the lid on. Take the lid off, reduce the oven heat to 425°F and bake for an additional 30 minutes. Remove from oven. Allow the bread to sit in the Dutch oven while it’s cooling with the lid off for at least 1 hour.
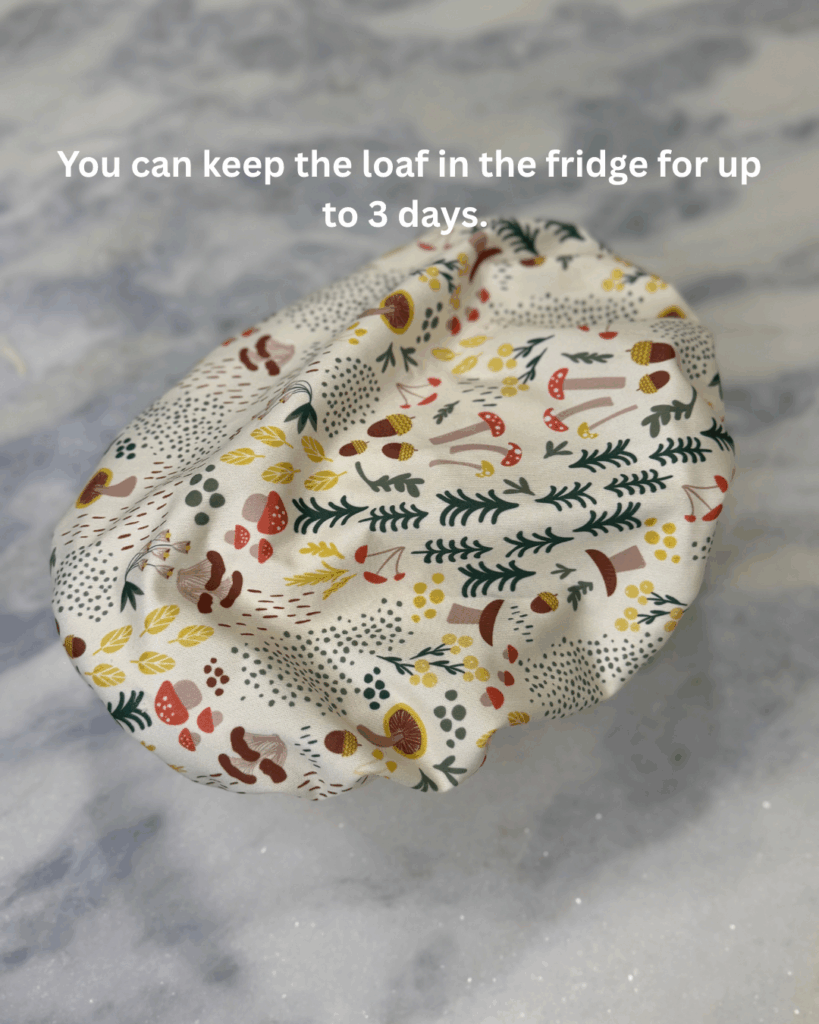
- Next Day: Cover your loaf in the banneton basket tightly with plastic wrap, a shower cap, or a sustainable silicone cover. Place it in the fridge for anywhere between 8 & 48 hours. A cold ferment creates a stronger sour taste. Preheat your oven to 450°F, with the Dutch oven inside while your dough is rising in the basket. Put a timer on for 45 minutes. Place dough on parchment paper or a silicone bread mat, score it, & bake for 20 minutes with the lid on. Take the lid off, reduce the oven heat to 425°F and bake for an additional 30 minutes. Remove from oven. Allow the bread to sit in the Dutch oven with the lid off while it’s cooling for at least 1 hour.
Sample Same Day Baking Schedule
- 6:00 PM – Take starter out of the fridge and allow to get to room temp.
- 10:00-11:00 PM – Feed your starter. Feeding instructions above.
- 6:45 AM – Make the dough.
- 7:00 AM – Rest for 1 hour
- 8:00 AM – Knead dough & rest 1 hour.
- 9:00 AM – Knead dough & rest 1 hour.
- 10:00 AM – Knead dough & perform bulk rise (can vary depending on the temp of your kitchen as noted above in instructions)
- 2:00 PM – Pre-shape dough. rest 20 minutes.
- 2:20 PM – Final shape the dough and place in floured banneton basket. Cover with a towel or bowl cover for 1-2 hours.
- 3:15 PM – Preheat oven with Dutch oven inside oven for 45 minutes.
- 4:00 PM – Score bread & bake for 20 minutes covered.
- 4:20 PM – Remove lid, reduce heat, and bake for an additional 30 minutes.
Sample Overnight Schedule
- 6:00 AM – Take starter out of the fridge and allow to get to room temp. I place mine in the oven with the light on to speed it up.
- 10:00 AM – Feed your starter. Feeding instructions above.
- 2:45 PM – Make the dough.
- 3:00 PM – Rest for 1 hour
- 4:00 PM – Knead dough & rest 1 hour.
- 5:00 PM – Knead dough & rest 1 hour.
- 6:00 PM – Knead dough & perform bulk rise
- 9:00 PM – Pre-shape dough. rest 20 minutes.
- 9:20 PM – Final shape the dough and place in floured banneton basket. Cover and place in fridge overnight.
- 10:00 AM – Preheat oven with Dutch oven inside oven for 45 minutes.
- 10:45 AM – Score bread & bake for 20 minutes covered.
- 11:05 AM – Remove lid, reduce heat, and bake for an additional 30 minutes.
Sourdough Essential Tools
Here are the essential tools you should get to make sourdough!
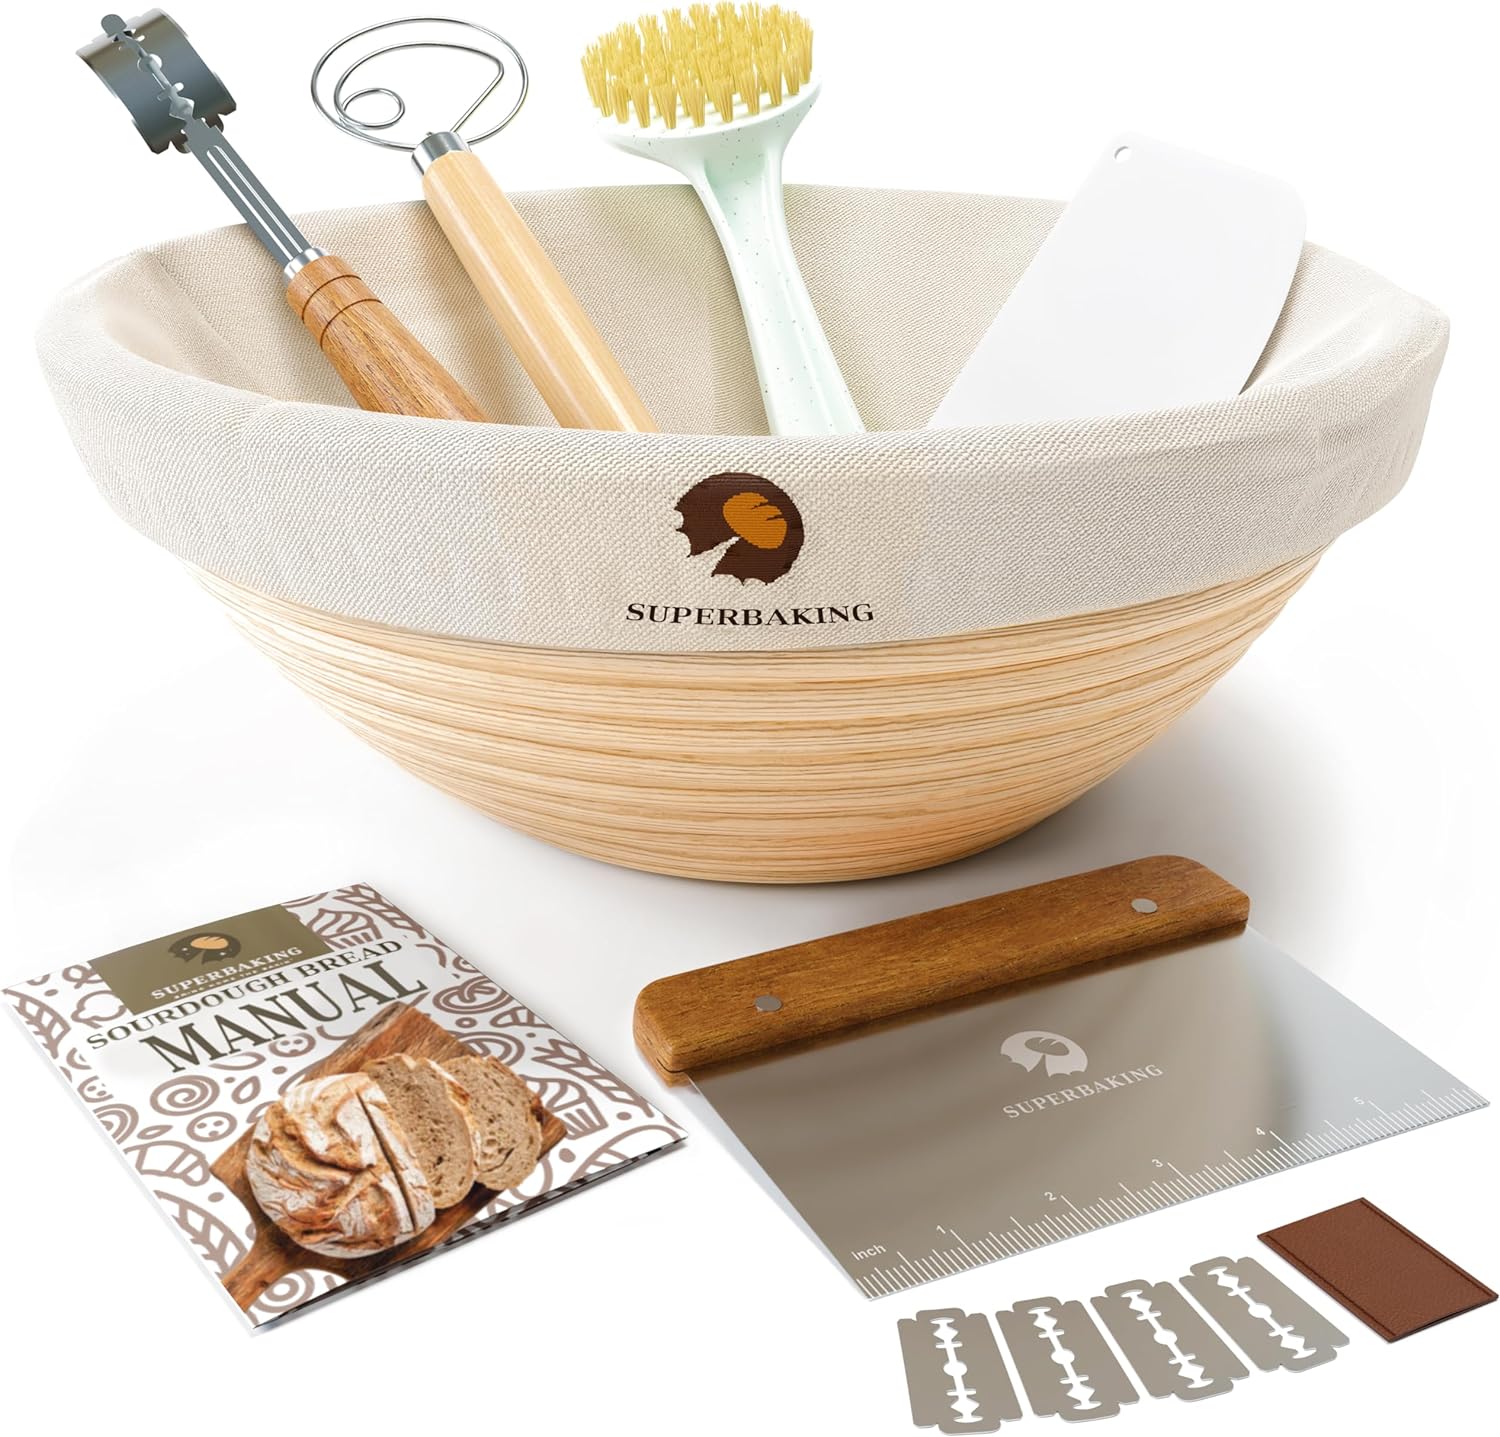
Sourdough Starter Kit
A kit like this from Amazon is great to get your basic essential tools!
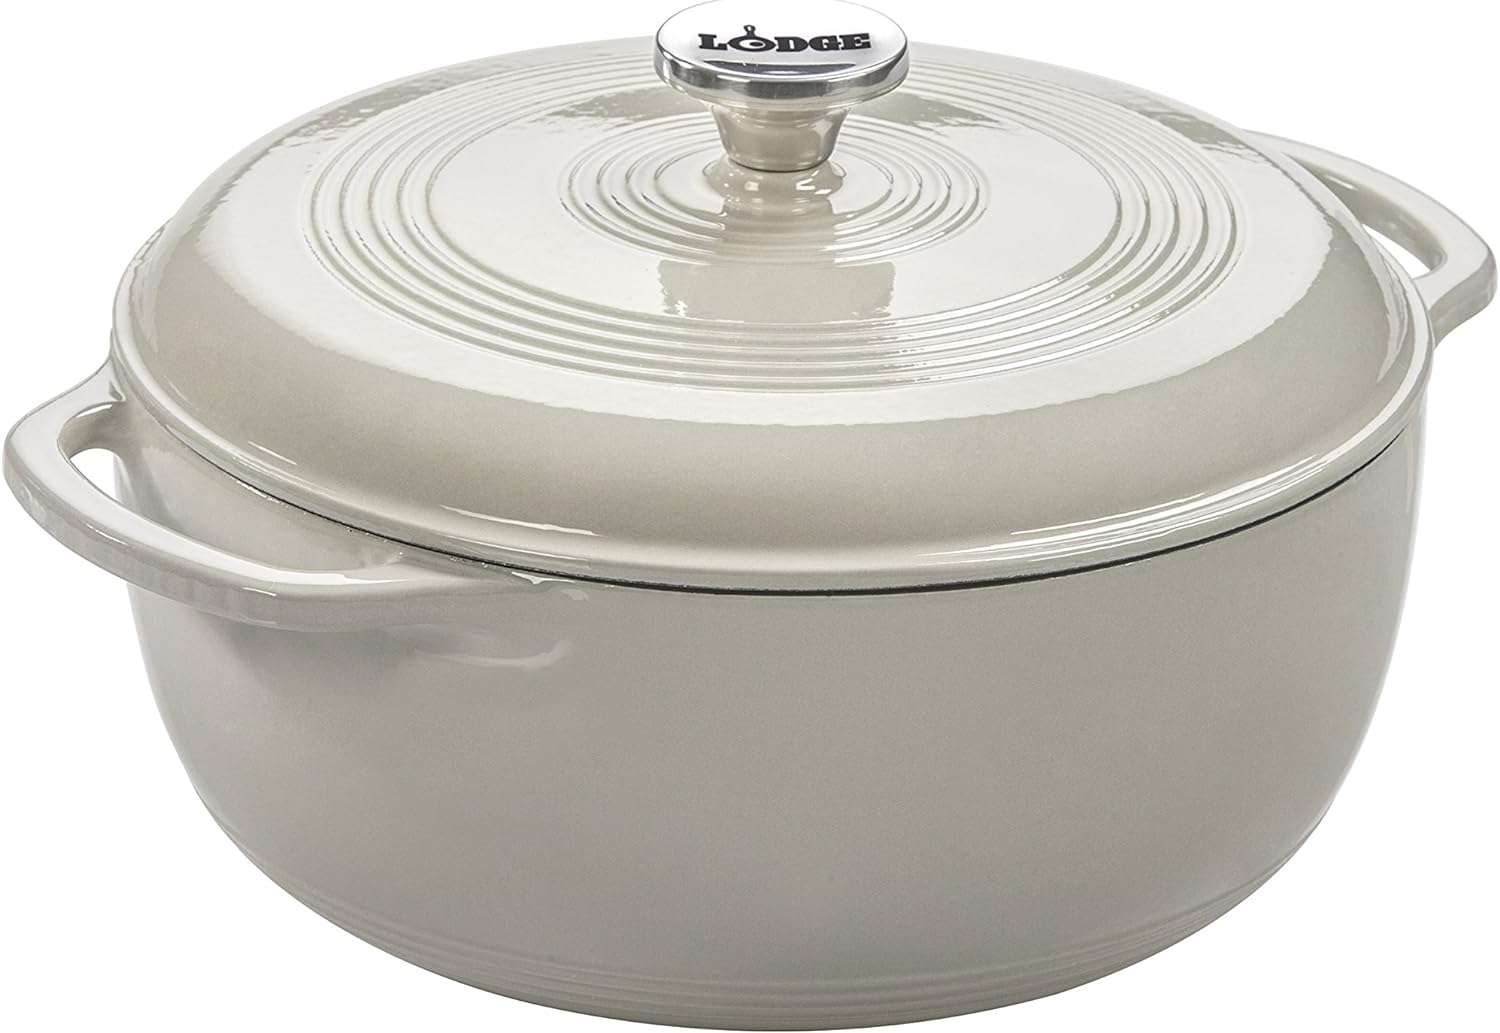
Dutch Oven
To bake your bread in. This is the exact one I have. You don’t need a fancy Le Cruset or anything!

Silicone Bread Sling
Optional, but I try to be as sustainable as possible and love this sling! Or you can use parchment paper.
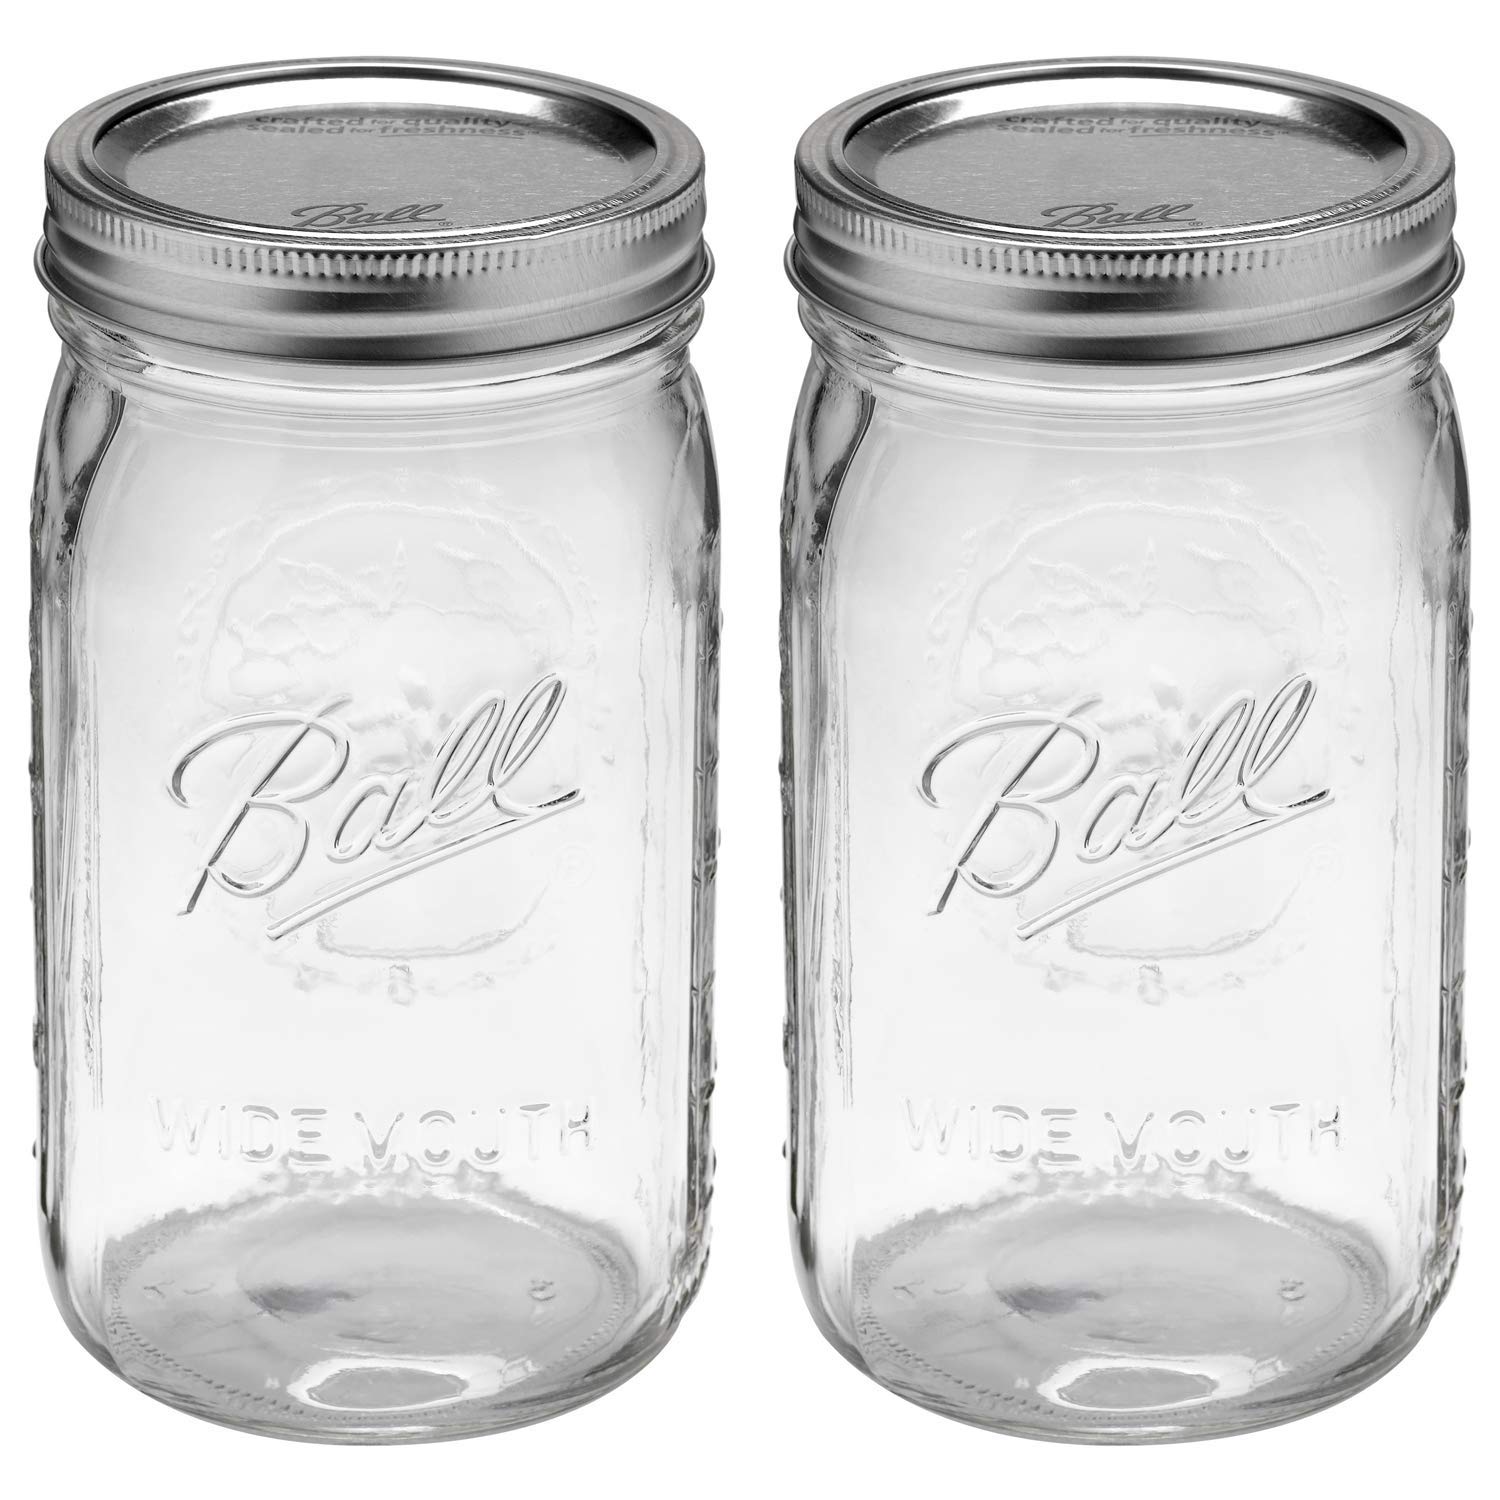
Large Mason Jar
For your sourdough starter

Scale
A handy dandy scale for measuring! Grams are more accurate than cups when it comes to baking things like bread and they are super cheap.

KitchenAid Mixer
You don’t have to have one, but it sure makes it easy when you are initially mixing your dough. If you don’t have one or it’s out of your price range you can mix your dough by hand with the dough whisk that comes in a sourdough starter kit.
What Are Some Tips for Successful Sourdough Baking?
Embarking on the journey of sourdough baking can be both rewarding and challenging. To help you achieve delicious results, here are some essential tips:
Keep a Baking Journal
Starting a new baking hobby? Document your first few bakings to learn your kitchen and dough!
- Kitchen Environment: Record the temperature of your kitchen each time you bake.
- Dough Rising Time: Note how long the dough takes to rise under different conditions.
This information can guide adjustments for consistent, better outcomes. Remember, warmer kitchens accelerate the fermentation process, while cooler ones slow it down.
Use an Active Sourdough Starter
Timing is everything with sourdough. Ensure your starter is recently fed and visibly bubbly before using it to mix your dough. If it begins to deflate, give it another feeding to re-energize it for baking.
Precision is Key: Use a Kitchen Scale
For precision in baking, a kitchen scale is your best tool. It guarantees accurate measurements for your sourdough ingredients.
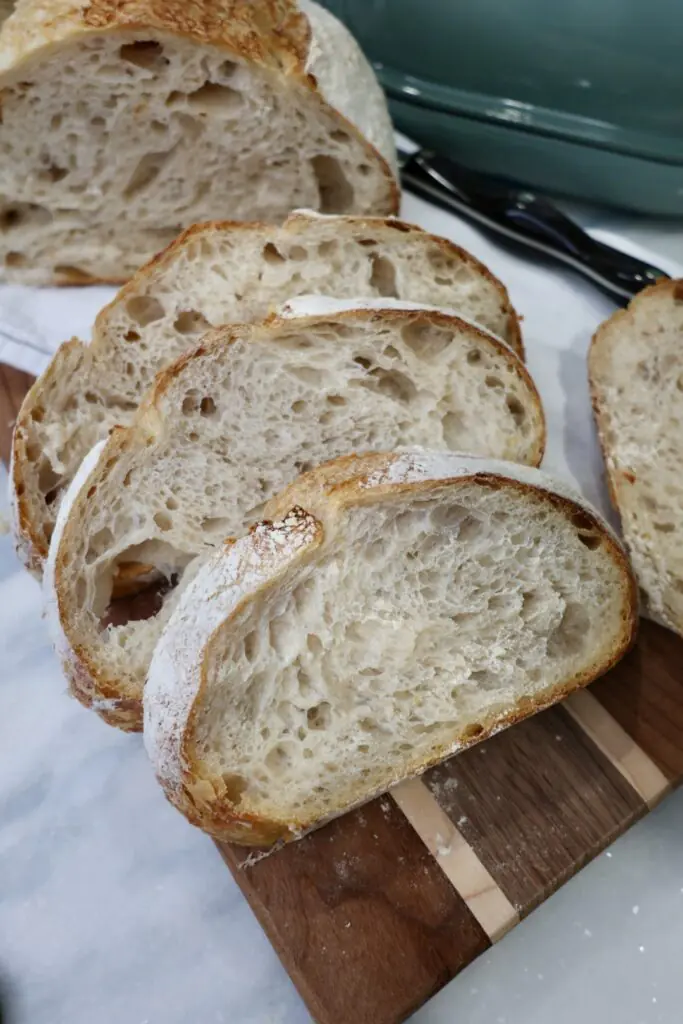
How Do You Know When Bulk Fermentation is Complete?
Bulk fermentation is complete when your dough has almost doubled in size, has air bubbles, is smooth, and not too sticky. These are signs that the fermentation process has developed the gluten structure properly.
How To Store Leftovers
I mentioned this above, but I just leave my leftovers in my Dutch oven with the lid on my counter! You could use a bread box if you’d prefer as well. You can also freeze any leftovers if you can not finish the entire loaf in enough time.
Troubleshooting Common Sourdough Baking Issues
Sourdough baking can be a rewarding but sometimes challenging experience at first. Here’s how you can address some frequent issues.
Over-Proofing Concerns
Recognizing Over-Proofed Dough: When dough becomes sticky and resistant to shaping, it’s likely over-proofed. This often happens in warm kitchens. Keep an eye on your kitchen temperature, and adjust the fermentation time for future bakes to prevent this.
Flavor and Texture Adjustments
Excessive Sourness: A sour flavor can result from infrequent starter feedings, which increase lactic acid build-up. For a milder taste, feed the starter more regularly before baking.
Hard Crust Issues: If the bottom crust is too thick, it’s often due to the Dutch oven sitting too close to the heat source. Position a pizza stone or baking sheet on a lower rack to act as a heat buffer. Extending the covered period to 30 minutes, combined with a shorter uncovered time of 20 minutes, helps retain moisture for a softer crust.
Rise and Baking Problems
Lack of Oven Spring: If your sourdough doesn’t rise well, the starter might lack strength, or the dough might not have been shaped properly before the final proof. Strengthen your starter by feeding it consistently, and ensure you form a tight dough shape before its final rest. You can purchase my personal sourdough starter on Etsy if you are needing a well established one.
How to Elevate Your Sourdough Bread
After you get the hang of the general sourdough process, you may want to consider more advanced techniques to elevate your sourdough bread.
The autolyse is a technique in sourdough bread making where you mix just the flour and water together and let them rest before adding the salt and sourdough starter. This resting period usually lasts anywhere from 20 minutes to an hour (or more). During autolyse, the flour fully hydrates and the natural enzymes begin breaking down the starches and proteins, which starts developing the gluten network and improving dough extensibility.
Alternative: Adding Salt After the First Hour
While many recipes incorporate the salt right after the autolyse is complete, some bakers choose to delay adding the salt until after the first hour of bulk fermentation. In this method, you would:
- Mix just the flour, water, and sourdough starter.
- Let the dough rest and ferment for the first hour.
- Add the salt after that initial hour and incorporate it with stretch and folds or kneading.
Benefits of Adding Salt Later:
- Improved Gluten Development: Salt can tighten the gluten structure when added early, so delaying it allows the gluten to develop more naturally and can result in a softer, more extensible dough.
- Enhanced Flavor Complexity: Giving the enzymes more time to work without the salt can promote better flavor development, as salt can slightly slow enzymatic activity.
- Easier Mixing: Early dough can be a bit sticky and tight with salt present. Adding salt later makes it easier to perform stretch and folds and incorporate it thoroughly.
In both methods, the dough can turn out beautifully, but delaying the salt is a more advanced technique that can slightly improve the dough’s handling and flavor depth. Some bakers swear by it (I am one of those people).
Check Me Out on Social Media
I post all my recipes on social media as well and you can stay up to date on what I am up to! Also, I love seeing people try my recipes! When make these, snap a picture, and share it to your socials. Tag @cookingkatielady and #cookingkatielady so I can admire your masterpiece and share with others!
Description
Learn to bake delicious, organic sourdough bread with my easy-to-follow recipe. Experience the joy of making Sourdough Bread from scratch—it's life-changing! Homemade sourdough tastes SO much better. Start by making my simple organic sourdough starter, then use it in my bread recipe. If you're short on time or new to baking, consider purchasing my sourdough starter here. You can start baking bread in just four days with it! This is an excellent choice for beginners & a well-established starter.
Ingredients


Instructions
-
Mix the water & starter together in a large mixing bowl until the starter is dissolved. Add in the honey if you are using it.
-
Next, add in the flour and mix until the flour is fully incorporated and you have a nice, shaggy dough. You can mix the dough with your hands, with a dough whisk, or with a stand mixer using a dough hook attachment.
-
Add in the sea salt. Mix/knead with your hands or a stand mixer with a dough hook attachment until fully incorporated and the dough becomes more smooth. This can take around 5-6 minutes.
-
Cover your bowl with a slightly damp kitchen towel. Rest on the counter for 1 hour.
-
Add in the sea salt. With wet fingertips, knead the dough by doing 1 set of stretch and folds. Gently pull one side of the dough up and fold it towards the center. Turn the bowl 1/4 and repeat this process until you have gone all the way around the bowl and performed 4 kneads. Cover & rest another hour.
-
Perform a second set of stretch and folds or coil folds (whichever kneading technique you prefer). Cover & rest another hour.
-
Perform a third set of stretch and folds. Cover & rest for the bulk fermentation. Bulk fermentation can be anywhere between 3 and 12 hours, depending on the environment of your kitchen. For me personally, it takes 3-4 hours for my bulk ferment to be complete in Florida (3 to 3 1/2 in the warmer months and 4-5 ish in the cooler). If your kitchen is dry and cold, it will take longer. Bulk fermentation is complete when your dough has almost doubled in size, has air bubbles, is smooth, and not too sticky. These are signs that the fermentation process has developed the gluten structure properly.
-
After the bulk rise, place the dough on a lightly floured surface. Stretch the dough out so that you have a nice, large rectangle. Fold two of the sides in towards the middle and roll the dough up like a burrito. Tuck & spin the dough around 2-3 times to pre-shape the dough. Cover the dough with a towel and allow to rest for 15-20 minutes, or until the dough has relaxed back down.
-
Perform your final shaping. Stretch the dough out once more without pulling too hard on the dough. This time around it will not stretch as much as the first time. Fold two of the sides in towards the middle and roll the dough up like a burrito again.
-
Pinch the sides closed and shape the dough. Tuck and turn the loaf in circles to create tension and form a round loaf. (watch my video tutorial on my socials for a visual). Try to get the top of the dough really tight.
Place dough seam side up in a well floured banneton basket. At this point, you can choose whether you want to make your brea
-
Same Day: Cover your banneton basket with a damp kitchen towel. Preheat your oven to 450°F, with the Dutch oven inside while your dough is rising in the basket. Put a timer on for 45 minutes. Place dough on parchment paper or a silicone bread mat, score it, & bake for 20 minutes with the lid on. Take the lid off, reduce the oven heat to 425°F and bake for an additional 30 minutes. Remove from oven. Allow the bread to sit in the Dutch oven while it's cooling with the lid off for at least 1 hour.
-
Next Day: Cover your loaf in the banneton basket tightly with plastic wrap, a shower cap, or a sustainable silicone cover. Place it in the fridge for anywhere between 8 & 48 hours. A cold ferment creates a stronger sour taste. Preheat your oven to 450°F, with the Dutch oven inside while your dough is rising in the basket. Put a timer on for 45 minutes. Place dough on parchment paper or a silicone bread mat, score it, & bake for 20 minutes with the lid on. Take the lid off, reduce the oven heat to 425°F and bake for an additional 30 minutes. Remove from oven. Allow the bread to sit in the Dutch oven with the lid off while it's cooling for at least 1 hour.
Nutrition Facts
Nutrition Facts
Servings 12
Serving Size 1 slice
- Amount Per Serving
- Calories 130kcal
- % Daily Value *
- Total Fat 0.1g1%
- Sodium 290.9mg13%
- Total Carbohydrate 27.5g10%
- Dietary Fiber 1.2g5%
- Sugars 2.4g
- Protein 4.5g9%
* Percent Daily Values are based on a 2,000 calorie diet. Your daily value may be higher or lower depending on your calorie needs.
Note
Did you make this recipe?
The next time you make it, snap a picture, and share it to your socials. Tag @cookingkatielady and #cookingkatielady so I can admire your masterpiece and share with others!:)
Please note that my nutrition label is approximate and can have slight rounding.

User Reviews
So good and clean!