

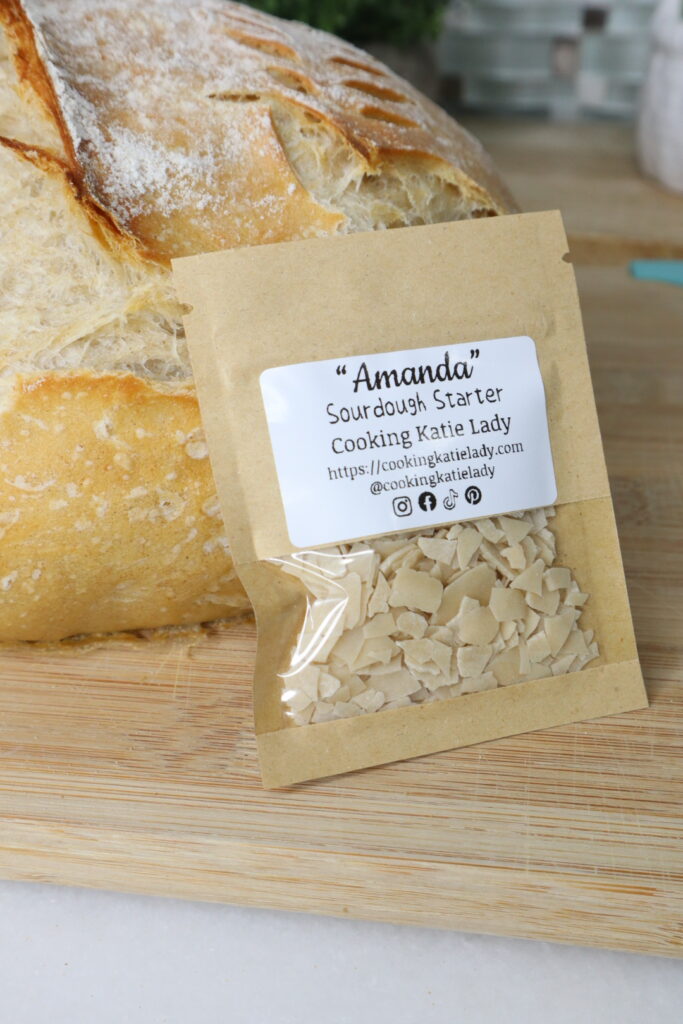
You purchased my dehydrated sourdough starter. Now what?! Here you will find my detailed instructions, along with lots of pictures for you visual learners on how to get this starter active again!
If you have not purchased my starter yet, you can get it here on Etsy or it will also be available on TikTok shop soon as well.
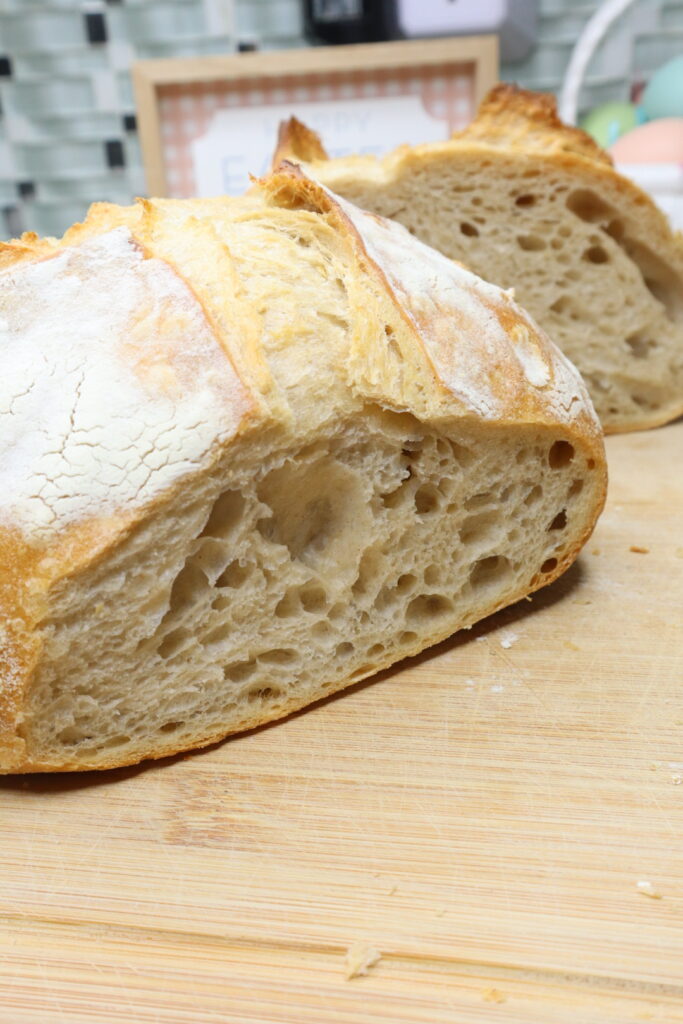
Sourdough Bread will actually change your life. Homemade sourdough bread just tastes and feels so different. Most store bought sourdough bread is made with inflammatory oils, preservatives, and refined sugars. Yuck! Sourdough heals your gut and the store bought bread does the exact opposite. Check the ingredients the next time you are at the grocery store and you will be shocked! There should only be flour, water, and salt listed on that nutrition label!
Benefits of Purchasing a Dehydrated Starter
- Expedited the Process – Dehydrated starter already has some yeast to expedite the process. It only takes 4 days to get my dehydrated starter going again. It is practically fool-proof to revive. If you are making a starter from scratch it can take anywhere from 8 to 14 days to get going.
- More Consistent Bread – If your sourdough starter has disappointed you in the past, your starter may have not been strong enough or developed enough. A well established starter will give you consistent results every time.
- Great For Beginners – If you’re brand new to having a sourdough starter, getting a well established dehydrated starter will give you that boost of confidence that your bread will turn out!
- Less Flour – Purchasing a dehydrated sourdough starter requires way less flour than starting one from scratch. When making one from scratch, you will be discarding A LOT and unfortunately, that starter is not developed yet at that point so it’s not safe to save that discard just yet.
- Not A Consistent Baker – Although this is unlikely after you get started on your sourdough journey, buying a dehydrated starter can be great if you only make sourdough bread on rare occasions, like holidays. If you don’t want to have to worry about keeping a starter alive forever, you can just purchase a dehydrated starter as you need it.

Why You Should Be Eating Sourdough
- Easy to Digest – The bacteria-yeast composition will start to breakdown the starches found in the grains before it even reaches your stomach!! Most of the work is done before you consume, making it much easier on your gut.
- Lower Glycemic Index – Sourdough is fermented in a way that depletes bad starches within it. Your blood sugar won’t rise drastically upon eating it.
- Better for Gluten Sensitivity – The longer fermentation time for sourdough bread means that much of the protein gluten is broken down into amino acids before you consume it.
- Provides Healthy Bacteria – Sourdough bread is fermented in a way that fosters more beneficial bacteria in the bread and in your body when you eat it.
- Made with 3 Simple Ingredients – Unlike store bought breads, real sourdough contains only 3 clean ingredients. Flour, water, and salt. And when you make it from scratch there are no preservatives or nasty oils!!!
- Macros & Nutrients – Sourdough is packed with nutrients, healthy carbs, protein, fiber, iron and vitamins like potassium, folate & vitamin B. It is not crazy high in calories either.
- Sustainable – Another reason why I love making my homemade sourdough from scratch is because it is better for the environment/more sustainable! I try to reduce my paper & plastic use as much as possible. I store my bread directly in my Dutch oven with the lid on my counter!
Ingredients Needed To Reactivate
- Dehydrated Starter – One packet of my dehydrated sourdough starter.
- Bread Flour – You will need unbleached bread flour. I personally use King Arthur, 100% Organic Unbleached Bread Flour.
- Water – Warm, filtered water, about 80-85°F is perfect. DO NOT use distilled or reverse osmosis water! It lacks the beneficial bacteria needed to grow.
How to Reactivate My Dehydrated Starter
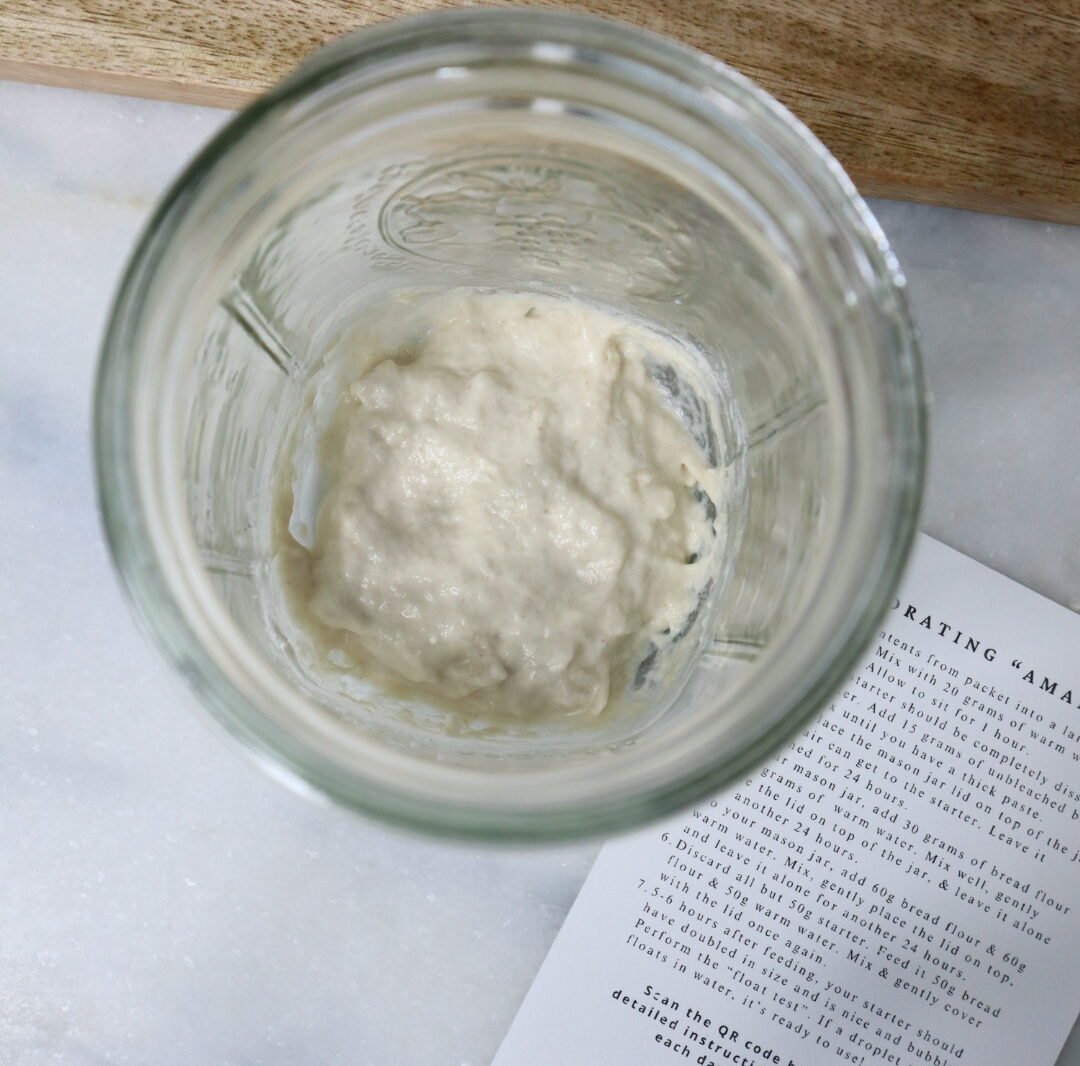
- Remove contents from the packet into a large, glass mason jar (32 oz. or larger). Mix with 20 grams of warm, filtered water (80-85°F). Do not use distilled or reverse osmosis water. Allow to sit for 1 hour to dissolve.
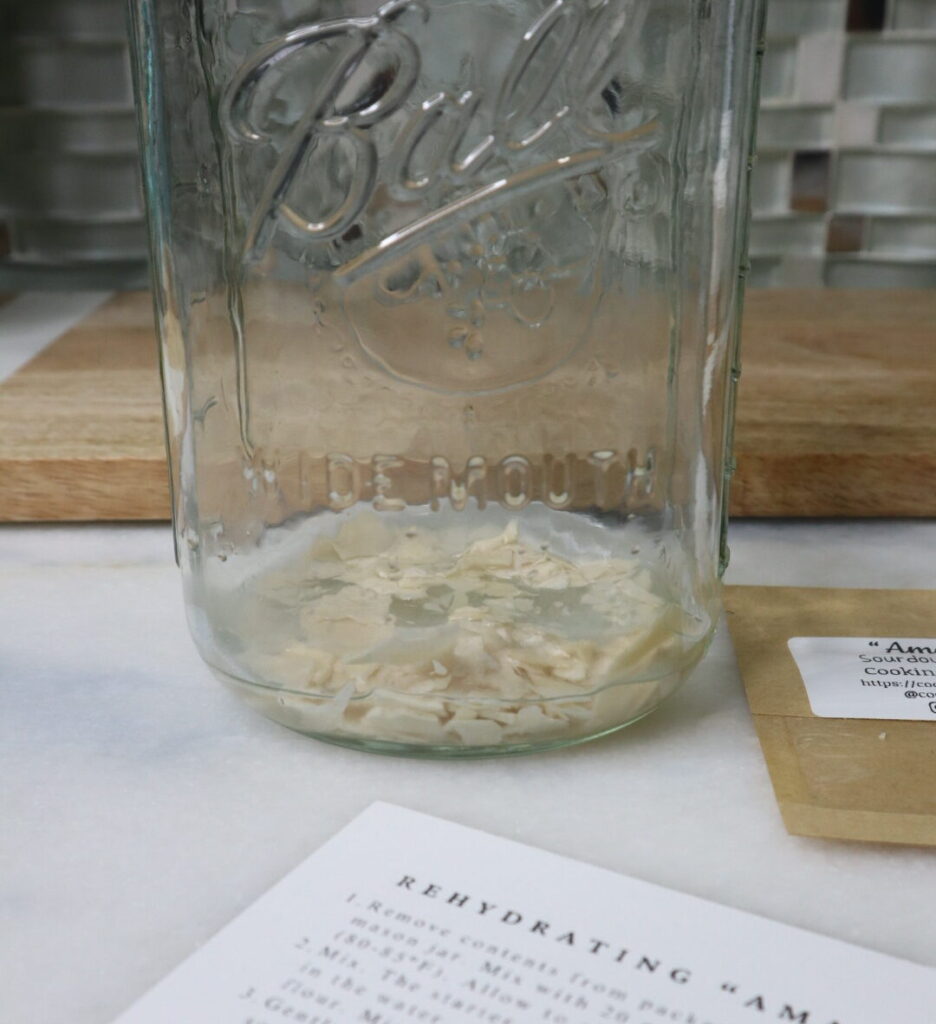
2. Mix up the starter & water with a wooden spoon or small rubber spatula. The starter should be completely dissolved (or almost completely dissolved) in the water at this point. Add 15 grams of unbleached bread flour. Mix until you have a thick paste. If it seems too thick, you can add another tsp of water. It should be relatively thick though!
3. Gently place the mason jar lid on top of the jar so that air can still get to the starter. Do not tighten the lid!!! Leave it alone & untouched for 24 hours.
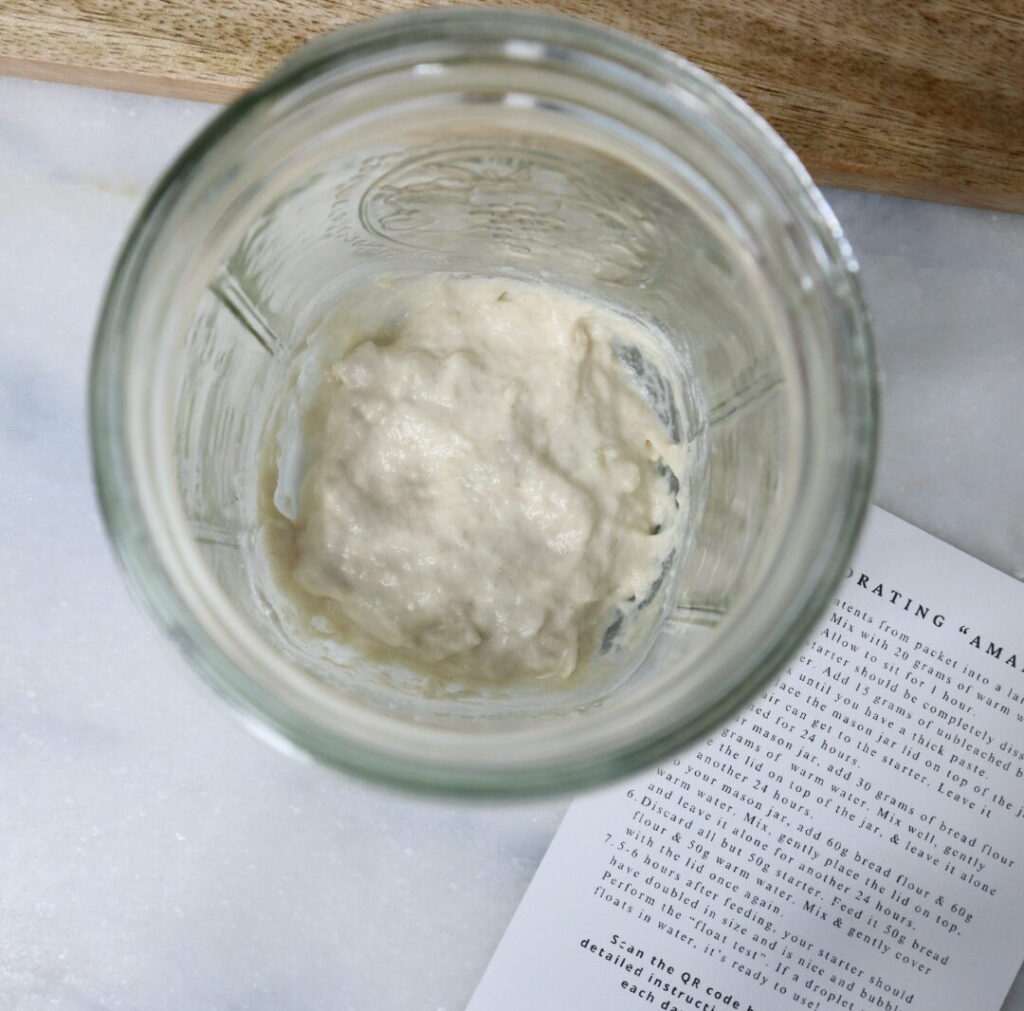
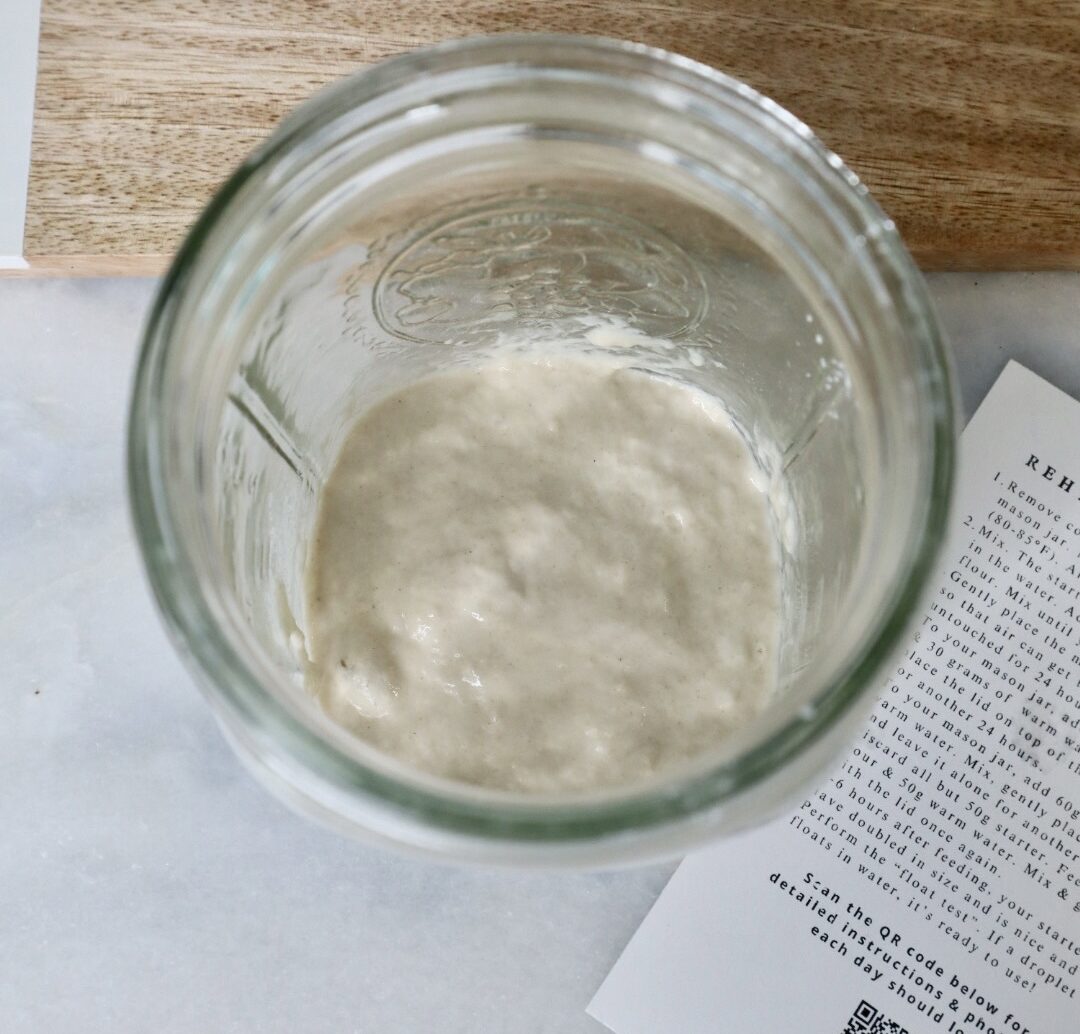
4. To your mason jar, add 30 grams of bread flour & 30 grams of warm water. Mix well, gently place the lid on top of the jar, & leave it alone for another 24 hours.

5. To your mason jar, add 60 grams of bread flour & 60 grams of warm water. Mix, gently place the lid on top, and leave it alone for another 24 hours.
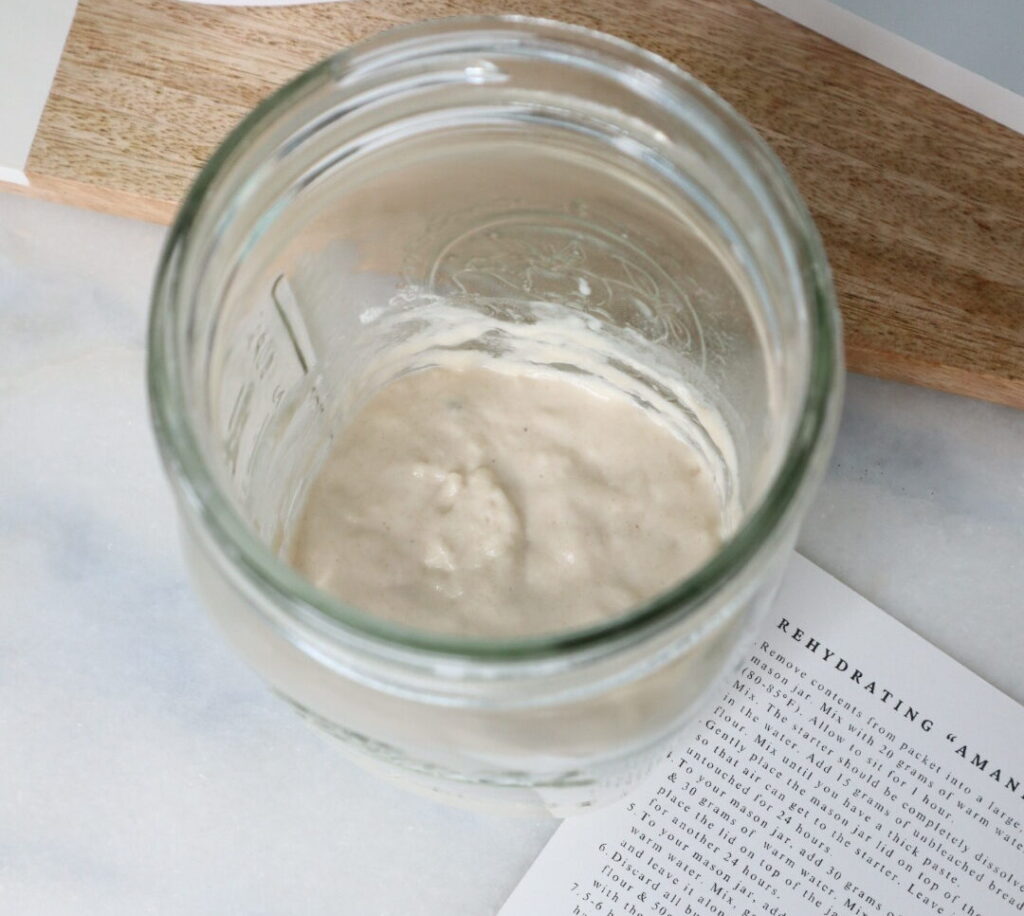
6. Discard all but 50 grams of the starter. You can toss the discard or save it for discard recipes. Feed it 50 grams of bread flour & 50 grams of warm water. Mix & gently cover with the lid once again. If you want to make my classic sourdough loaf today, do 90 grams of starter, flour & water instead of 50 grams. If you are just trying to activate the starter or if you are making a different recipe that does not require too much active starter, 50 grams should be plenty.

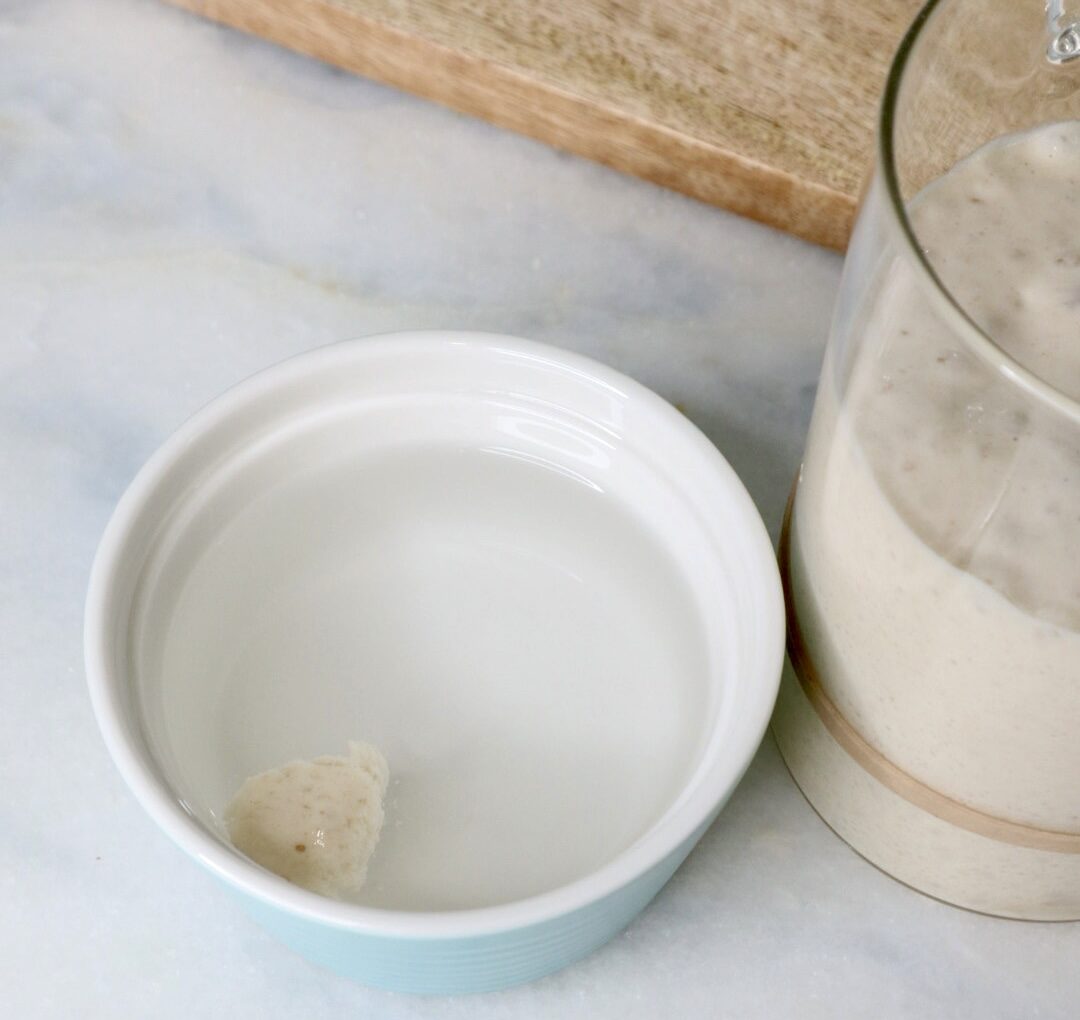
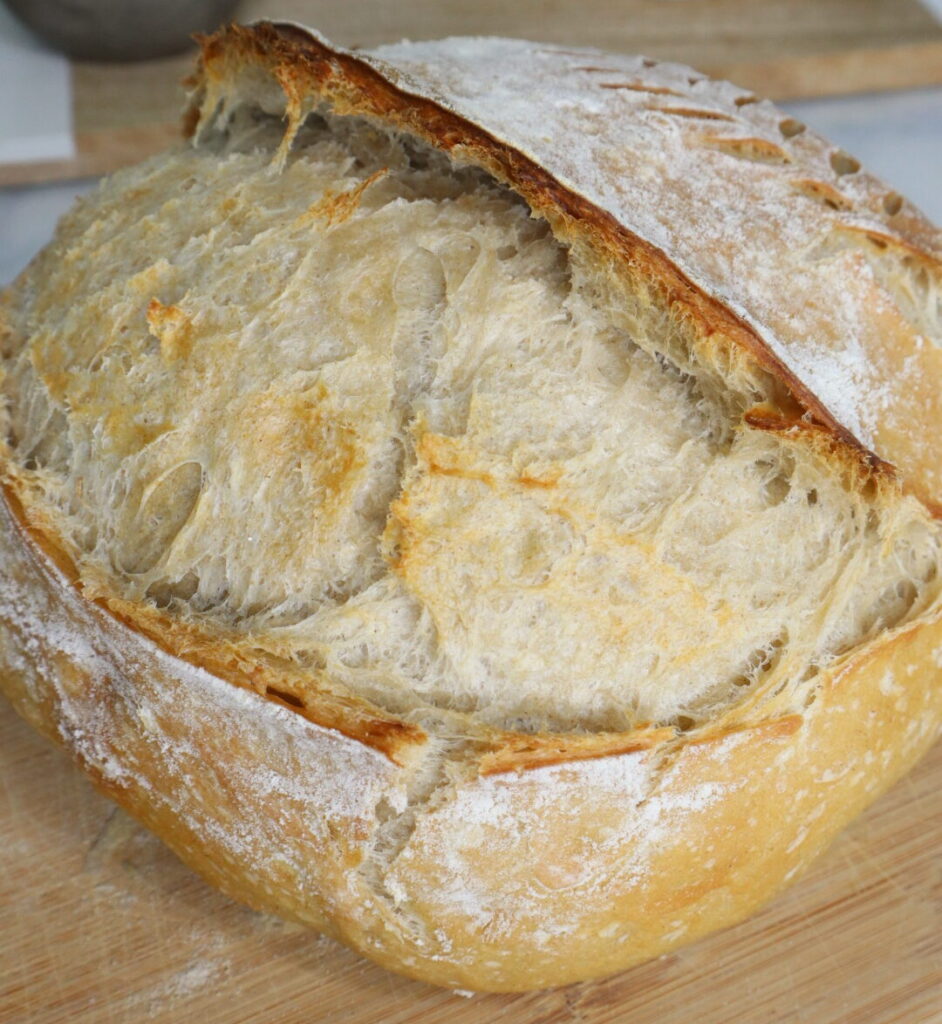
7. 5-6 hours after feeding, your starter should have doubled in size and is nice and bubbly. I use a rubber band to track how much it has grown by.
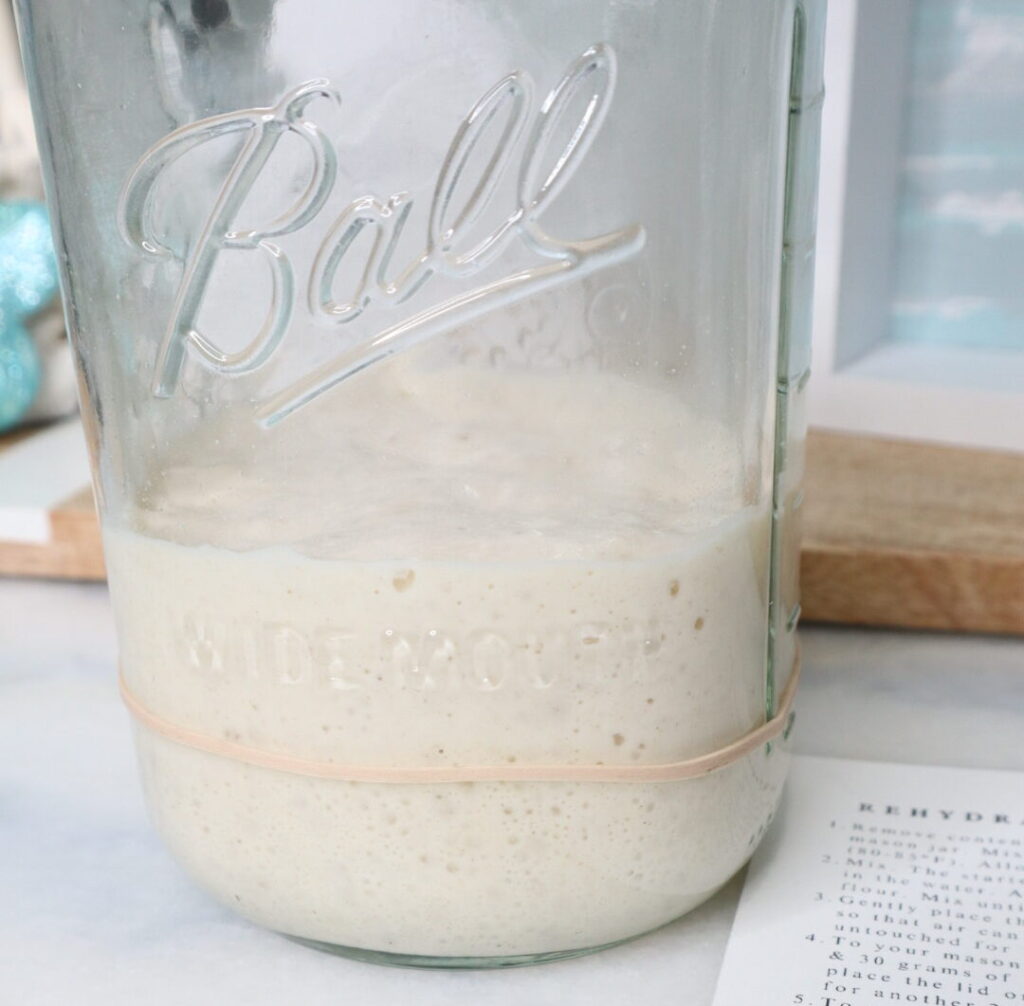
8. Perform the “float test”. Take a teaspoon or so of starter and drop it into a small cup or bowl of water. If it floats, it’s active and ready to use in recipes! If it sinks, give your starter another hour and test again.

How to Care for your Starter Once It Is Alive Again
I know this sounds kind of silly, but your starter is like a little child! You have to take really good care of it to keep it alive. The longer it is alive and you keep it going, the stronger the loaf & flavor!
I legit had a sourdough starter baby sitter when I went to Europe for a month.
If your starter is stored in the fridge, you only need to feed it every 7-10 days to keep it alive. If you store it at room temperature, it needs to be fed every 24 hours. Unless you plan on making a loaf of bread every day, I don’t recommend keeping your starter on the counter. It will grow faster than you can make bread! Storing it in the fridge slows down the process and makes it more manageable.
If you finished day 4 in the instructions above and your goal was to just activate the starter and make bread (or some other recipe) later on, you can store the starter in the fridge with the lid tightly fastened. You can keep it in there for 7-10 days before feeding it again.
When you are ready to use your sourdough starter in a recipe, take it out of the fridge and let it get to room temperature. Feed it equal parts starter, flour and water. Discard anything you have leftover (remember – discard can be saved for discard recipes, you don’t have to throw it away!! I have lots of great discard recipes.). Wait until it doubles in size (about 4-6 hours) and then you can mix that starter into whichever recipe you are making!
Ready To Make Your First Loaf of Sourdough Bread?
Click here for my detailed step-by-step recipe on how to make my classic sourdough loaf.
This recipe is fool proof! I promise. I really broke it down and have no crazy sourdough terminology in there! My recipe has minimal kneading as well, so you don’t have to attend to it 24/7!
Sourdough Essential Tools
Here are the essential tools you should get to make sourdough!
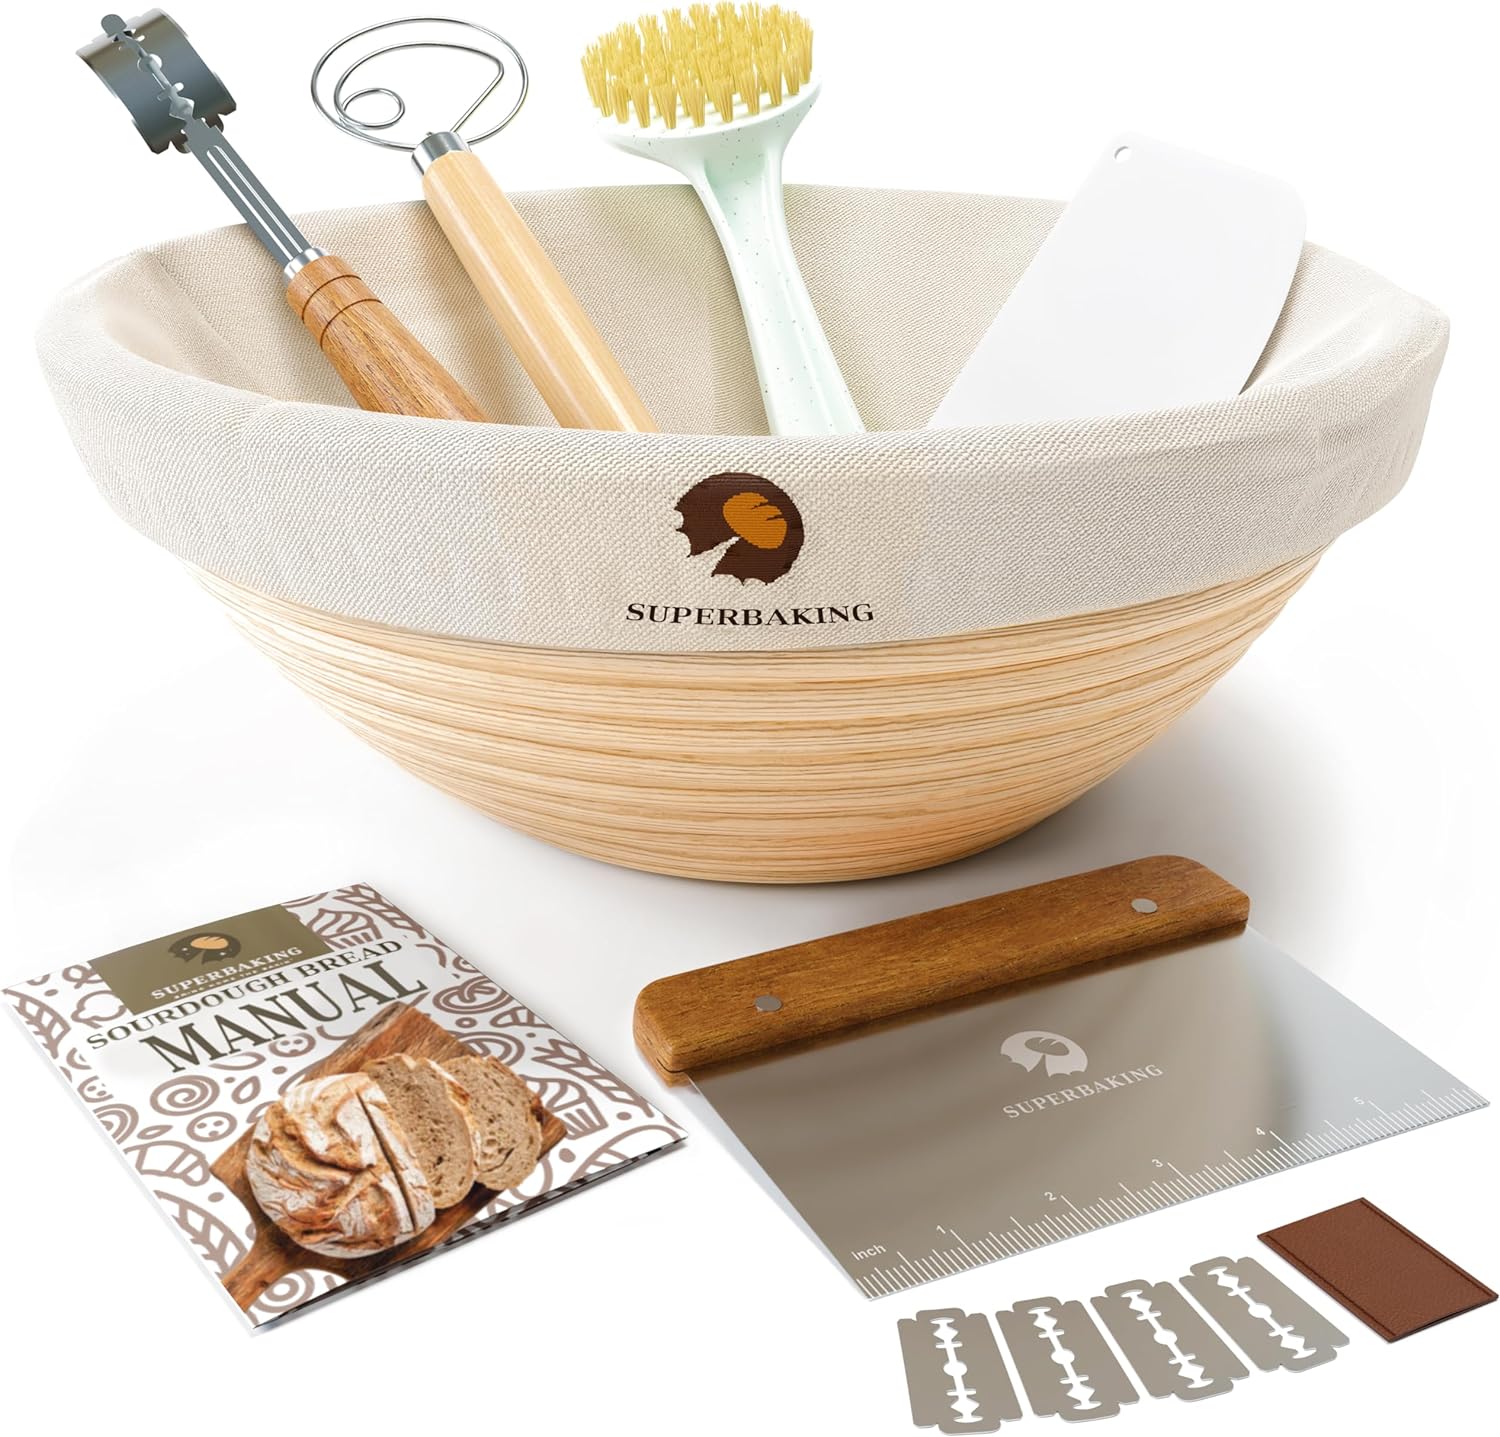
Sourdough Starter Kit
A kit like this from Amazon is great to get your basic essential tools!
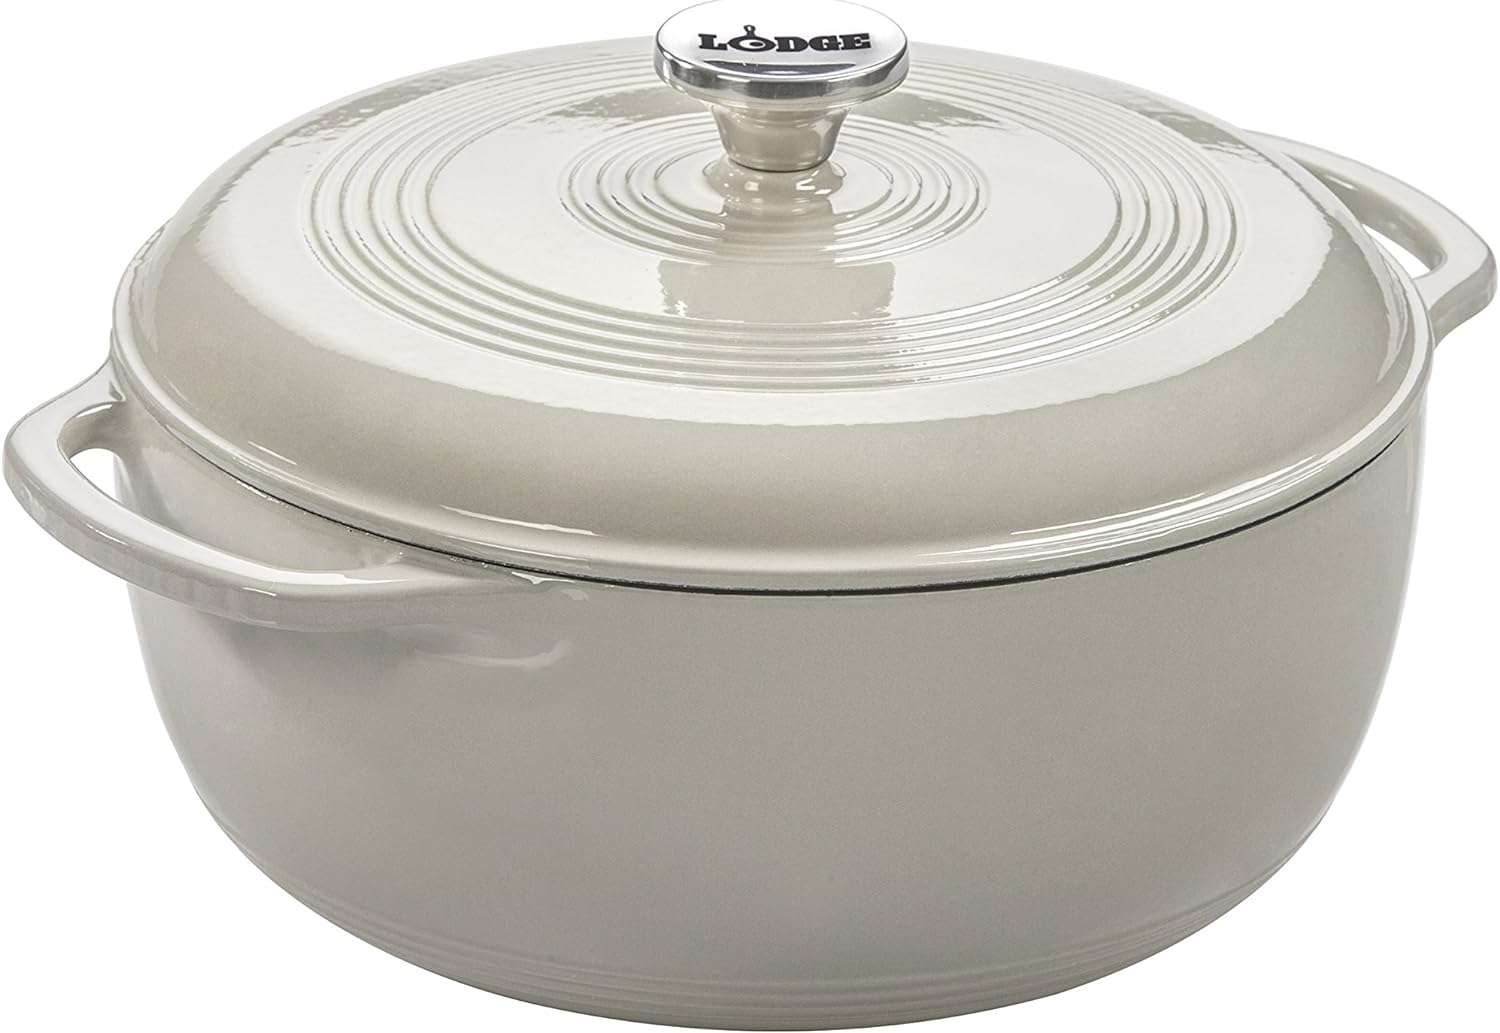
Dutch Oven
To bake your bread in. This is the exact one I have. You don’t need a fancy Le Cruset or anything!
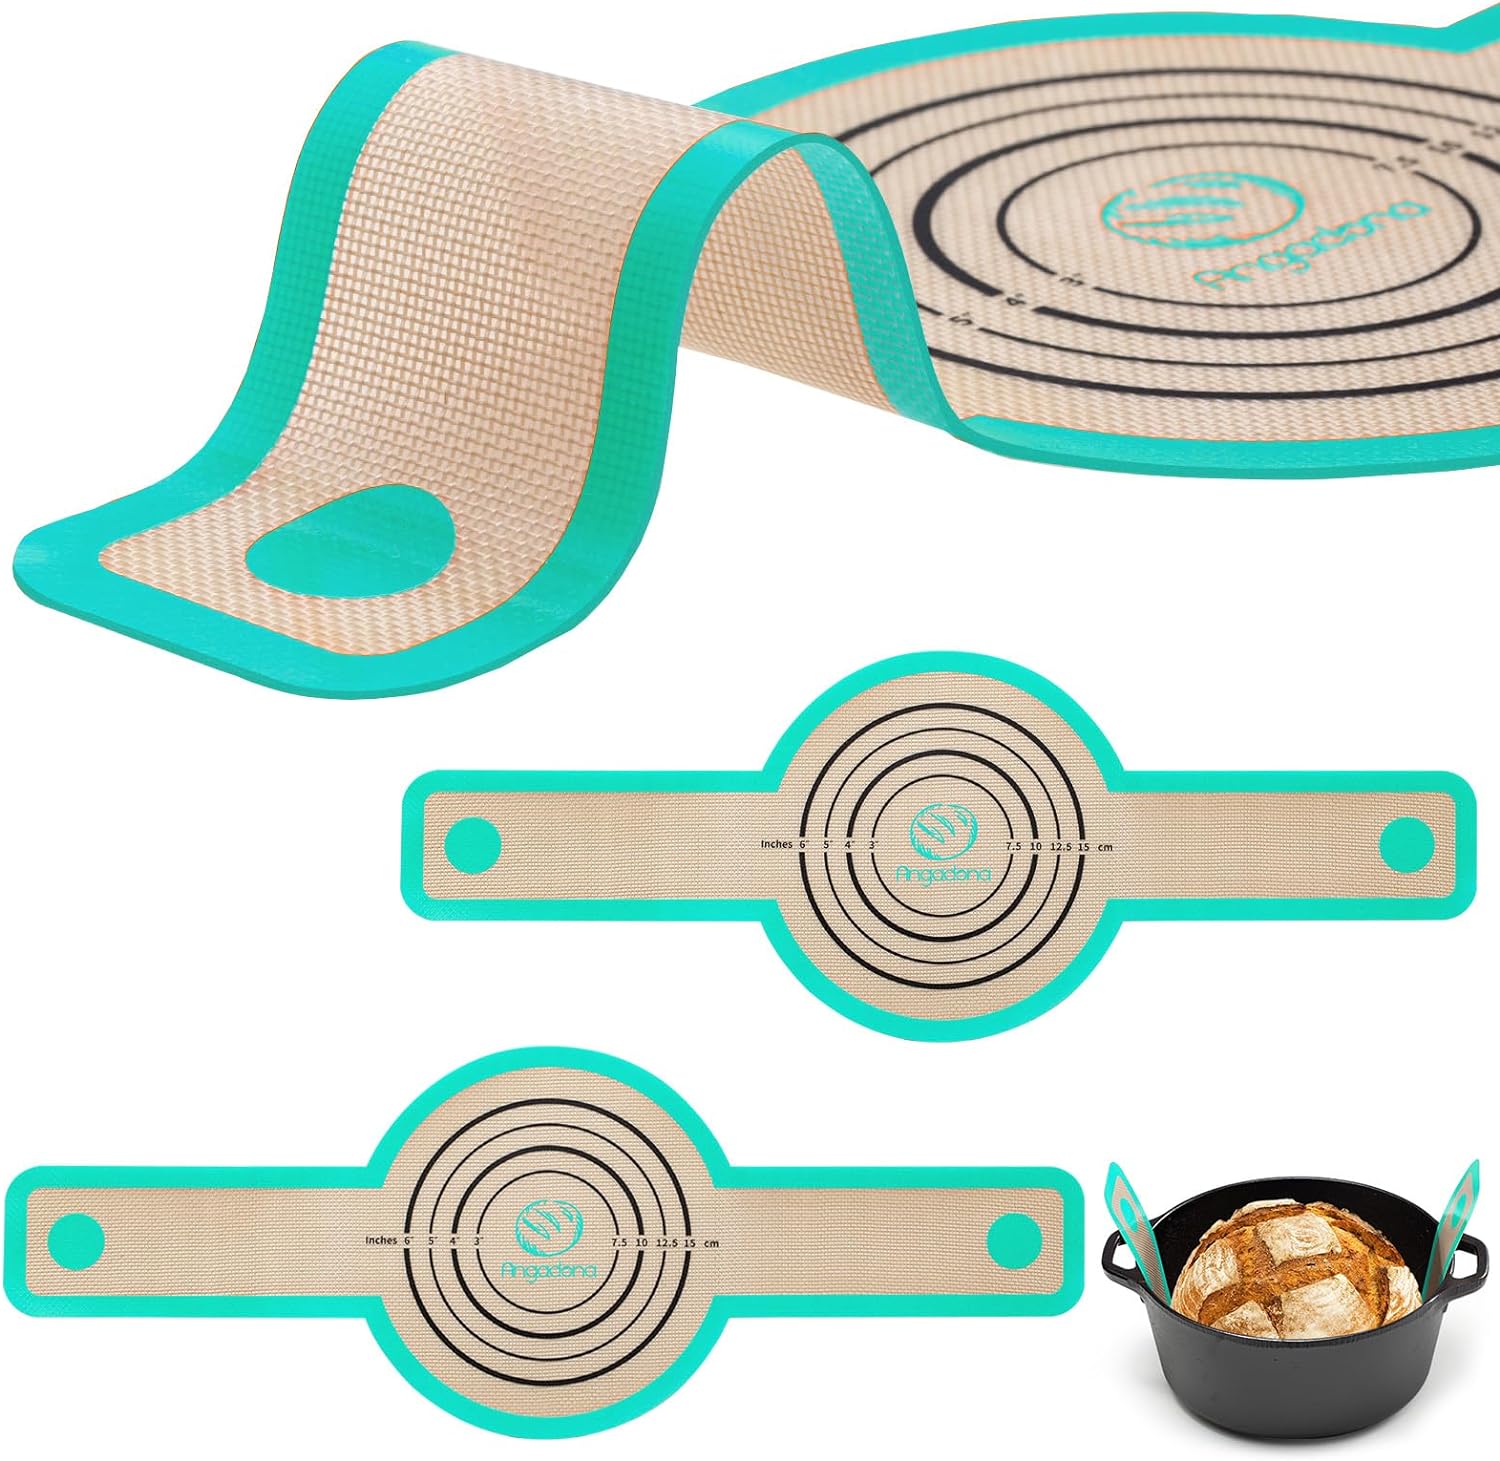
Silicone Bread Sling
Optional, but I try to be as sustainable as possible and love this sling! Or you can use parchment paper.
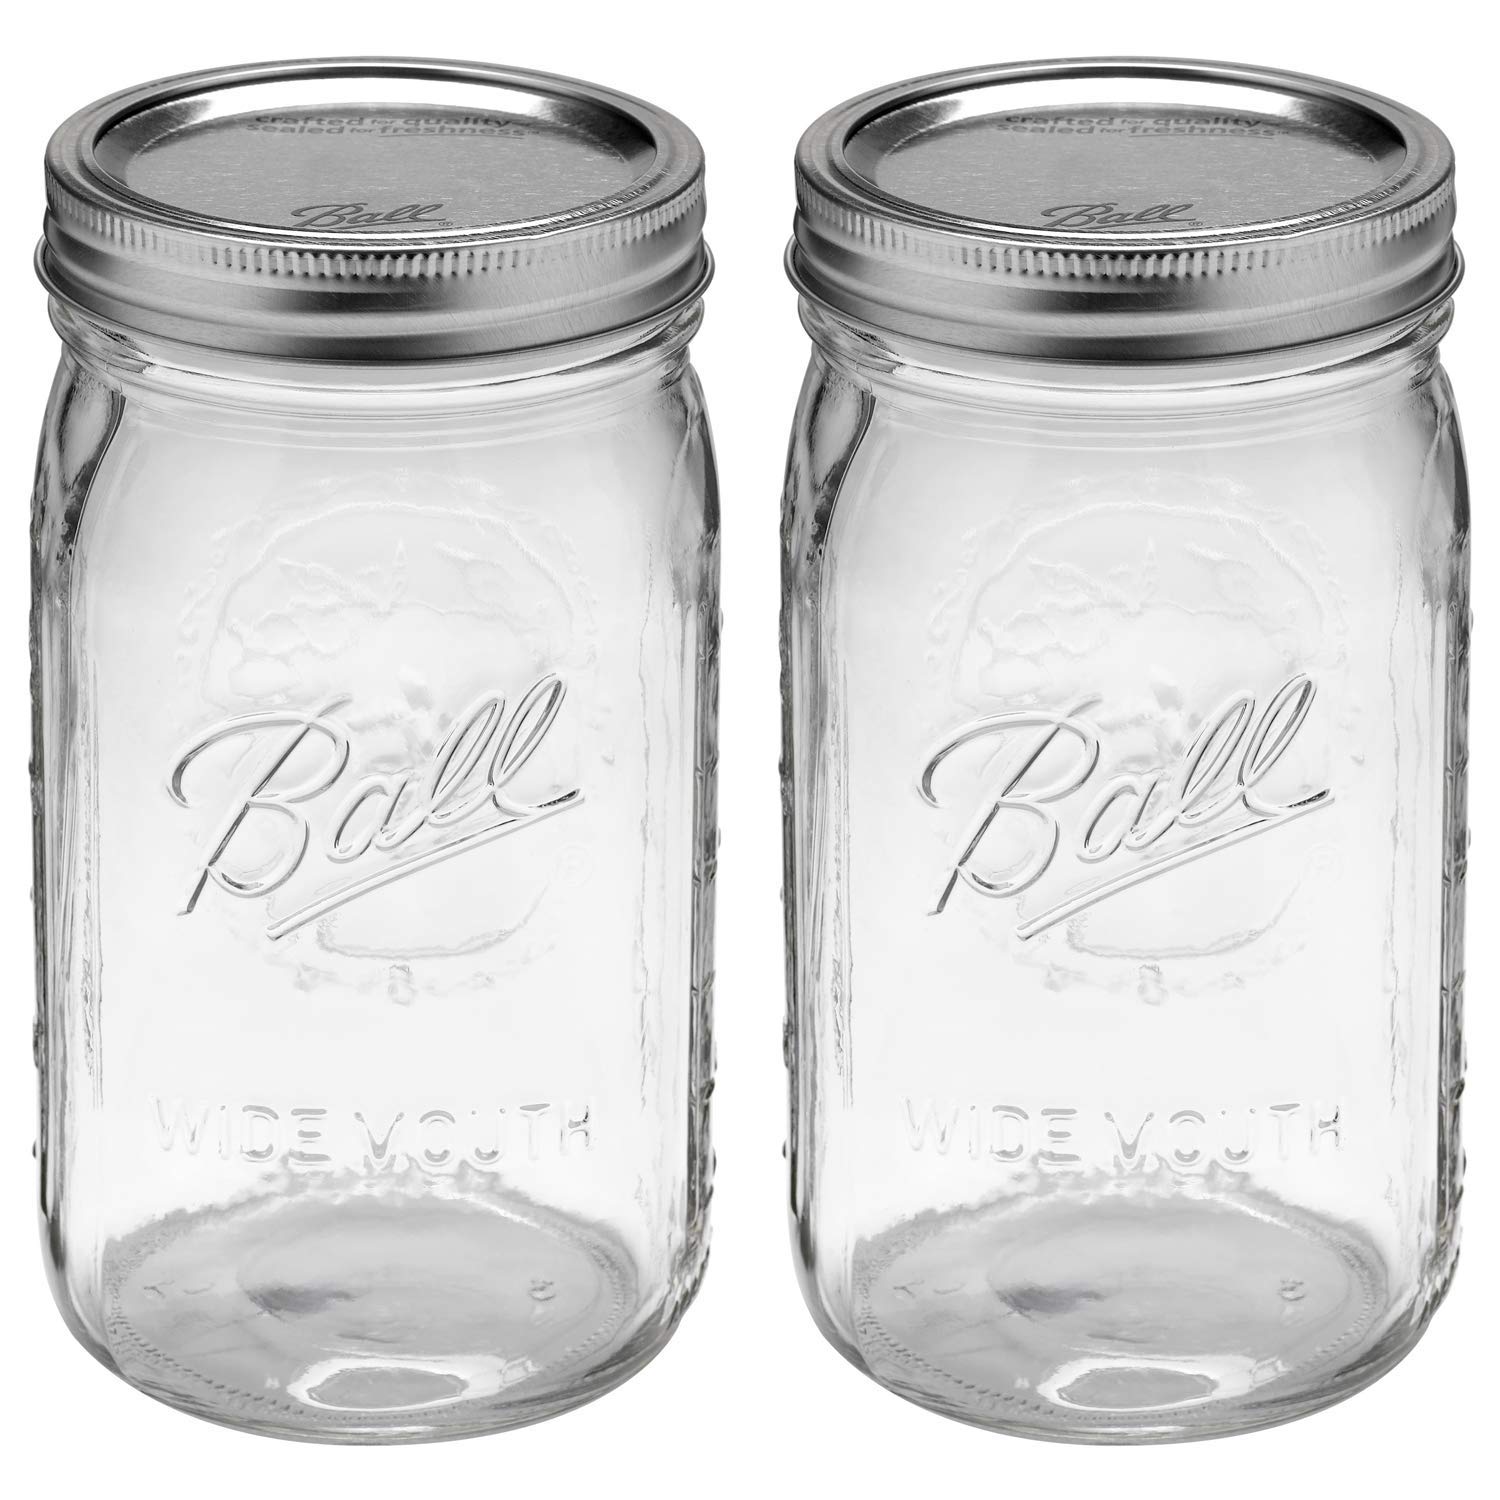
Large Mason Jar
For your sourdough starter
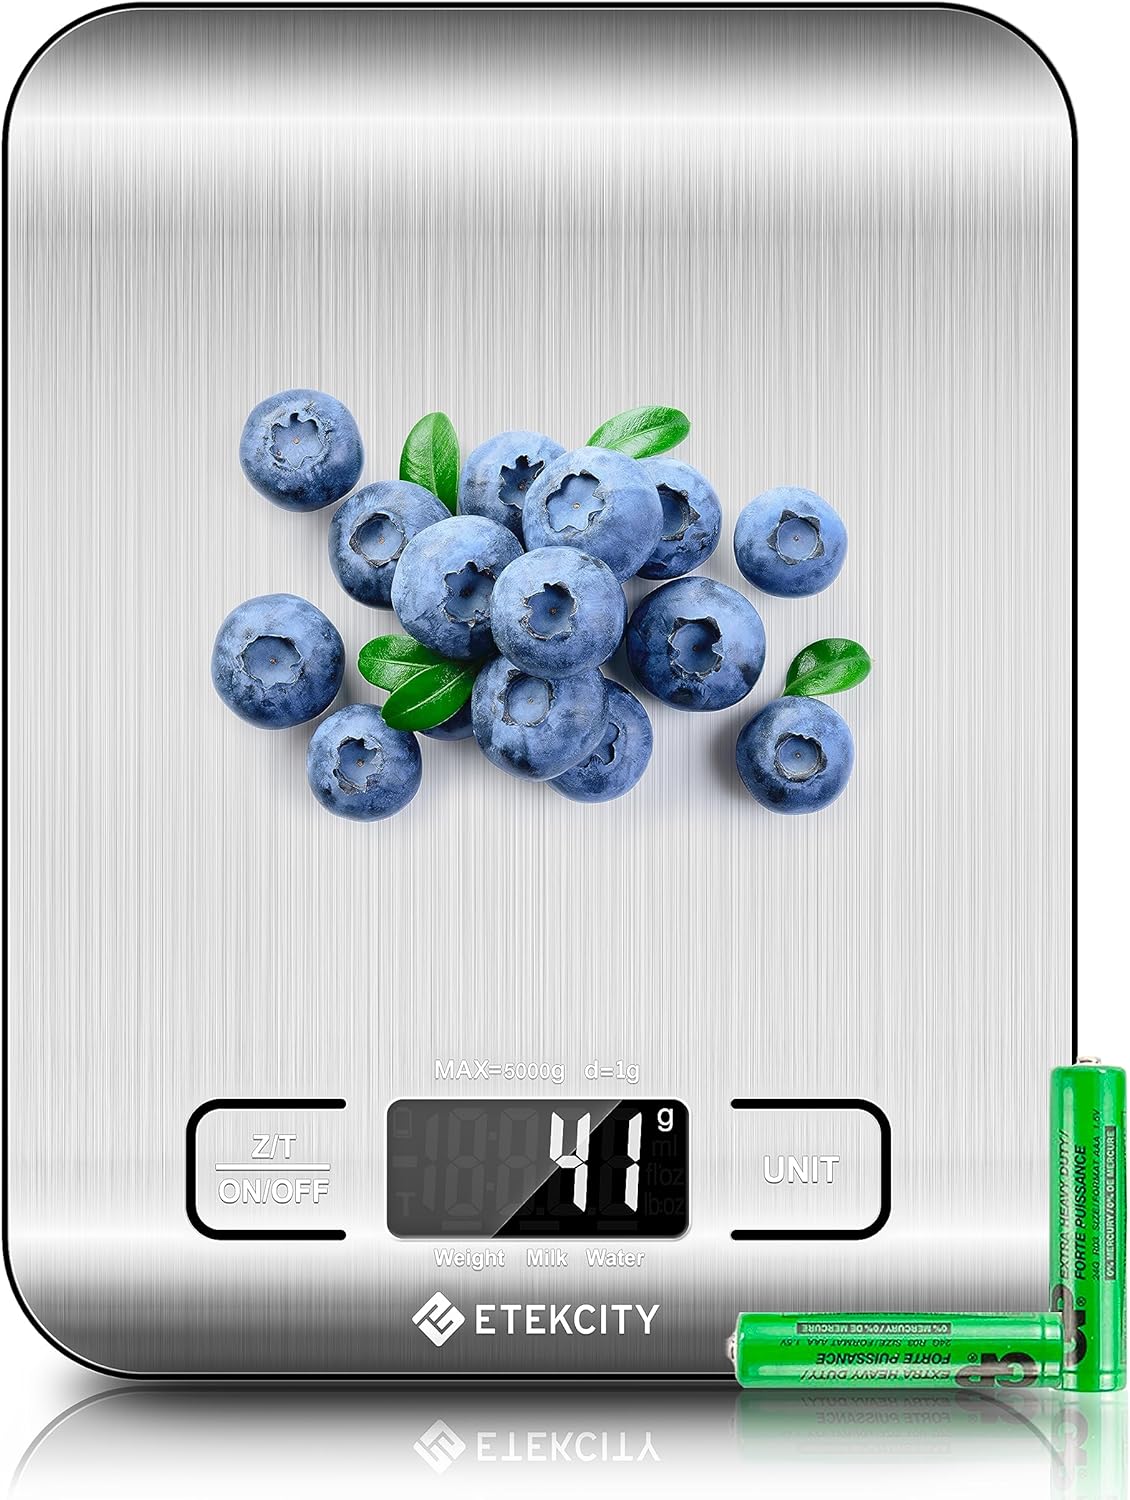
Scale
A handy dandy scale for measuring! Grams are more accurate than cups when it comes to baking things like bread and they are super cheap.
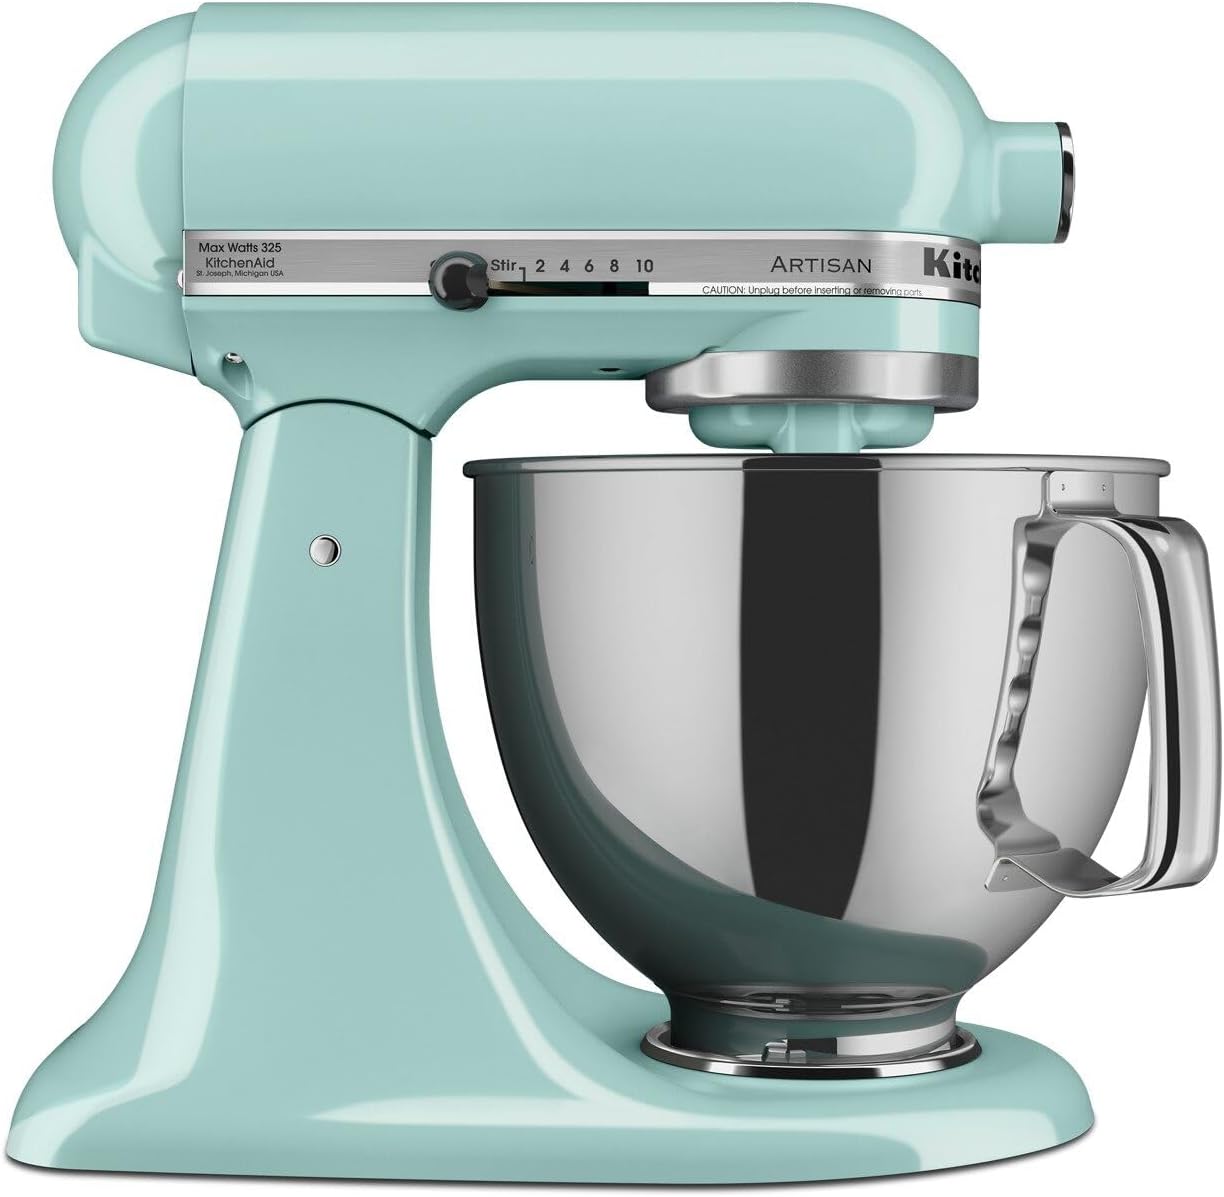
KitchenAid Mixer
You don’t have to have one, but it sure makes it easy when you are initially mixing your dough. If you don’t have one or it’s out of your price range you can mix your dough by hand with the dough whisk that comes in a sourdough starter kit.
Check Me Out on Social Media
I post all my recipe videos on social media as well and you can stay up to date on what I am up to! Also, I love seeing people try my recipes! When make these, snap a picture, and share it to your socials. Tag @cookingkatielady and #cookingkatielady so I can admire your masterpiece and share with others!
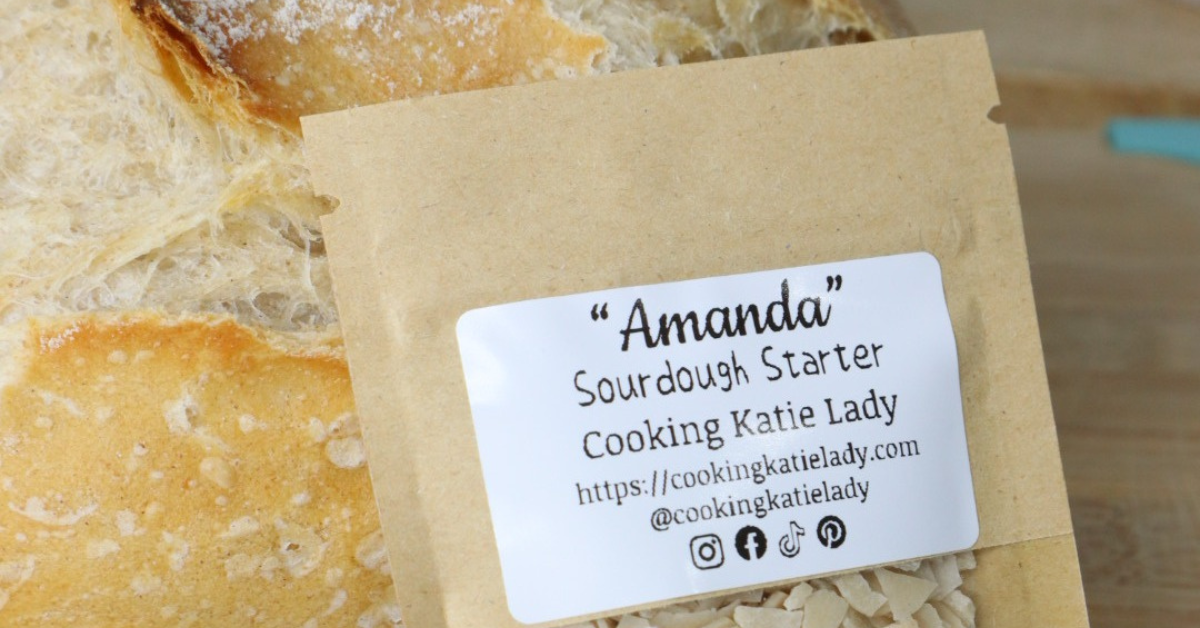
How to Rehydrate “Amanda” Dehydrated Sourdough Starter
Description
Learn how to rehydrate my amazing, well-established dehydrated sourdough starter, "AMANDA" and begin your sourdough journey.
Ingredients


Instructions
-
Remove contents from the packet into a large, glass mason jar (32 oz. or larger). Mix with 20 grams of warm, filtered water (80-85°F). Do not use distilled or reverse osmosis water. Allow to sit for 1 hour to dissolve.
-
Mix up the starter & water. The starter should be completely dissolved (or almost completely dissolved) in the water. Add 15 grams of unbleached bread flour. Mix until you have a thick paste.
-
Gently place the mason jar lid on top of the jar so that air can still get to the starter. Leave it alone & untouched for 24 hours.
-
To your mason jar, add 30 grams of bread flour & 30 grams of warm water. Mix well, gently place the lid on top of the jar, & leave it alone for another 24 hours.

-
To your mason jar, add 60g bread flour & 60g warm water. Mix, gently place the lid on top, and leave it alone for another 24 hours.

-
6. Discard all but 50 grams of the starter. You can toss the discard or save it for discard recipes. Feed it 50 grams of bread flour & 50 grams of warm water. Mix & gently cover with the lid once again. If you want to make my classic sourdough loaf today, do 90 grams of starter, flour & water instead of 50 grams. If you are just trying to activate the starter or if you are making a different recipe that does not require too much active starter, 50 grams should be plenty.
-
5-6 hours after feeding, your starter should have doubled in size and is nice and bubbly.

-
Perform the “float test”. Take a teaspoon or so of starter and drop it into a small cup or bowl of water. If it floats, it’s ready to use!
Nutrition Facts
Nutrition Facts
Servings 1
- Amount Per Serving
- Calories 100kcal
Note
Did you make this recipe?
The next time you make it, snap a picture, and share it to your socials. Tag @cookingkatielady and #cookingkatielady so I can admire your masterpiece and share with others!:)
Please note that my nutrition label is approximate and can have slight rounding.
