


If you’re looking for a creamy, high-protein dessert that tastes like a treat but fuels your body—this Vanilla Cottage Cheese Ice Cream is for you! I make this weekly and keep it stocked in my freezer. It’s perfect on its own, but I especially love serving it with my Gluten-Free Apple Crisp, Gluten Free Strawberry Crisp, or even sandwiched between two cookies for a healthier twist on my Classic Ice Cream Sandwiches.
This version is made with simple, clean ingredients and gets its ultra-creamy texture thanks to the Ninja Creami and my favorite Simply Delish vanilla pudding mix—use my code KATIE10 for 10% off!
BE SURE TO SAVE THIS RECIPE TO YOUR FAVORITE PINTEREST BOARD FOR LATER!
Why You’ll Love This Ice Cream:
- Low-Calorie: Enjoy a scoop (or two) without feeling guilty.
- High-Protein: Packed with protein to help you stay full longer and support muscle recovery.
- Gluten-Free & Refined Sugar-Free: No refined sugars or gluten, making it a great option for those with dietary restrictions or anyone looking for a cleaner treat.
- Simple Ingredients: You only need 4 ingredients!
What You Will Need:
- Blender or Ninja Creami – To get the true ice cream consistency, you will need a blender. I have a Ninja CREAMi Ice Cream Maker, which is HIGHLY recommended. It gives the perfect combination of speed, pressure, and time to create creamy ice cream. Ninja’s innovative Creamerizer System finely shaves and churns ice particles, which differentiates it so much from a regular blender. You won’t have those frozen icy pieces. It is an investment, but SO worth it.
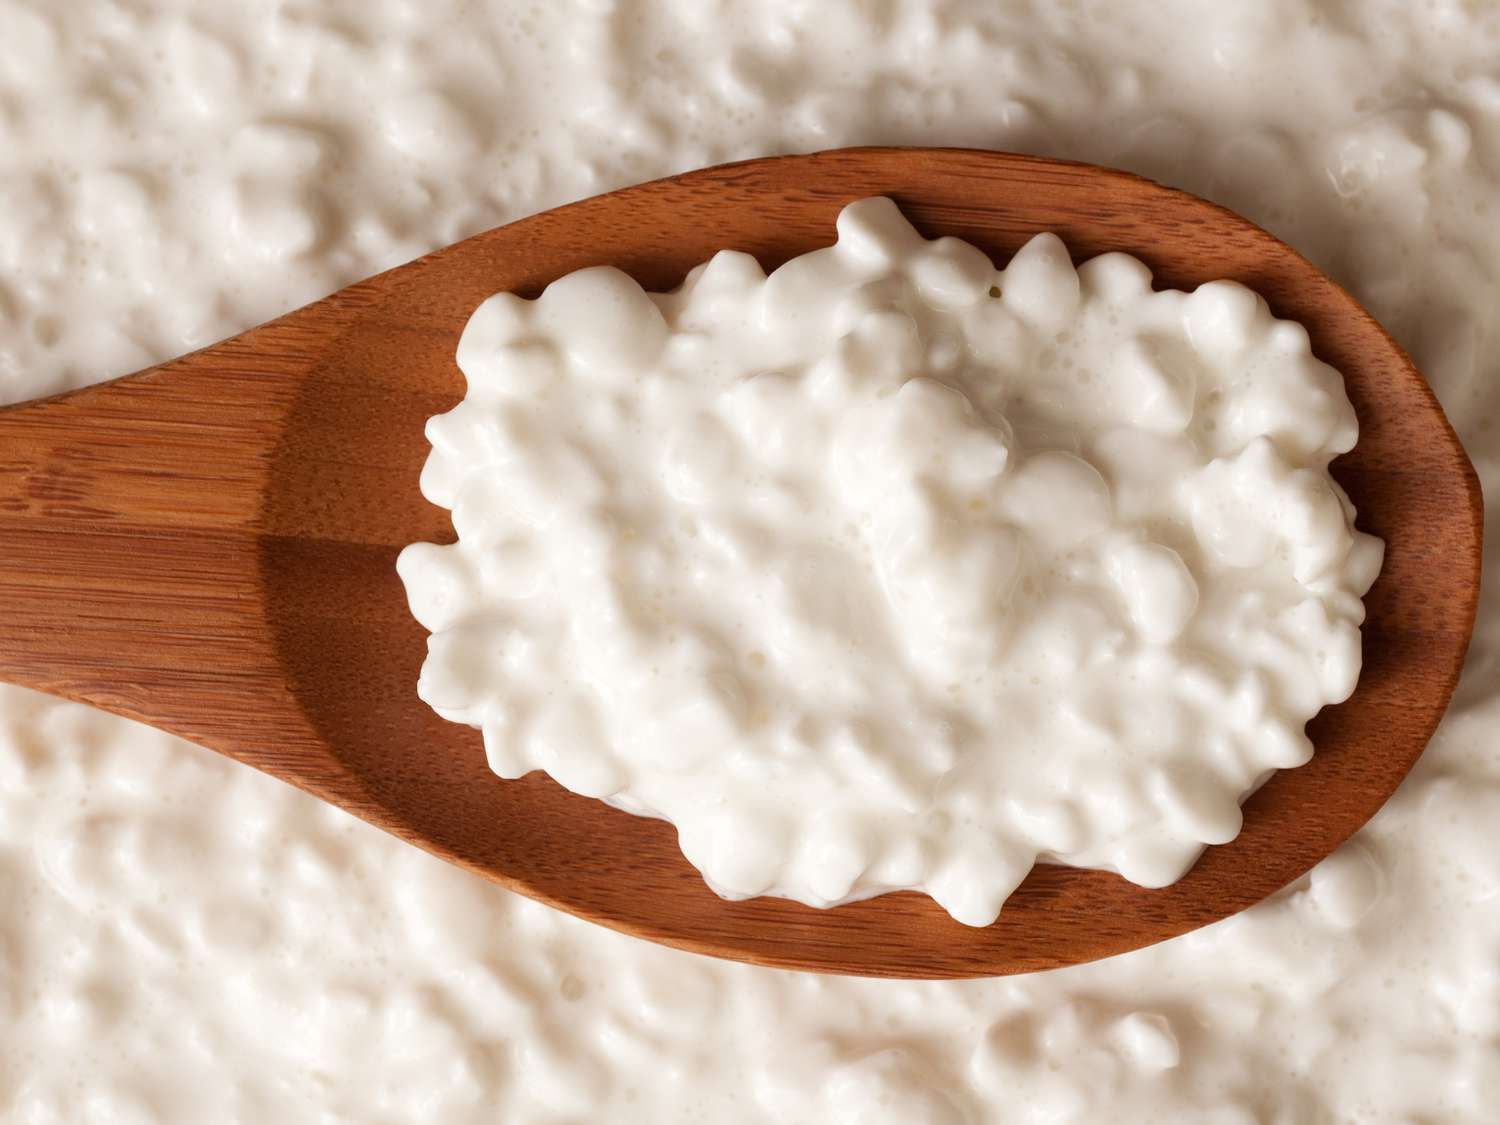
- Cottage Cheese – You will need 16 ounces of cottage cheese. I used 1% small curd to keep the fat and calories lower, but use what you prefer!
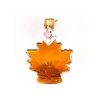
- Maple Syrup – 1/8 cup organic maple syrup
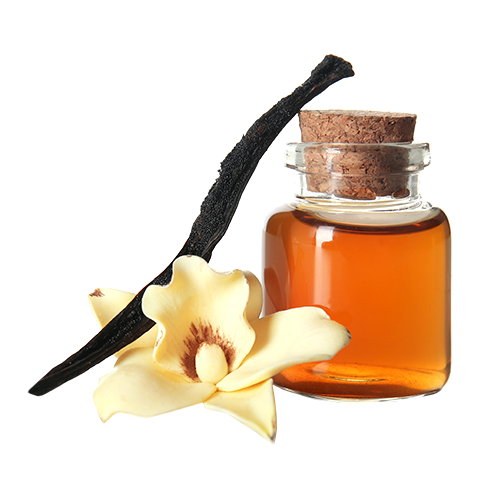
- Vanilla Bean Paste – 1/2 tsp vanilla bean paste (or sub vanilla extract if you don’t have or can not find)
- Vanilla Pudding Mix – 2 tbsp Simply Delish Sugar Free Vanilla Pudding Mix (sweetened with stevia!) – Code KATIE10 for 10% off.

How To Make It
- In a pint sized Ninja CREAMi container, combine all the ingredients. Mix well, cover with the lid, & freeze. This should take about 4-6 hours or so.
- Blend the ice cream in your Ninja CREAMi using the lite ice cream setting. I run it twice to ensure it is fully incorporated.
- Immediately dig in and enjoy!
If you like your ice cream a bit softer, you can always process it a second time in the Ninja CREAMi, or let it sit out for a few minutes before scooping.
How To Store Leftovers
If you end up having any leftovers, you can store them in an air tight container in the freezer for up to 1 month. I like to let mine defrost a few hours before I want to enjoy it again in my fridge for that perfect creamy consistency. Or, you can run it under hot water for 2 minutes and then re-mix it in your CREAMi.
Why the Ninja CREAMi is a Game-Changer
The Ninja CREAMi is truly a game-changer when it comes to making homemade ice cream. Unlike traditional ice cream makers that require constant attention and churning, the Ninja CREAMi takes your frozen base and transforms it into a perfectly creamy texture in just a few minutes. Whether you’re making a healthy version like this one or a more indulgent treat, the CREAMi ensures that every scoop is smooth and velvety.
Check Me Out On Social Media!
I post all of my recipes on social media as well and you can stay up-to-date on what I am up to! Also, I love seeing people try my recipes! When make these, snap a picture and share it to your socials. Tag @cookingkatielady and #cookingkatielady so I can admire your masterpiece and share with others!
The Ninja CREAMi makes it so easy to create healthy, high-protein frozen desserts at home, and this honey sea salt ice cream is the perfect example of how simple, wholesome ingredients can create a treat that tastes indulgent without the guilt.
high protein ice cream, cottage cheese ice cream, ninja creami recipe, healthy vanilla ice cream, no churn ice cream, protein dessert, gluten free ice cream, low sugar dessert, simply delish recipes, healthy snacks for summer, homemade ice cream no machine

Vanilla Cottage Cheese Protein Ice Cream (Ninja CREAMi)
Description
If you're looking for a creamy, high-protein dessert that tastes like a treat but fuels your body—this Vanilla Cottage Cheese Ice Cream is for you! I make this weekly and keep it stocked in my freezer. It’s perfect on its own, but I especially love serving it with my Gluten-Free Apple Crisp, Gluten Free Strawberry Crisp, or even sandwiched between two cookies for a healthier twist on my Classic Ice Cream Sandwiches.
Ingredients
Instructions
-
In a pint sized Ninja CREAMi container, combine all the ingredients. Mix well, cover with the lid, & freeze. This should take about 4-6 hours or so.
-
Blend the ice cream in your Ninja CREAMi using the lite ice cream setting. I run it twice to ensure it is fully incorporated.
-
Immediately dig in and enjoy!

Nutrition Facts
Nutrition Facts
Servings 4
- Amount Per Serving
- Calories 129kcal
- % Daily Value *
- Total Fat 1g2%
- Saturated Fat 0.5g3%
- Cholesterol 10mg4%
- Sodium 597.9mg25%
- Total Carbohydrate 15.3g6%
- Dietary Fiber 0.5g2%
- Sugars 9g
- Protein 13g26%
* Percent Daily Values are based on a 2,000 calorie diet. Your daily value may be higher or lower depending on your calorie needs.
Note
Did you make this recipe?
The next time you make it, snap a picture, and share it to your socials. Tag @cookingkatielady and #cookingkatielady so I can admire your masterpiece and share with others!:)
Please note that my nutrition label is approximate and can have slight rounding. Macros can very depending on brands you use.

Hey LaWanda,
You can blend your ice cream as soon as it has time to completely freeze:) Hope you enjoy!
I want to try this recipe since I have a lot of cottage cheese that needs to be used. A 24-hour freeze is not mandatory.