


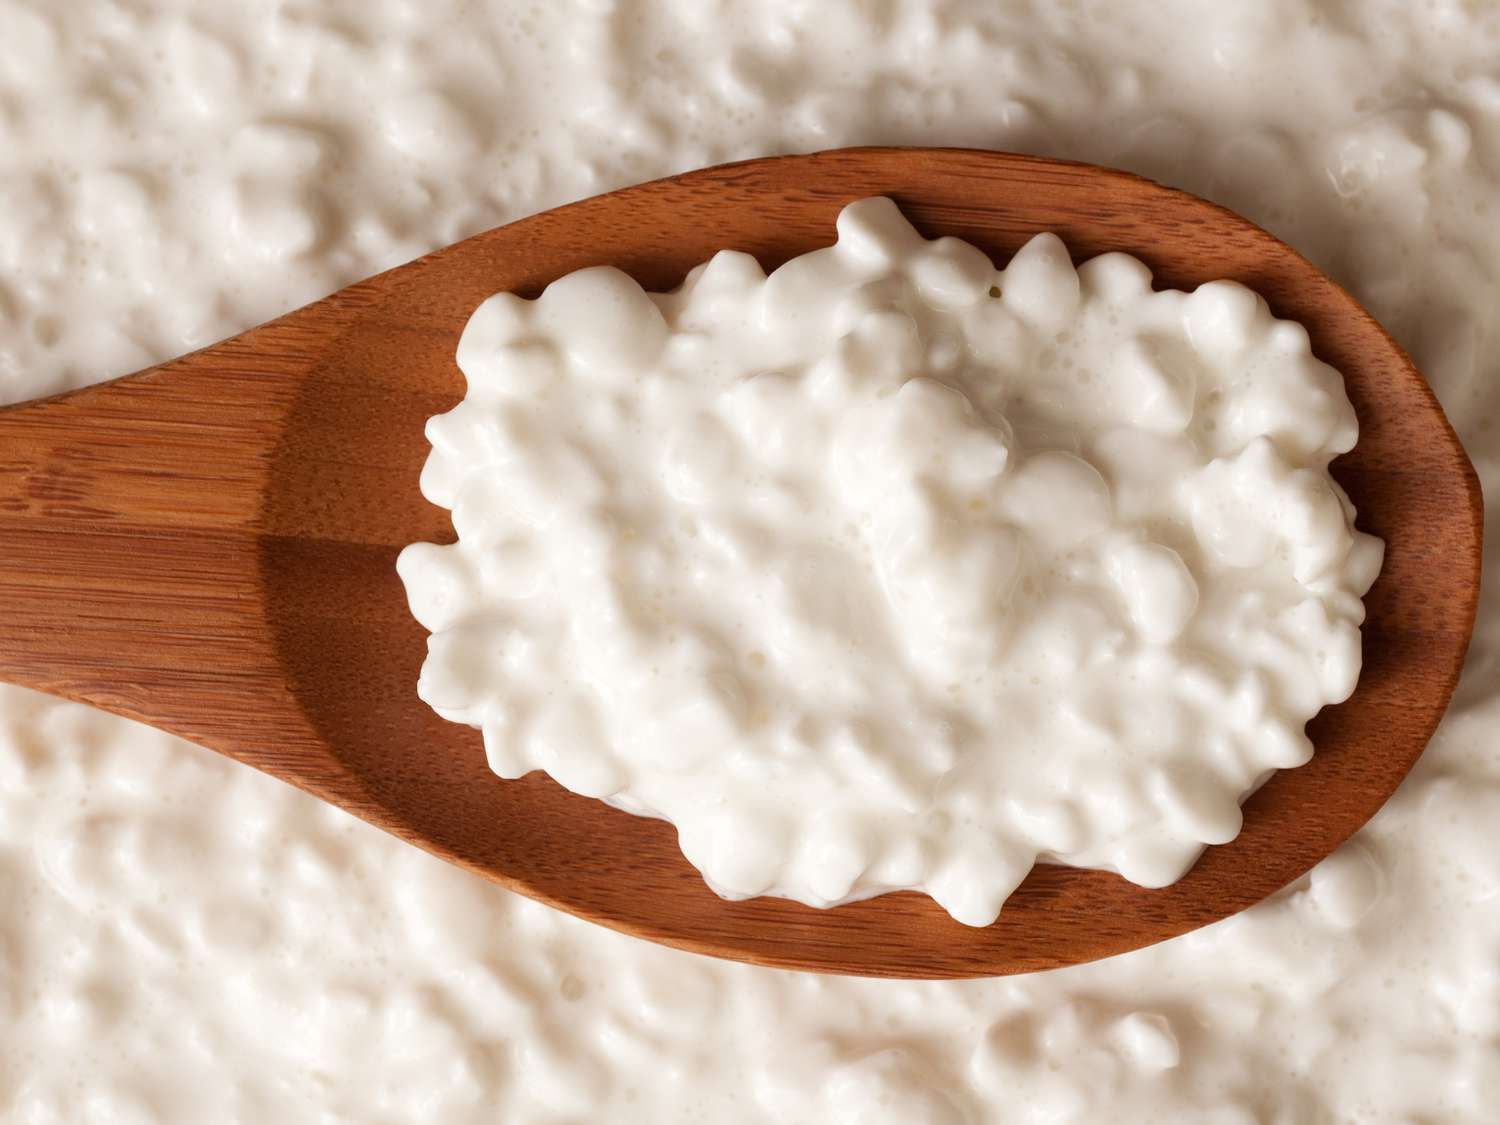
This Cottage Cheese & Greek Yogurt Cheesecake is a delicious, rich dessert but without all the calories, sugar, and carbs! You can enjoy this cottage cheese cheesecake with or without a crust. I chose to serve mine with a store-bought pecan pie crust to make it easy! You could also use a combination of granola and butter/coconut oil to make a healthy crust. The macros below do not include a crust and you will have to adjust depending on what you decide to use! Try topping your cheesecake off with my homemade Healthy Blueberry Jam and it won’t disappoint!
This cheesecake is high protein, low calorie, refined sugar-free, and can easily be made gluten-free as well.
BE SURE TO SAVE THIS RECIPE TO YOUR FAVORITE PINTEREST BOARD FOR LATER!
Why You’ll Love This Healthy Cheesecake
- ✅ High in protein – Thanks to the cottage cheese and Greek yogurt, each slice is packed with protein to keep you full and satisfied.
- ✅ Lower in fat and sugar – We’ve ditched the traditional cream cheese and swapped in wholesome, low-fat ingredients.
- ✅ Naturally sweetened – With a touch of maple syrup and optional zero-calorie sweetener, it’s sweet without the sugar crash.
- ✅ Easy to make – No fancy techniques or complicated ingredients here—just blend, mix, bake, and chill.
Ingredients
- Cottage Cheese – 2 1/3 cups of 1% small curd low-fat cottage cheese. This is the creamy base that gives the cheesecake its smooth texture while keeping things lighter.
- Greek Yogurt – 1 cup of plain, nonfat Greek yogurt for extra creaminess and a boost of protein.
- Eggs – 2 large eggs to help bind everything together and give the cheesecake its structure.
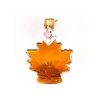
- Maple Syrup – 1/4 cup of organic maple syrup for natural sweetness and a subtle hint of that warm maple flavor.
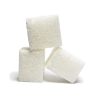
- Swerve, Monk Fruit, or Sweetener of Choice – 1/8 cup of a granular zero-calorie sweetener like Swerve or monk fruit. Totally optional, but it adds a little extra sweetness if you’ve got a sweet tooth!
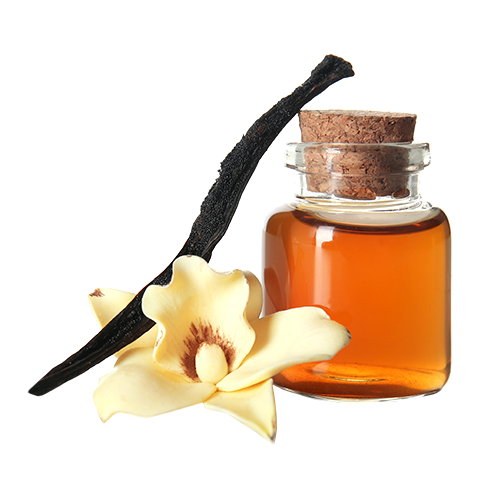
- Vanilla Extract – 1/2 teaspoon of pure vanilla extract to round out the flavors.
- Salt – Just a pinch to balance everything out.

How To Make It
- Preheat the Oven: Set your oven to 350°F (175°C). If you’re using a standard pie or cake pan, line it with parchment paper for easy removal. If you’re going with a prepared pie crust (like I often do), just set it aside for now.
- Blend Until Smooth: In a food processor or high-speed blender, combine the cottage cheese and Greek yogurt. Blend until the mixture is completely smooth and creamy—no lumps should remain.
- Mix It All Together: In a medium mixing bowl, whisk together the eggs, maple syrup, sweetener (like monk fruit or Swerve), vanilla extract, and a pinch of salt. Stir in the blended cottage cheese mixture until everything is fully combined.
- Pour & Bake: Pour the batter into your prepared pie pan, cake pan, or directly into the crust of your choice. Bake for 1 hour, or until the center is just set and the edges are slightly golden.
- Chill & Serve: Let the cheesecake cool to room temperature, then transfer it to the fridge to chill for at least 4 hours (overnight is even better!). Slice, serve, and enjoy your lighter, protein-packed cheesecake!


Where’s The Cream Cheese?
Yup, you read that right! One of the most common questions I get is:
“Where’s the cream cheese?”
This isn’t your typical cheesecake—and that’s the point. By using cottage cheese, we’re cutting down on some of the richness while still keeping the creamy texture. If you’re a die-hard cream cheese lover and want to bring back that classic flavor, feel free to swap in some cream cheese for the cottage cheese or Greek yogurt. You can do a 1:1 substitution and still end up with a delicious dessert. This version is just my way of keeping things a little lighter without compromising on taste.
A Few Tips for Serving & Storing
This cheesecake is perfect served chilled with your favorite fruit topping, a drizzle of honey, or even just plain (yes, it’s that good).
Got leftovers?
Store any remaining slices in an airtight container in the refrigerator. They’ll keep well for up to 5 days—if they last that long!
Let’s Talk Crust Options 🍯🥧
One of the best parts about cheesecake is the crust—and yes, you can still keep it healthy and delicious. You can totally bake it without a crust though as well!
Here are a few options depending on your dietary goals and time:
✅ Store-Bought Healthy Graham Cracker Crusts
If you’re looking for convenience, there are some great healthier graham-style crusts available at most grocery stores:
- Mi-Del Graham Style Pie Crust (Gluten-Free)
- Wholly Wholesome Organic Graham Cracker Crust
- Keebler Reduced Fat Ready Crust (if you’re watching fat but not strictly all-natural)
These options are great for saving time, and many are made with organic or gluten-free ingredients.
🌾DIY Cleaner Crust Option with Simple Mills
Want something with fewer processed ingredients and no refined sugar? Try making a homemade crust using Simple Mills Honey Cinnamon Sweet Thins! These are made with almond flour and sweetened naturally with honey and coconut sugar.
Here’s a quick crust recipe using them:
Ingredients:
- 1 box of Simple Mills Honey Cinnamon Sweet Thins
- 3–4 tbsp coconut oil or melted butter
- Pinch of salt (optional)
Instructions:
- Crush the Honey Thins into fine crumbs using a food processor or rolling pin.
- Mix in the melted coconut oil or butter until the texture resembles wet sand.
- Press the mixture into the bottom of a parchment-lined pie dish or springform pan.
- Prebake at 350°F for 8–10 minutes to set the crust before pouring in your cheesecake filling.
This version gives you a nutty, slightly sweet crust that pairs perfectly with the tangy cheesecake filling—and it’s naturally gluten-free and grain-free.
Check Me Out on Social Media!
I post all my recipes on social media as well and you can stay up to date on what I am up to! Also, I love seeing people try my recipes! When make these, snap a picture, and share it to your socials. Tag @cookingkatielady and #cookingkatielady so I can admire your masterpiece and share with others!
If you’re looking for a healthy cheesecake recipe that’s high in protein, low in fat, and still unbelievably creamy, you’re going to love this Greek Yogurt and Cottage Cheese Cheesecake. It’s the perfect blend of indulgence and nutrition—making it the ultimate treat for anyone wanting to enjoy dessert while sticking to their health goals.
Whether you’re tracking macros, living a high-protein lifestyle, or just want a lighter dessert option, this recipe has you covered.

Description
This Cottage Cheese & Greek Yogurt Cheesecake is a delicious, rich dessert but without all the calories, sugar, and carbs! You can enjoy this cheesecake with or without a crust. I chose to serve mine with a store-bought pecan pie crust to make it easy! The macros below do not include a crust and you will have to adjust depending on what you decide to use! Try topping your cheesecake off with my homemade Healthy Blueberry Jam and it won't disappoint!
Ingredients


Instructions
-
Preheat the Oven: Set your oven to 350°F (175°C). If you're using a standard pie or cake pan, line it with parchment paper for easy removal. If you’re going with a prepared pie crust (like I often do), just set it aside for now.
-
Blend Until Smooth: In a food processor or high-speed blender, combine the cottage cheese and Greek yogurt. Blend until the mixture is completely smooth and creamy—no lumps should remain.
-
Mix It All Together: In a medium mixing bowl, whisk together the eggs, maple syrup, sweetener (like monk fruit or Swerve), vanilla extract, and a pinch of salt. Stir in the blended cottage cheese mixture until everything is fully combined.
-
Pour & Bake: Pour the batter into your prepared pie pan, cake pan, or directly into the crust of your choice. Bake for 1 hour, or until the center is just set and the edges are slightly golden.
-
Chill & Serve: Let the cheesecake cool to room temperature, then transfer it to the fridge to chill for at least 4 hours (overnight is even better!). Slice, serve, and enjoy your lighter, protein-packed cheesecake!
Nutrition Facts
Nutrition Facts
Servings 8
Serving Size 1 slice
- Amount Per Serving
- Calories 93kcal
- % Daily Value *
- Total Fat 2.7g5%
- Saturated Fat 1g5%
- Cholesterol 61.6mg21%
- Sodium 257.7mg11%
- Total Carbohydrate 4.5g2%
- Sugars 3.5g
- Protein 12.2g25%
* Percent Daily Values are based on a 2,000 calorie diet. Your daily value may be higher or lower depending on your calorie needs.
Note
Did you make this recipe?
The next time you make it, snap a picture, and share it to your socials. Tag @cookingkatielady and #cookingkatielady so I can admire your masterpiece and share with others!:)
Please note that my nutrition label is approximate and can have slight rounding. Macros can vary depending on the brands you use.
User Reviews
Very tasty. I only had enough cottage cheese to make 1/2 recipe. Still plenty for pie
So glad to hear that!
Delicious and easy! i had a blast making it for my mother in-law who just got her gallbladder removed!
Hey Jennifer. Thanks for your feedback. So glad you both enjoyed these!
I would love to try this. Why do you use maple syrup and swerve? Can I just use all maple syrup? And do you have a healthy almond flour crust recipe with no sugar or sugar alcohol? Thanks.
I have not tried just using all maple syrup. I am sure you could, but the texture won’t be exactly the same. You could also sub coconut sugar or monk fruit for the swerve.
Wanted to love this recipe so much but unfortunately it was so watery in the bottom of the ramekin and the consistency was a little weird for me. Flavor was okay but overall I think I may switch back to using cream cheese. At least I gave it a try.
Beyond too sweet, the consistency was runny; I tossed it.
great consistency
Hey Leah! So glad you liked it!
I
I made this, it had a ton of fluid on the bottom and was soup. I didn’t use a crust but I think the crust would’ve been mushy anyway. I’m not sure if I did something wrong so I’m giving it 2 stars to account for my error. Otherwise, unbeatable. 😭
I had the same thing happen. So much liquid on the bottom. Had to drain liquid off and continue to bake for 2 hours. And I used nonfat Greek yogurt
Hmmm. Did you use a thick Greek yogurt? I have not heard anyone else having issues with this recipe!
Delicious and filling! Used real sugar and homemade graham cracker crust. Am surprised at how thin it became! But it’s a hit in my house
Hey Jamie, I’m so glad your family enjoyed it!
Really easy recipe! Tasted great! Will make again. I added a little bit of maple syrup as mentioned. Husband loved it. Served with some strawberries but any fruit would work. Thanks !
Yay! I am so glad to hear that. Thanks for your feedback! 🙂
Can you use honey instead of the maple syrup?
Yes, you can use any sweetener you prefer! The honey will give you a slightly different taste, but I think it would still be wonderful!
Thanks for sharing! Does it keep long?
I would say it is good in the fridge for up to 5 ish days!
This looks so good! What a great combination of flavors!
Thank you so much!
When the cake is done in the oven do you let it cool down before putting it into the fridge?