
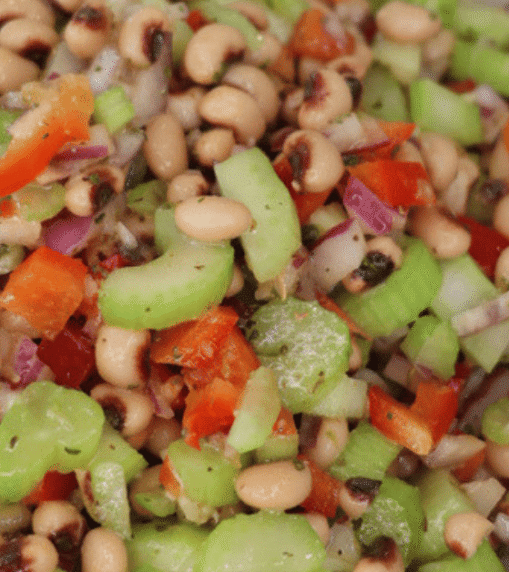

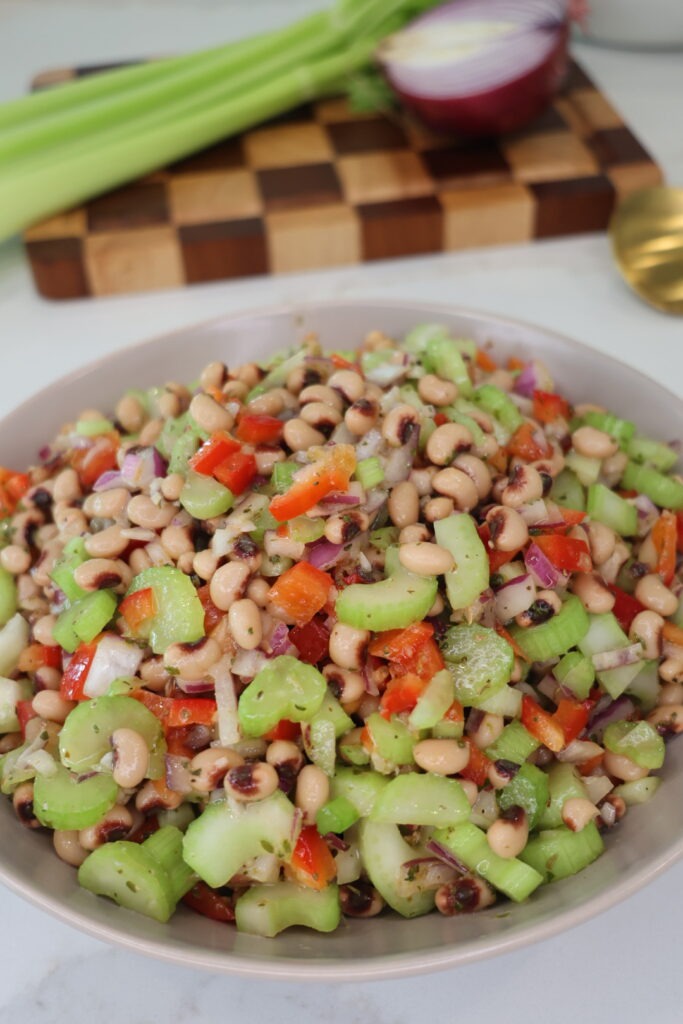
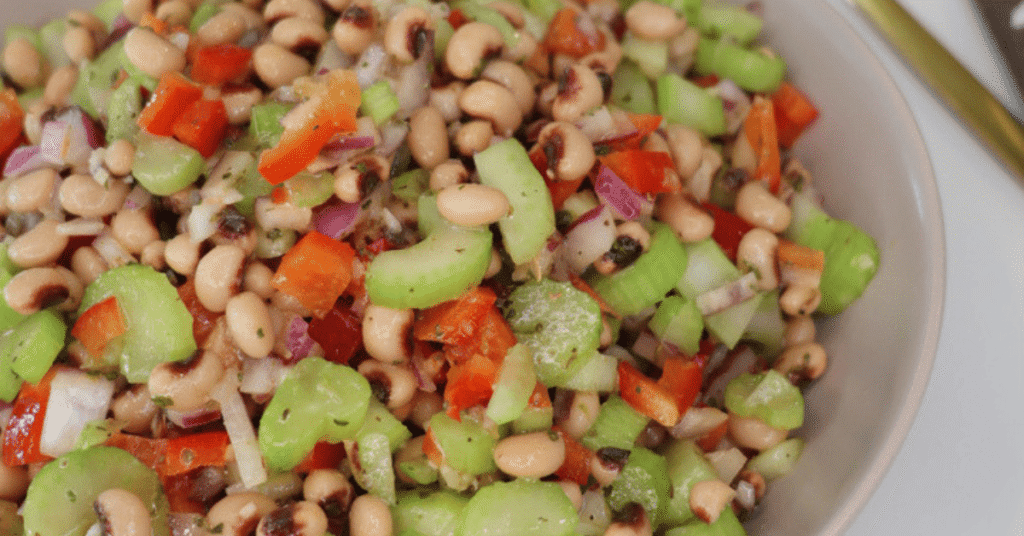
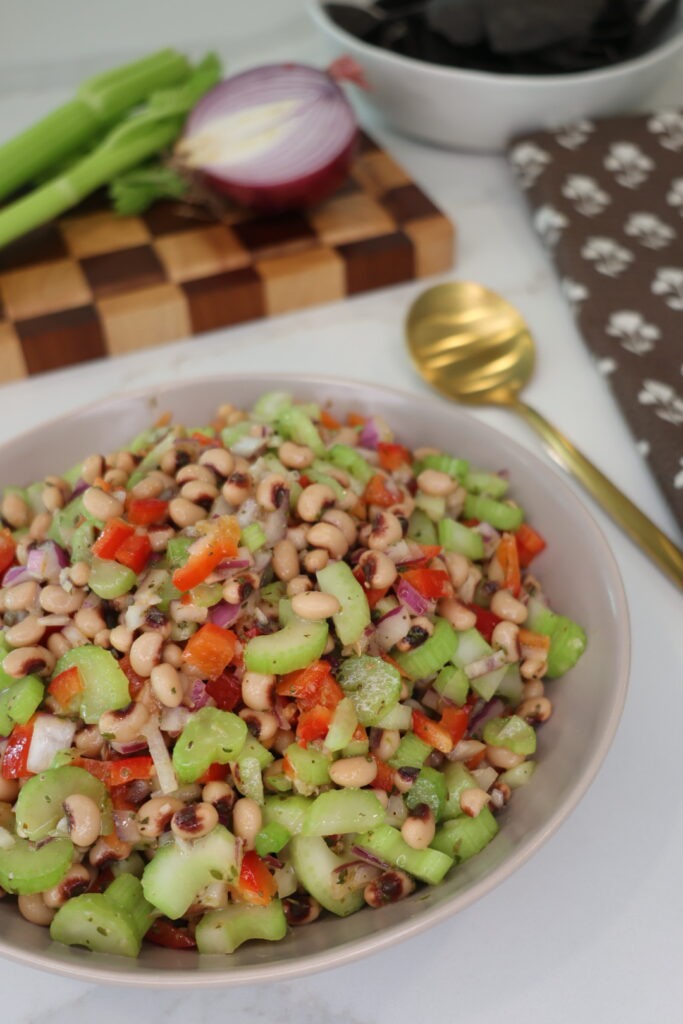
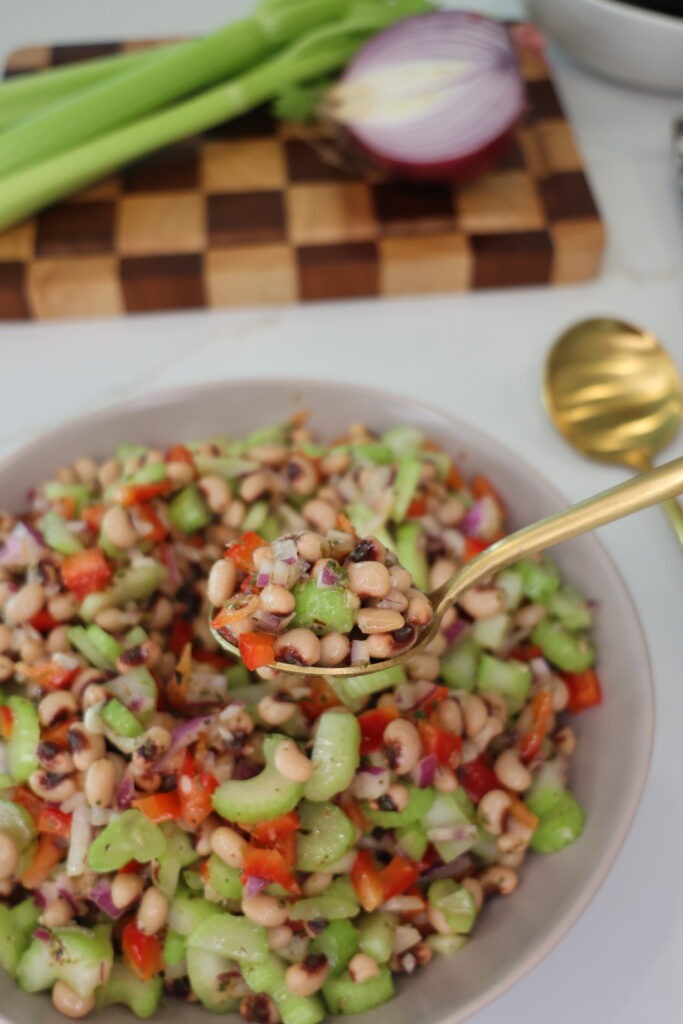
This is one of those recipes I keep making once the weather gets hot because it’s easy, fresh, and somehow tastes even better after sitting in the fridge for a bit. The black eyed peas soak up all the tangy marinade while the celery, red onion, and bell pepper give it the best crunch. I’ve been eating it as a side and with chips nonstop, but it’s also really good spooned over grilled chicken or tucked into wraps for lunch!
Equipment You’ll Need
- Large mixing bowl
- Sharp knife
- Cutting board
- Measuring spoons
- Small whisk or fork
- Measuring cup or mason jar for the marinade
Ingredients
For the Black Eyed Pea Caviar
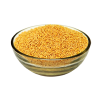
- 2 (15 ounce) cans black eyed peas (drained and rinsed)
- 3 stalks celery (finely diced)
- 1/4 large red onion (finely diced)
- 1 red bell pepper (finely diced)
For the Marinade
- 1 tablespoon Dijon mustard
- 1 tablespoon apple cider vinegar
- 1 1/2 teaspoons hot sauce
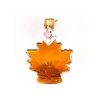
- 1 1/2 teaspoons maple syrup
- 2 1/2 tablespoons olive oil
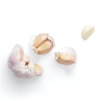
- 1/2 teaspoon garlic (minced)
- 1 1/4 teaspoons salt
- 1/2 teaspoon black pepper
- 1 teaspoon oregano
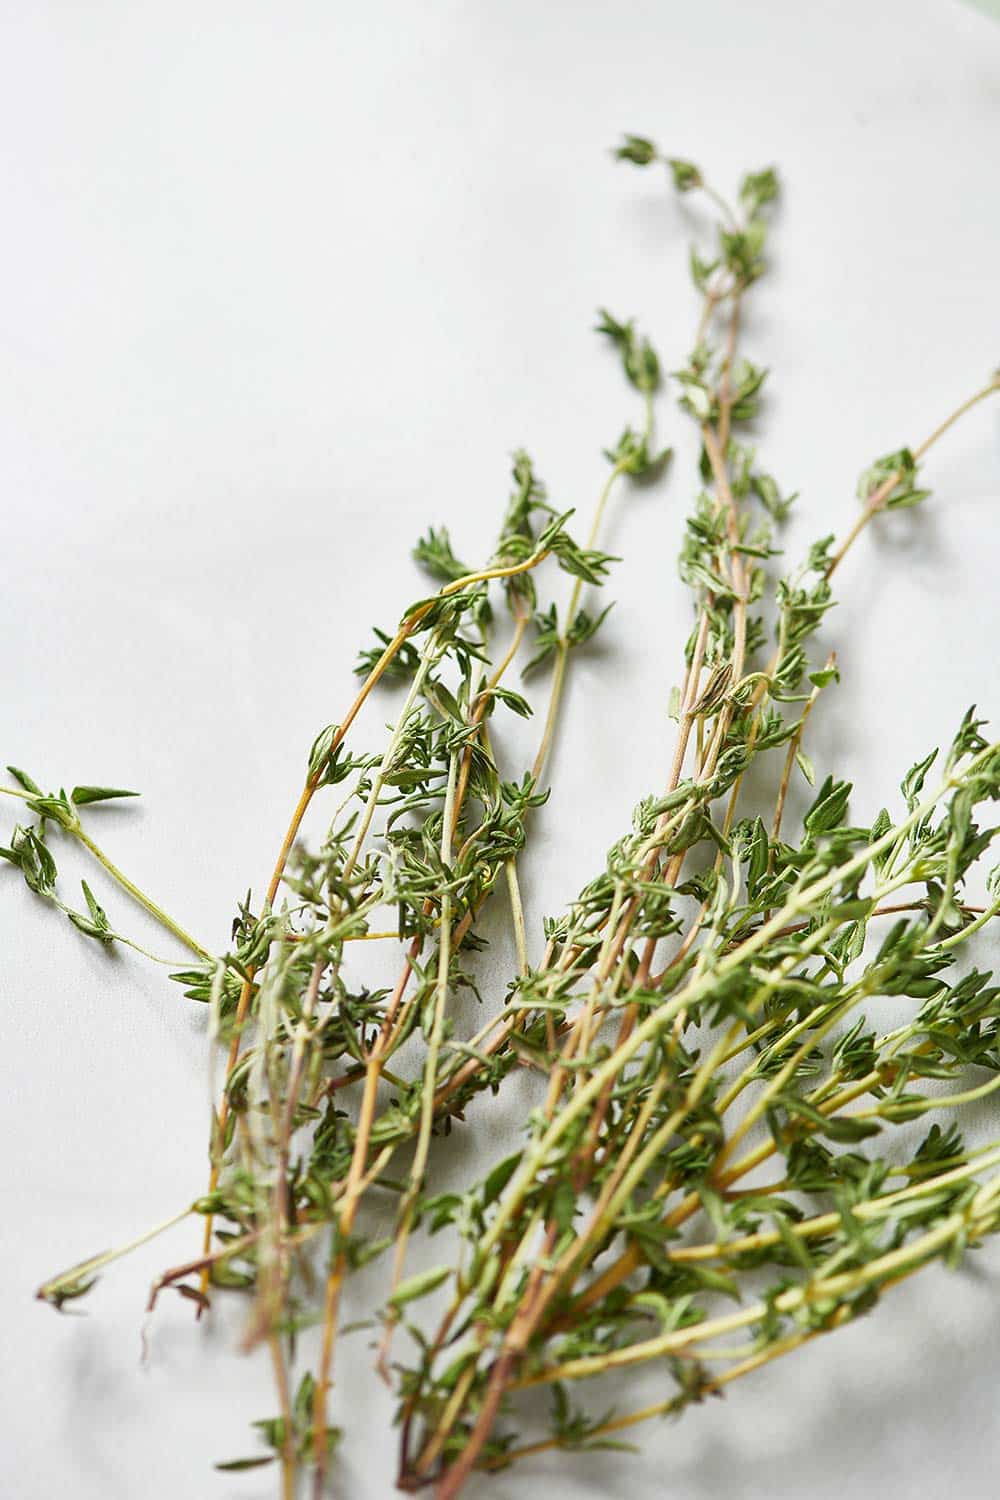
- 1 teaspoon thyme
- 1 teaspoon parsley
Instructions
- Drain and rinse the black eyed peas thoroughly, then gently pat them dry with a paper towel.
- Finely dice the celery, red onion, and red bell pepper. Add everything to a large mixing bowl with the black eyed peas.
- In a measuring cup or small jar, whisk together the Dijon mustard, apple cider vinegar, hot sauce, maple syrup, olive oil, garlic, salt, pepper, oregano, thyme, and parsley until smooth and fully combined.
- Pour the marinade over the black eyed pea mixture and toss well until everything is evenly coated.
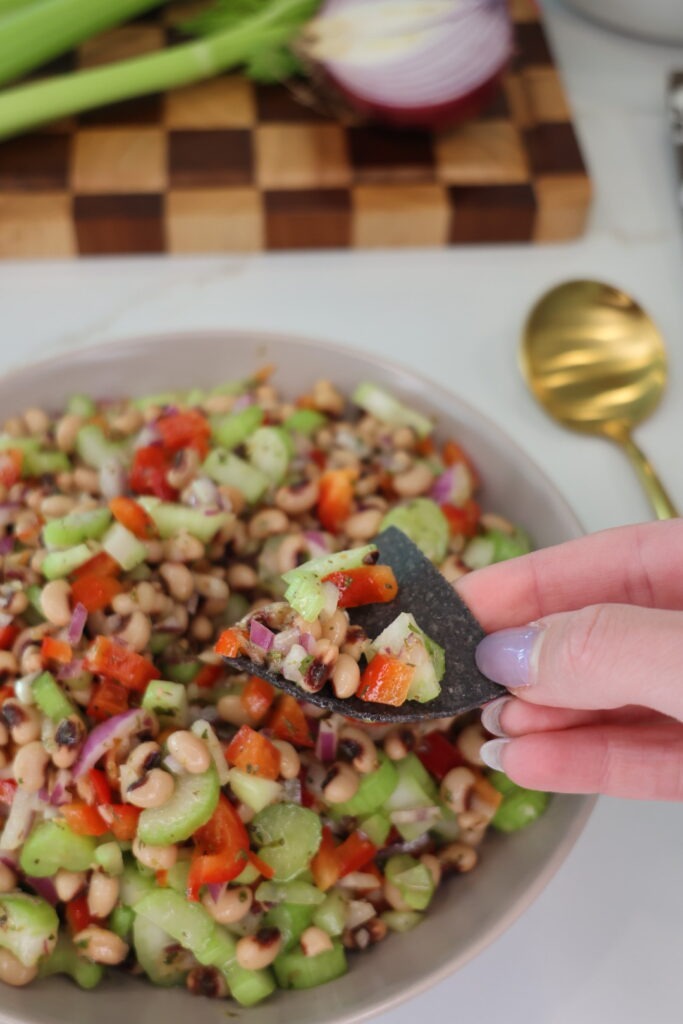
- Cover and refrigerate for at least 30 minutes so the flavors can soak into the peas and vegetables. Serve chilled as a refreshing side dish or with crunchy tortilla chips for dipping.
Dietary Information
This recipe is naturally gluten free and dairy free, making it an easy option for gatherings with mixed dietary needs. It’s also vegetarian and can easily be made vegan by double checking that your Dijon mustard and hot sauce are vegan friendly.
Tips or Variations
- For extra heat, add more hot sauce.
- Want more sweetness? Stir in a little extra maple syrup or some sweet corn.
- Fresh herbs like cilantro or basil add even more summer flavor.
- This recipe tastes even better after a few hours in the fridge.
- Store leftovers in an airtight container for up to 4 days.
Serving Suggestions
This crunchy black eyed pea caviar pairs perfectly with:
- Tortilla chips
- Grilled chicken or steak
- Fish tacos
- Burgers and hot dogs
- Rice bowls or wraps
- On its own as a side salad!
It also makes a colorful addition to summer picnic spreads and barbecue tables.
FAQ’s
Can I make this ahead of time?
Yes! In fact, it tastes even better after chilling for a few hours because the flavors have more time to blend together.
Can I use dried black eyed peas instead of canned?
Absolutely. Cook about 3 cups of black eyed peas until tender, then cool completely before using.
Is this spicy?
It has a mild kick from the hot sauce, but it’s not overly spicy. You can easily adjust the heat level to your preference.
Can I freeze it?
This recipe is best enjoyed fresh. Freezing may change the texture of the vegetables.
Time & Yield
Prep Time: 15 minutes
Cook Time: 10 minutes
Total Time: 25 minutes (plus chilling time)
Servings: 6 to 8 servings
Check Me Out on Social Media!
I post all my recipes on social media as well and you can stay up to date on what I am up to! Also, I love seeing people try my recipes! When make these, snap a picture, and share it to your socials. Tag @cookingkatielady and #cookingkatielady so I can admire your masterpiece and share with others!
black eyed pea caviar, cowboy caviar recipe, crunchy black eyed pea salad, summer side dishes, easy appetizer recipes, healthy dip recipes, black eyed peas recipe, cold bean salad, summer cookout recipes, party dip ideas, marinated bean salad, gluten free side dish, dairy free recipes, easy summer recipes
Description
This is one of those recipes I keep making once the weather gets hot because it’s easy, fresh, and somehow tastes even better after sitting in the fridge for a bit. The black eyed peas soak up all the tangy marinade while the celery, red onion, and bell pepper give it the best crunch. I’ve been eating it as a side and with chips nonstop, but it’s also really good spooned over grilled chicken or tucked into wraps for lunch!
Ingredients
For the Black Eyed Pea Caviar

For the Marinade


Instructions
-
Drain and rinse the black eyed peas thoroughly, then gently pat them dry with a paper towel.
-
Finely dice the celery, red onion, and red bell pepper. Add everything to a large mixing bowl with the black eyed peas.
-
In a measuring cup or small jar, whisk together the Dijon mustard, apple cider vinegar, hot sauce, maple syrup, olive oil, garlic, salt, pepper, oregano, thyme, and parsley until smooth and fully combined.
-
Pour the marinade over the black eyed pea mixture and toss well until everything is evenly coated.
-
Cover and refrigerate for at least 30 minutes so the flavors can soak into the peas and vegetables. Serve chilled as a refreshing side dish or with crunchy tortilla chips for dipping.
Note
Did you make this recipe?
The next time you make it, snap a picture, and share it to your socials. Tag @cookingkatielady and #cookingkatielady so I can admire your masterpiece and share with others!:)
Please note that my nutrition label is approximate and can have slight rounding.
